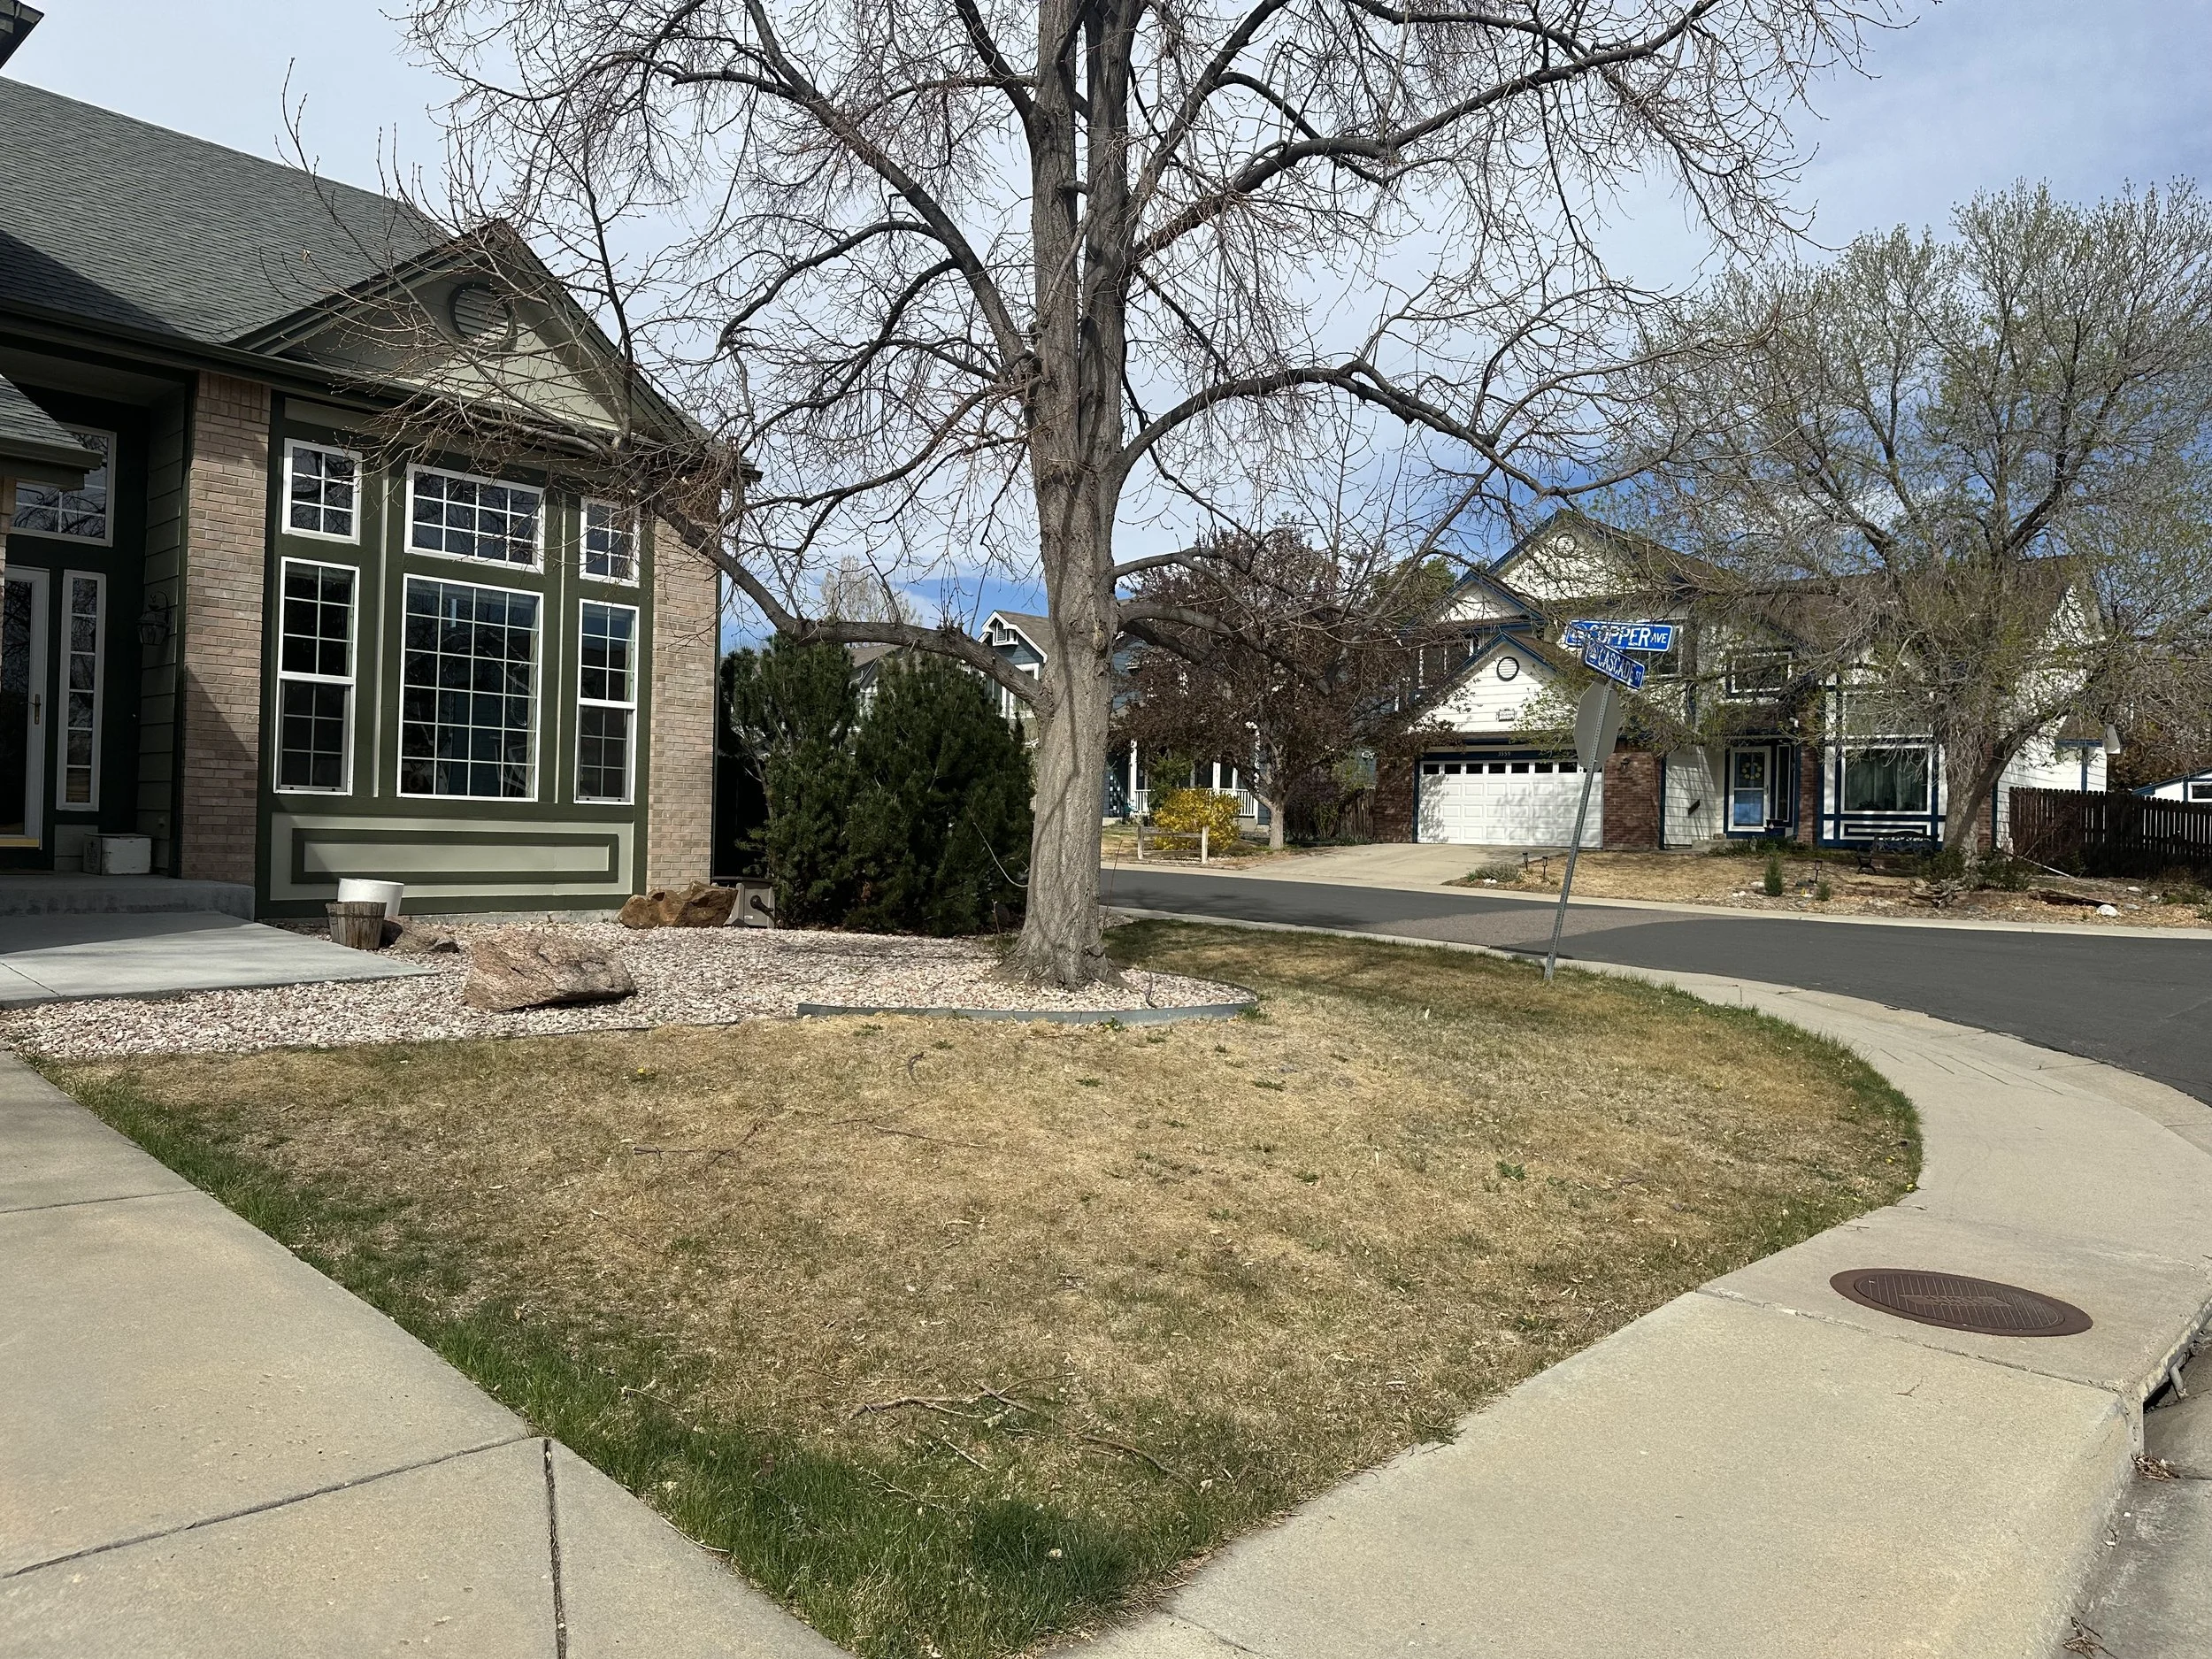
13485 Cascade Street
Teresa + Sean’s Landscape Refresh
JUMP TO EACH SECTION ON YOUR PAGE BY USING THESE QUICK LINKS:
SCHEDULE + CHECKLIST | CONCEPT IMAGES | DESIGN LAYOUT | PLANT PICS | PLANT LIST | HARDSCAPE | D I Y MONTHLY | LOCAL VENDORS | YOUR PHOTO ALBUM
Project Summary
XERISCAPE TRANSFORMATION
Transform an empty existing front yard lawn and simple rocked area into an inviting high altitude xeric yardscape with semi-native shrubs, perennials, and ground cover in a part sun / part shade environment surrounding existing mature trees.
Integrate drip irrigation for new and existing trees and shrubs into the existing sprinkler system.
Define areas of different material such as mulch and cobble, decorative boulders, and reuse any available boulders.
schedule tbd (AGEM)
AUGUST INSTALL TBD
1) Source + Deliver Hardscape Materials
• Pavers
• Cobble / Mulch / Weedmat
2) Install Hardscape Materials
3) Install Drip + check existing Irrigation
4) Source + Deliver Softscape Materials
• Soil
• Plantings
CHECKLISTS TBD
DESIGN TRANSLATION ON SITE
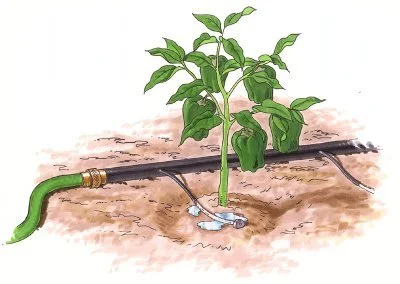
DRIP IRRIGATION
❖ System TURN ON and full check (sprinklers + existing / new drip)
❖ Run 3/4” Main Drip Line + 1/4” Drip Line + Emitters to ALL NEW + EXISTING plants per design TBD
❖ OPTIONAL MICRO SPRAYS = As necessary
❖ RAIN BARREL = Ask clients for their idea of which brand or unique barrel to add / Install at which downspout to collect smart water.
*NOTE All hardscape and irrigation sequence, steps, or information referenced for this project is for general purposes only. While we do our best to communicate among all project stakeholders, it is recommended that you refer to your licensed independent installation business or contractor for confirmation.
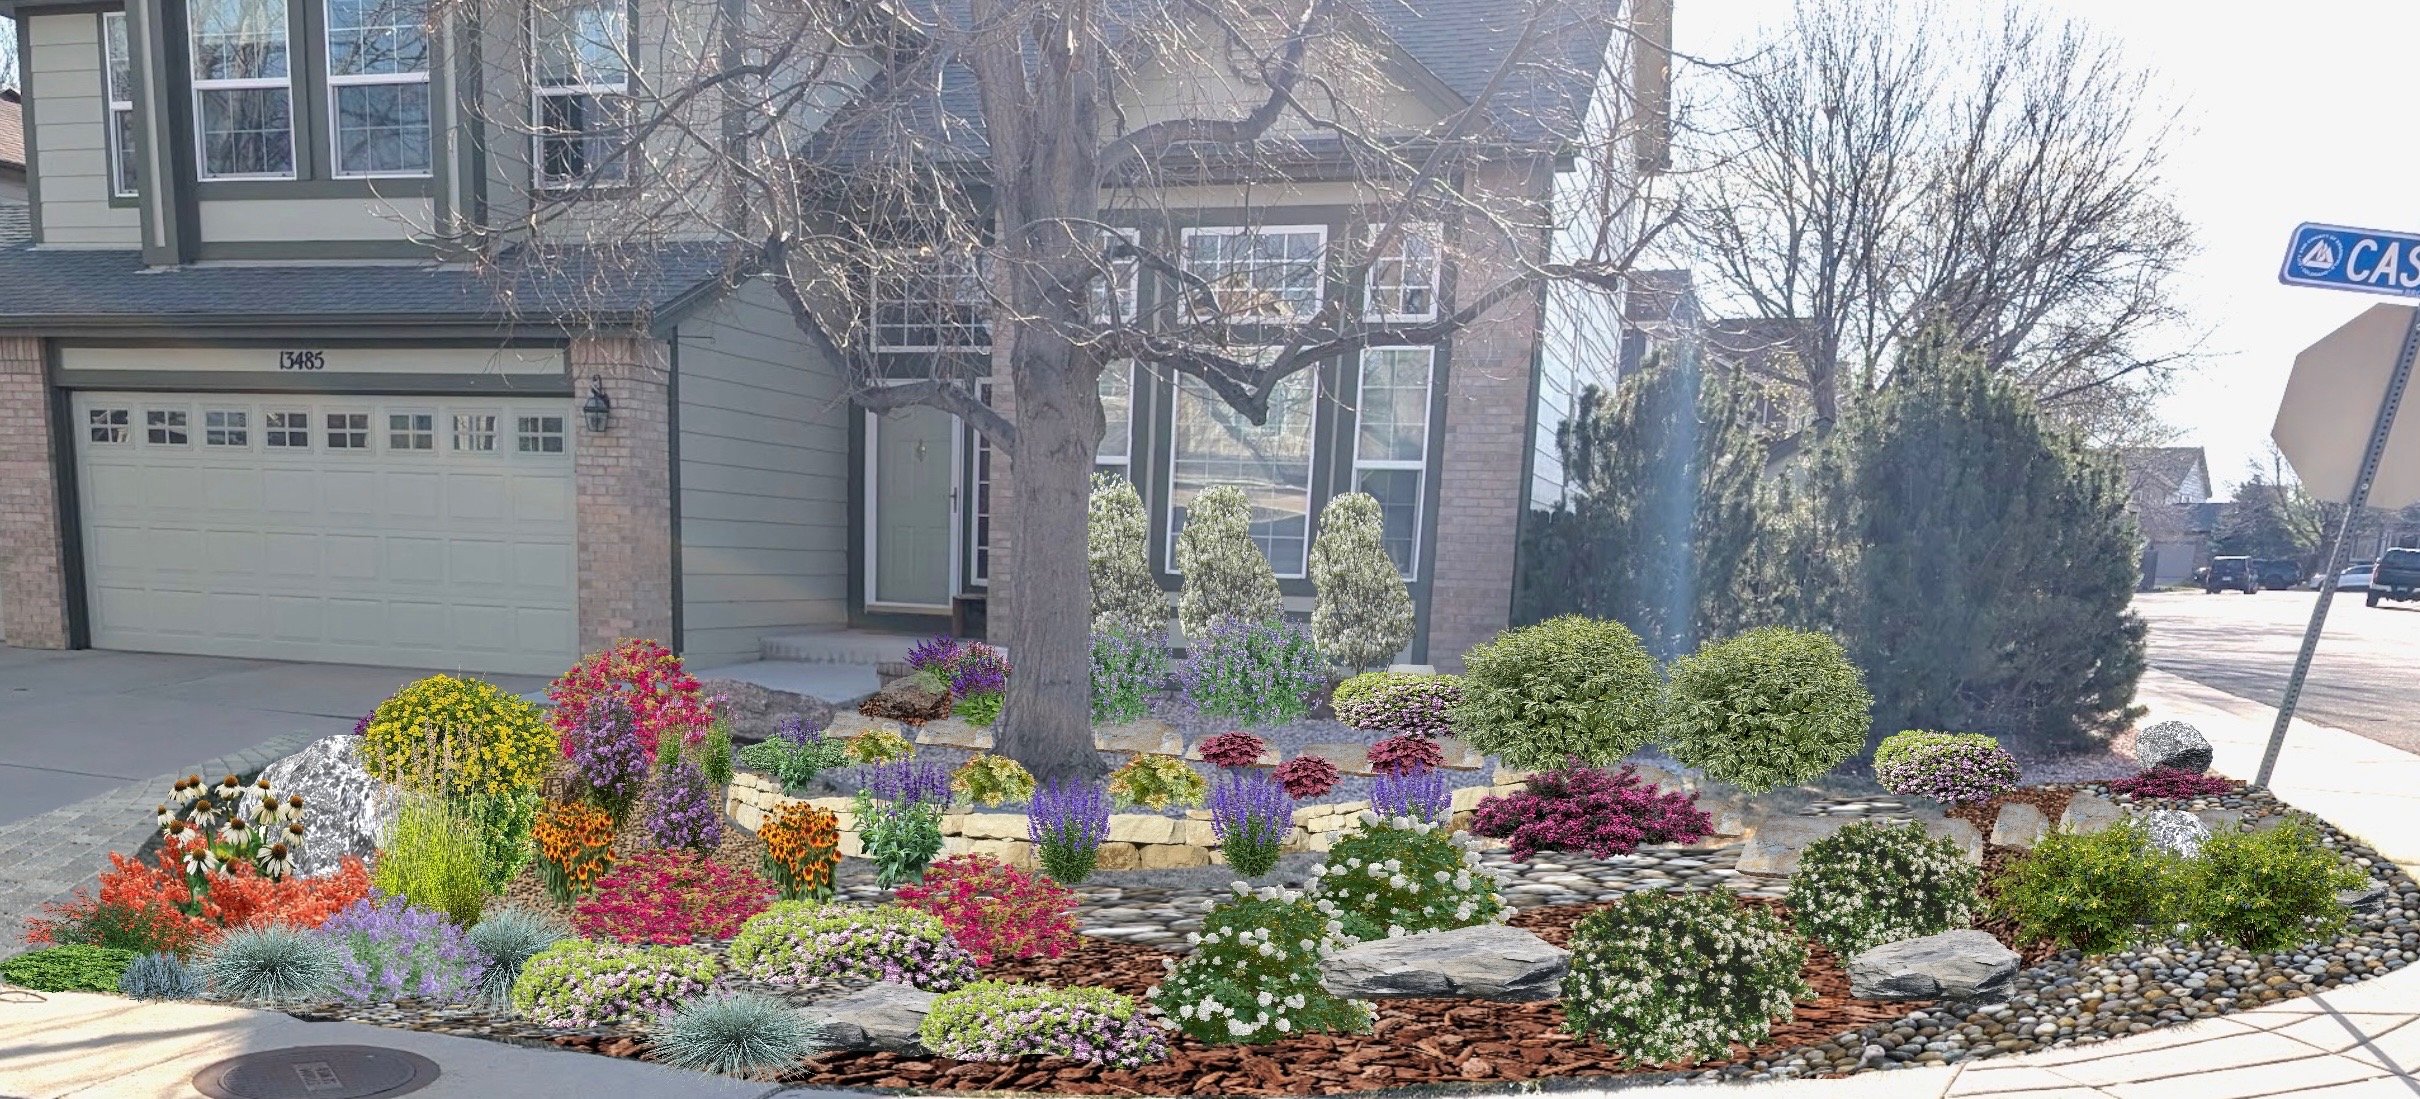
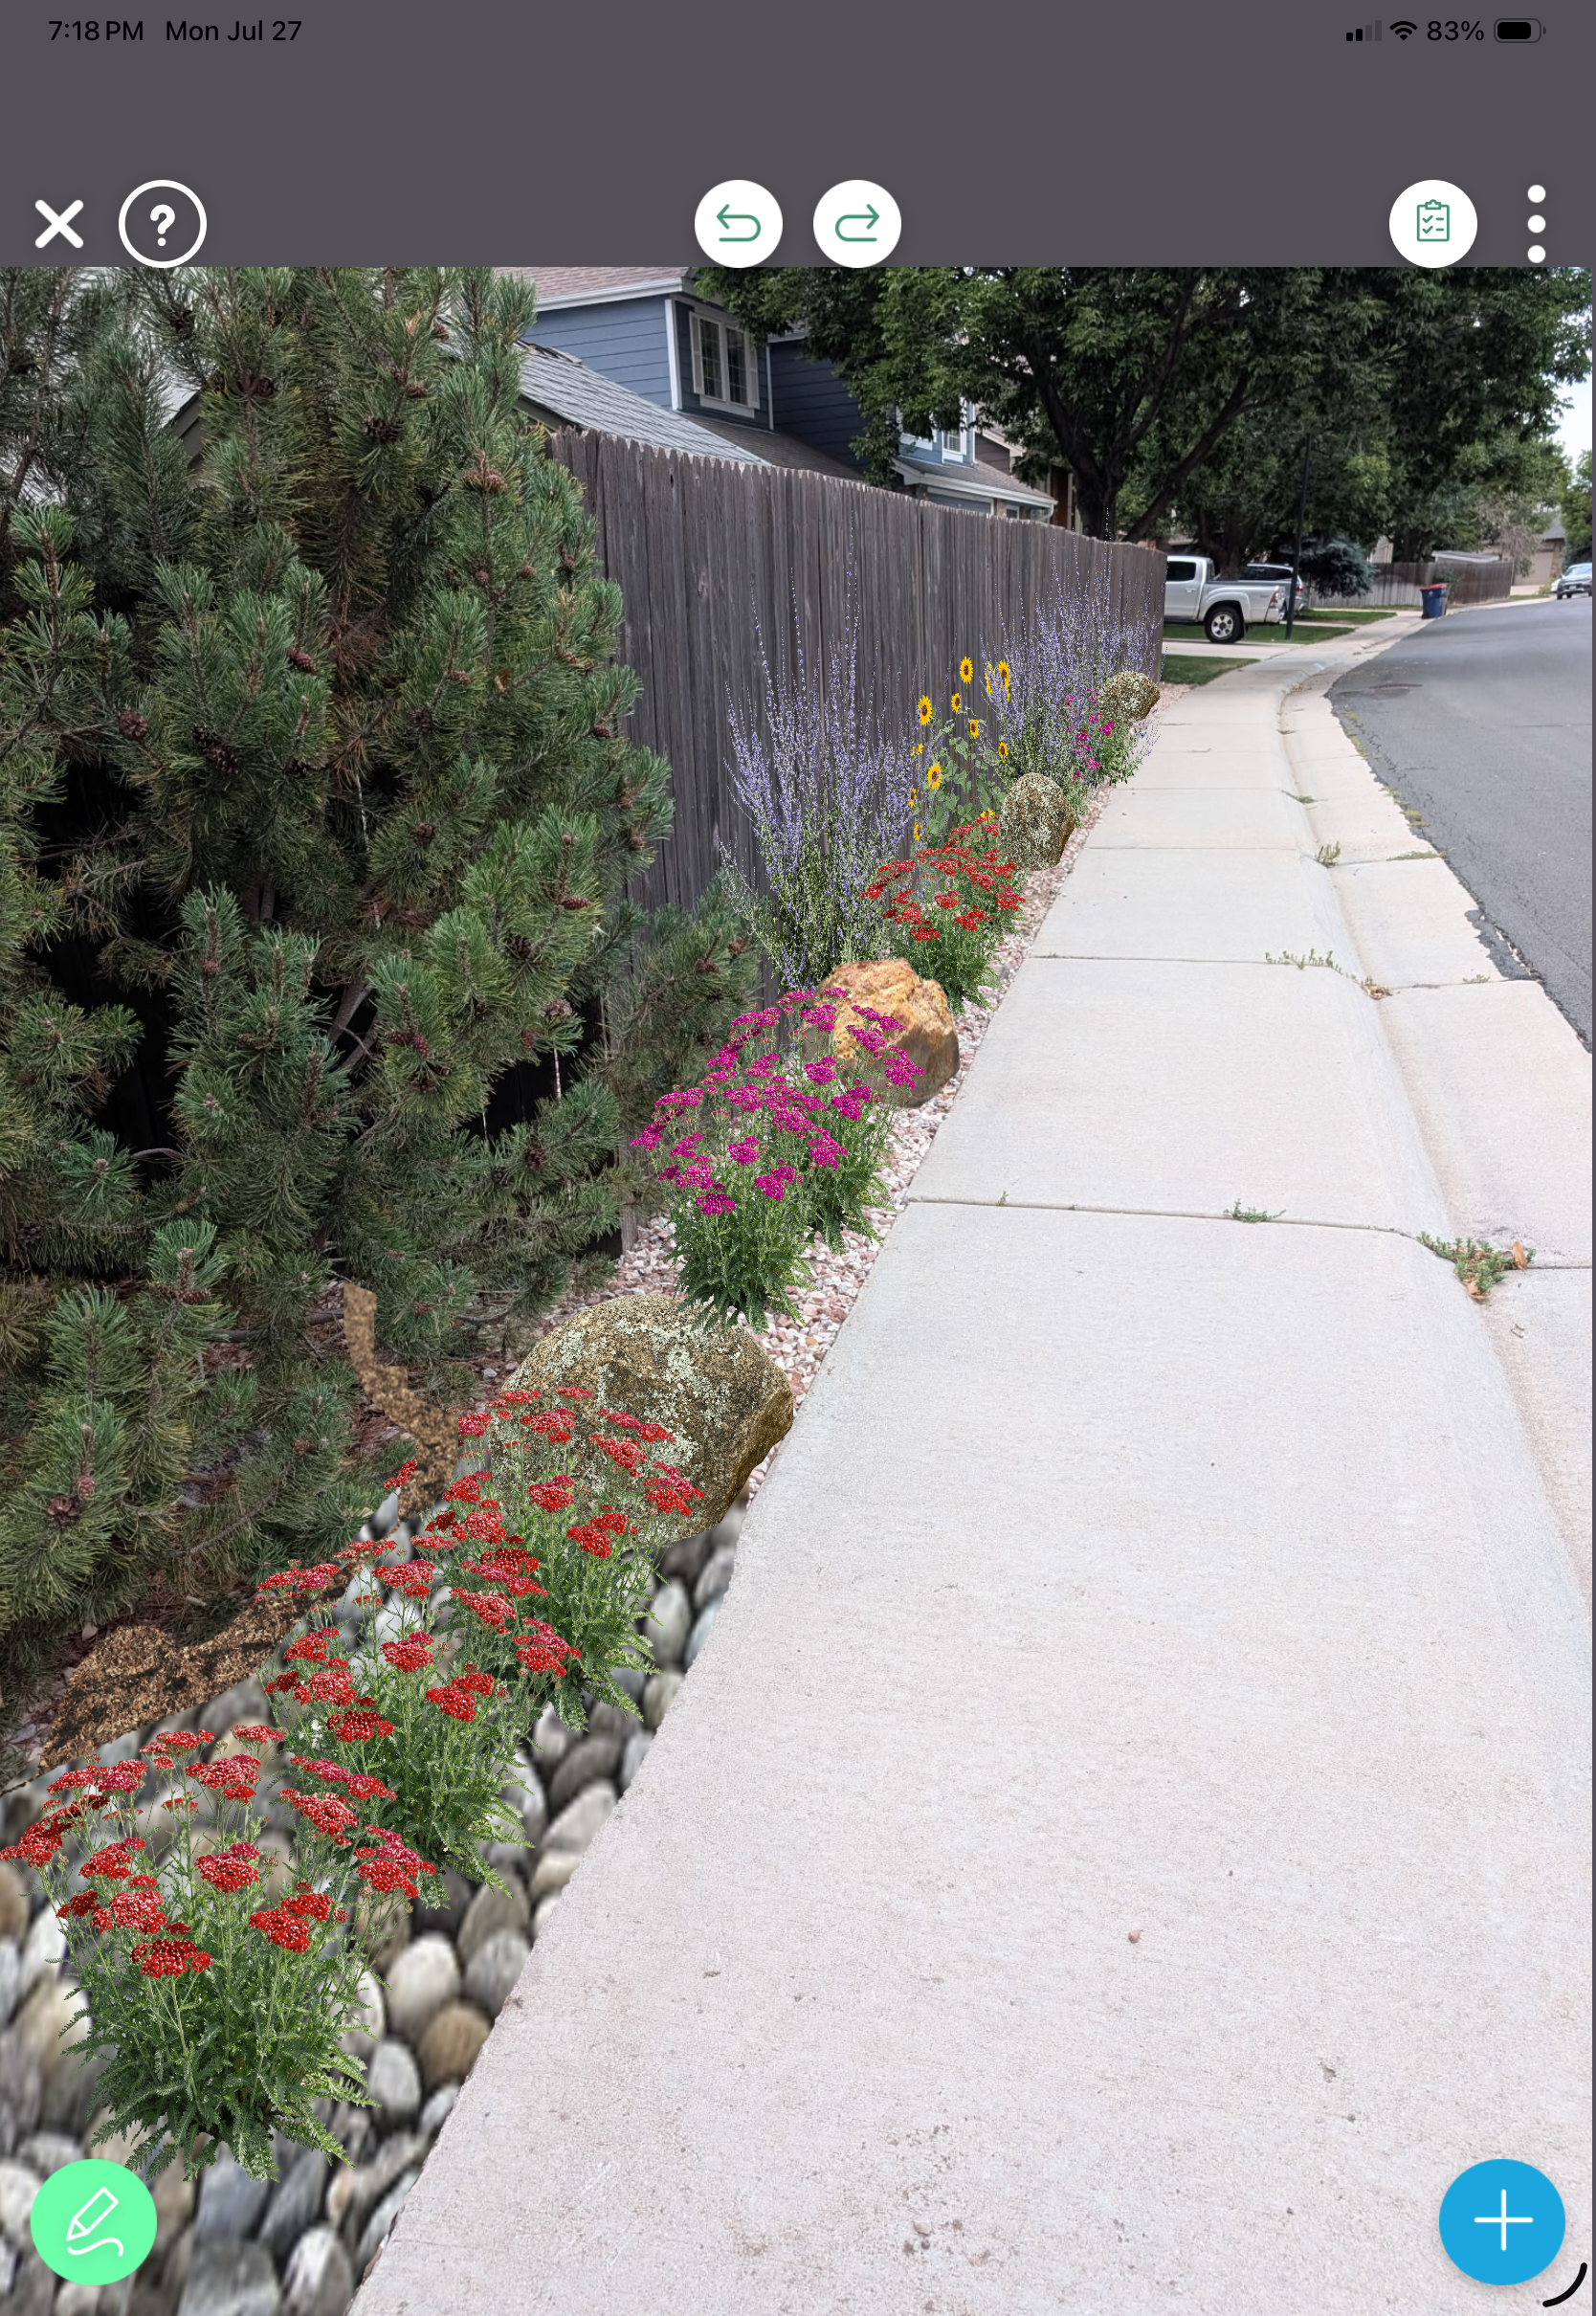
CONCEPT IMAGES

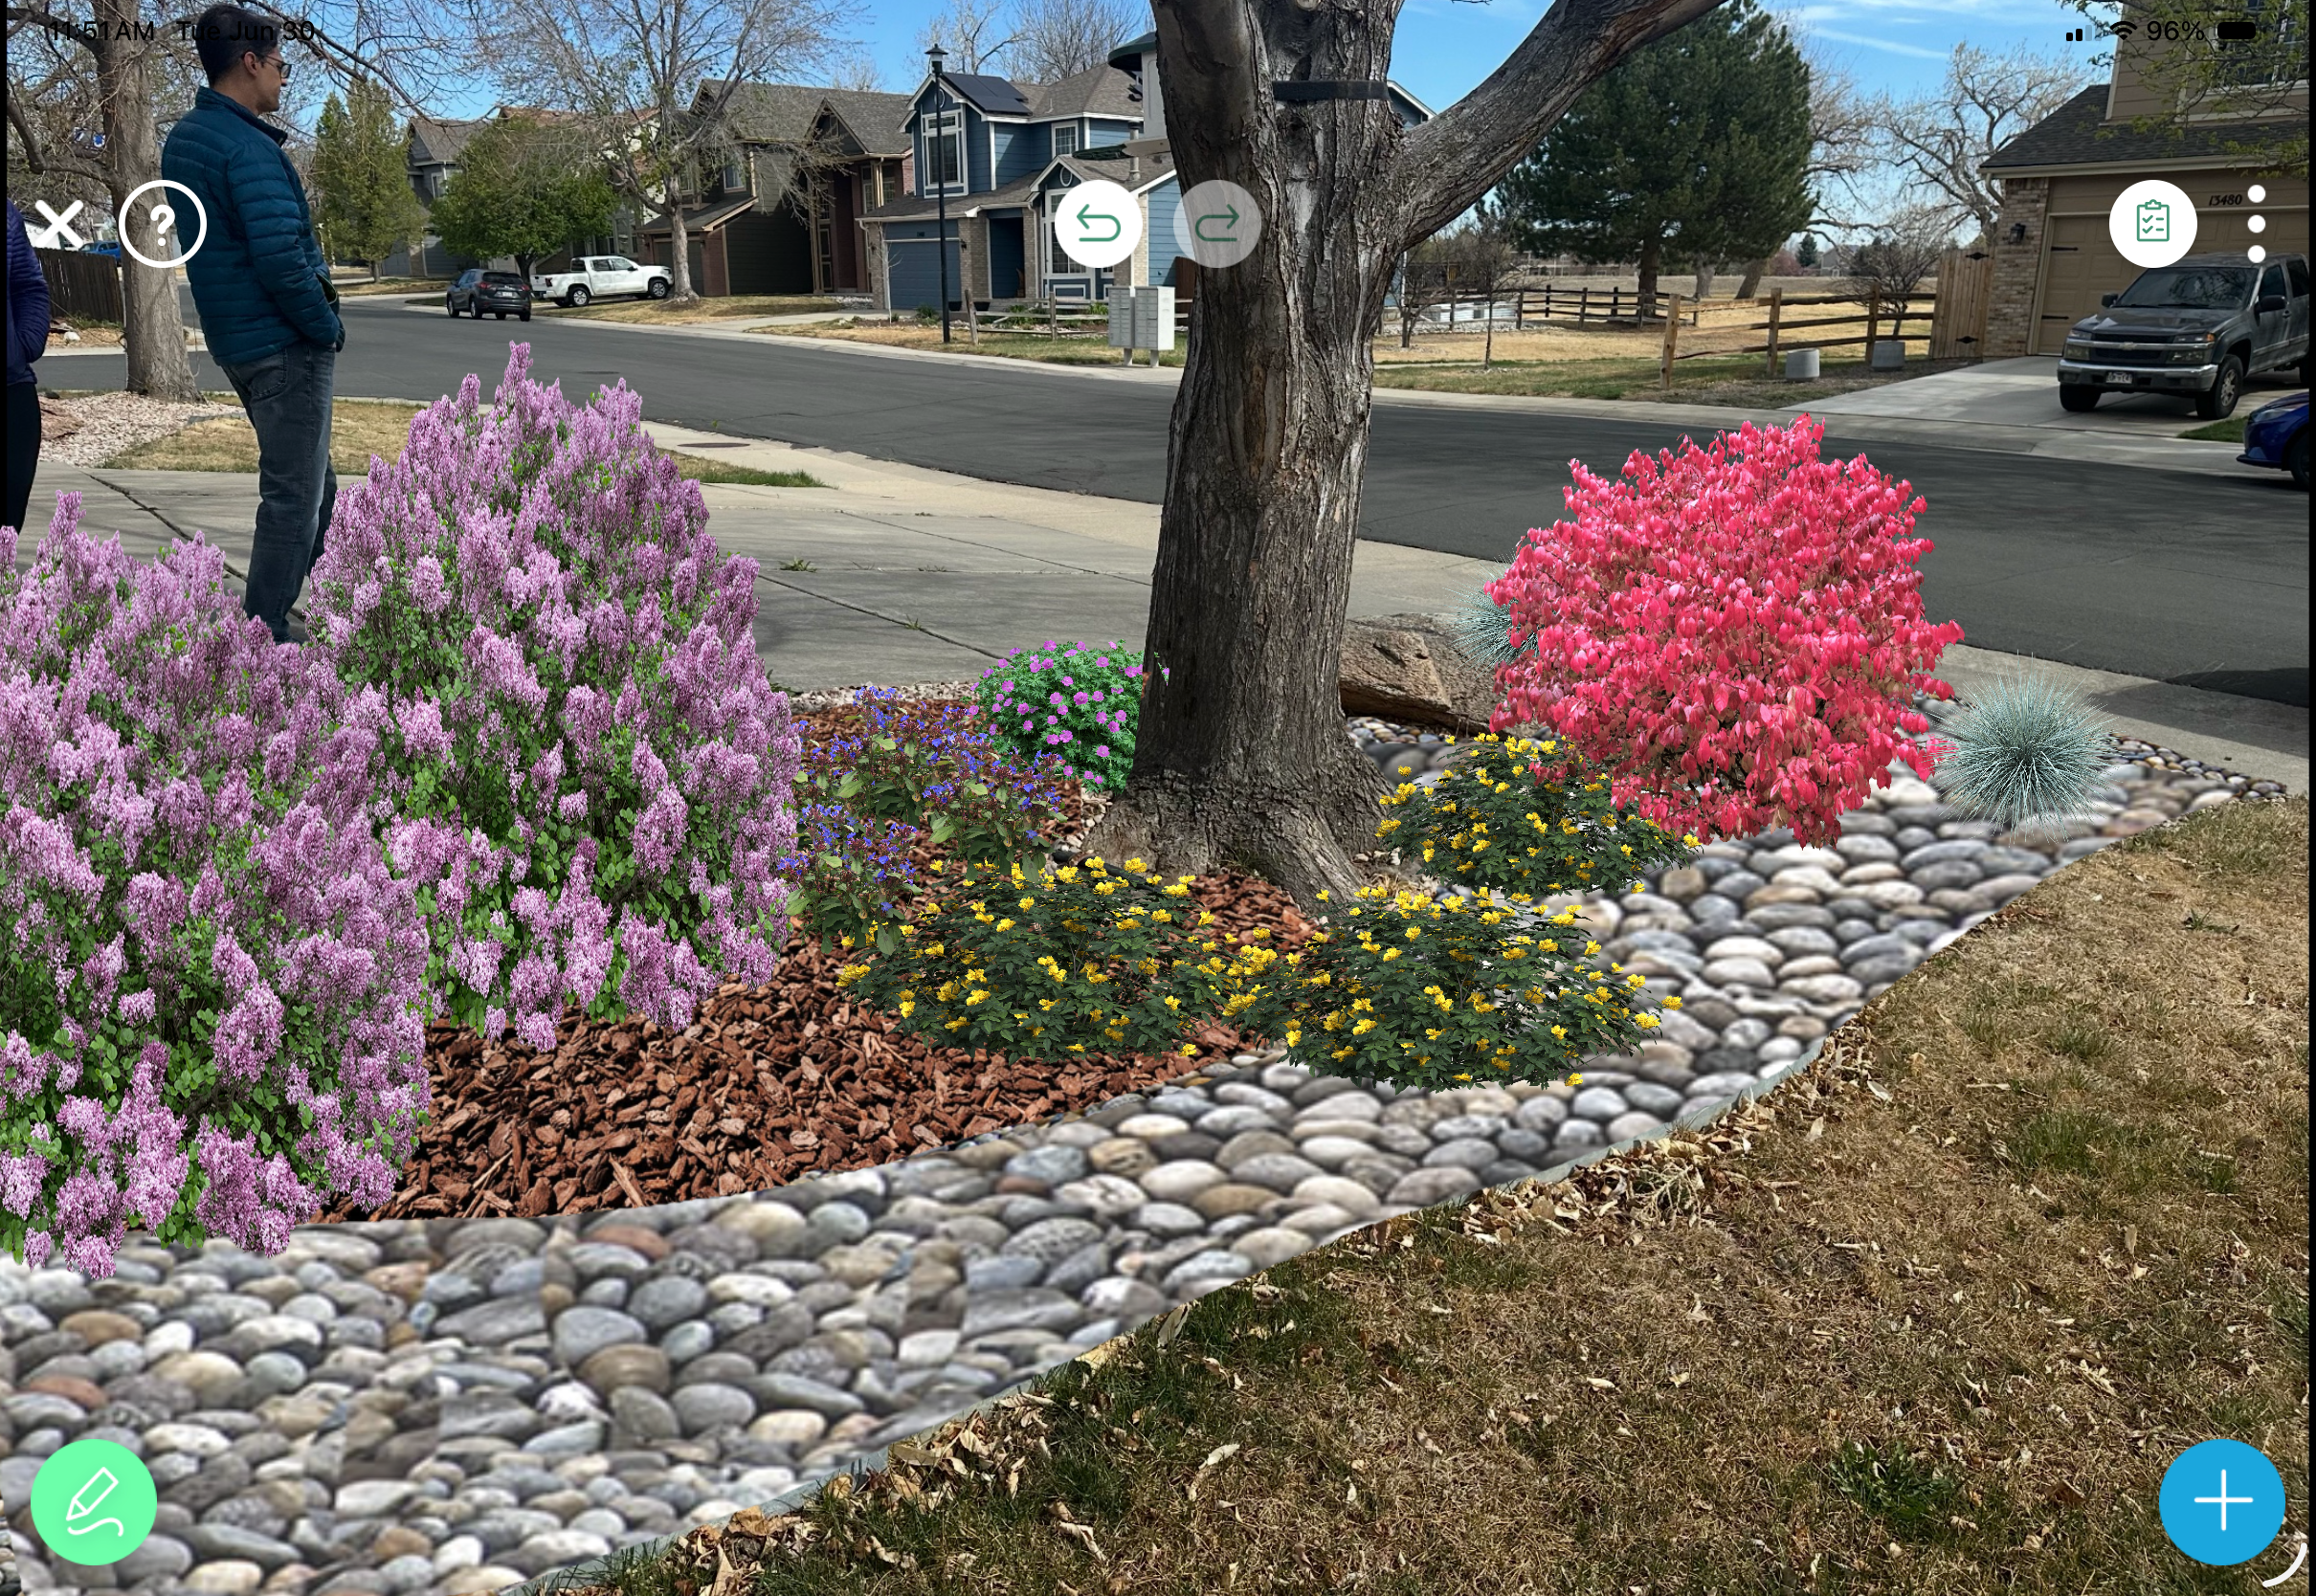
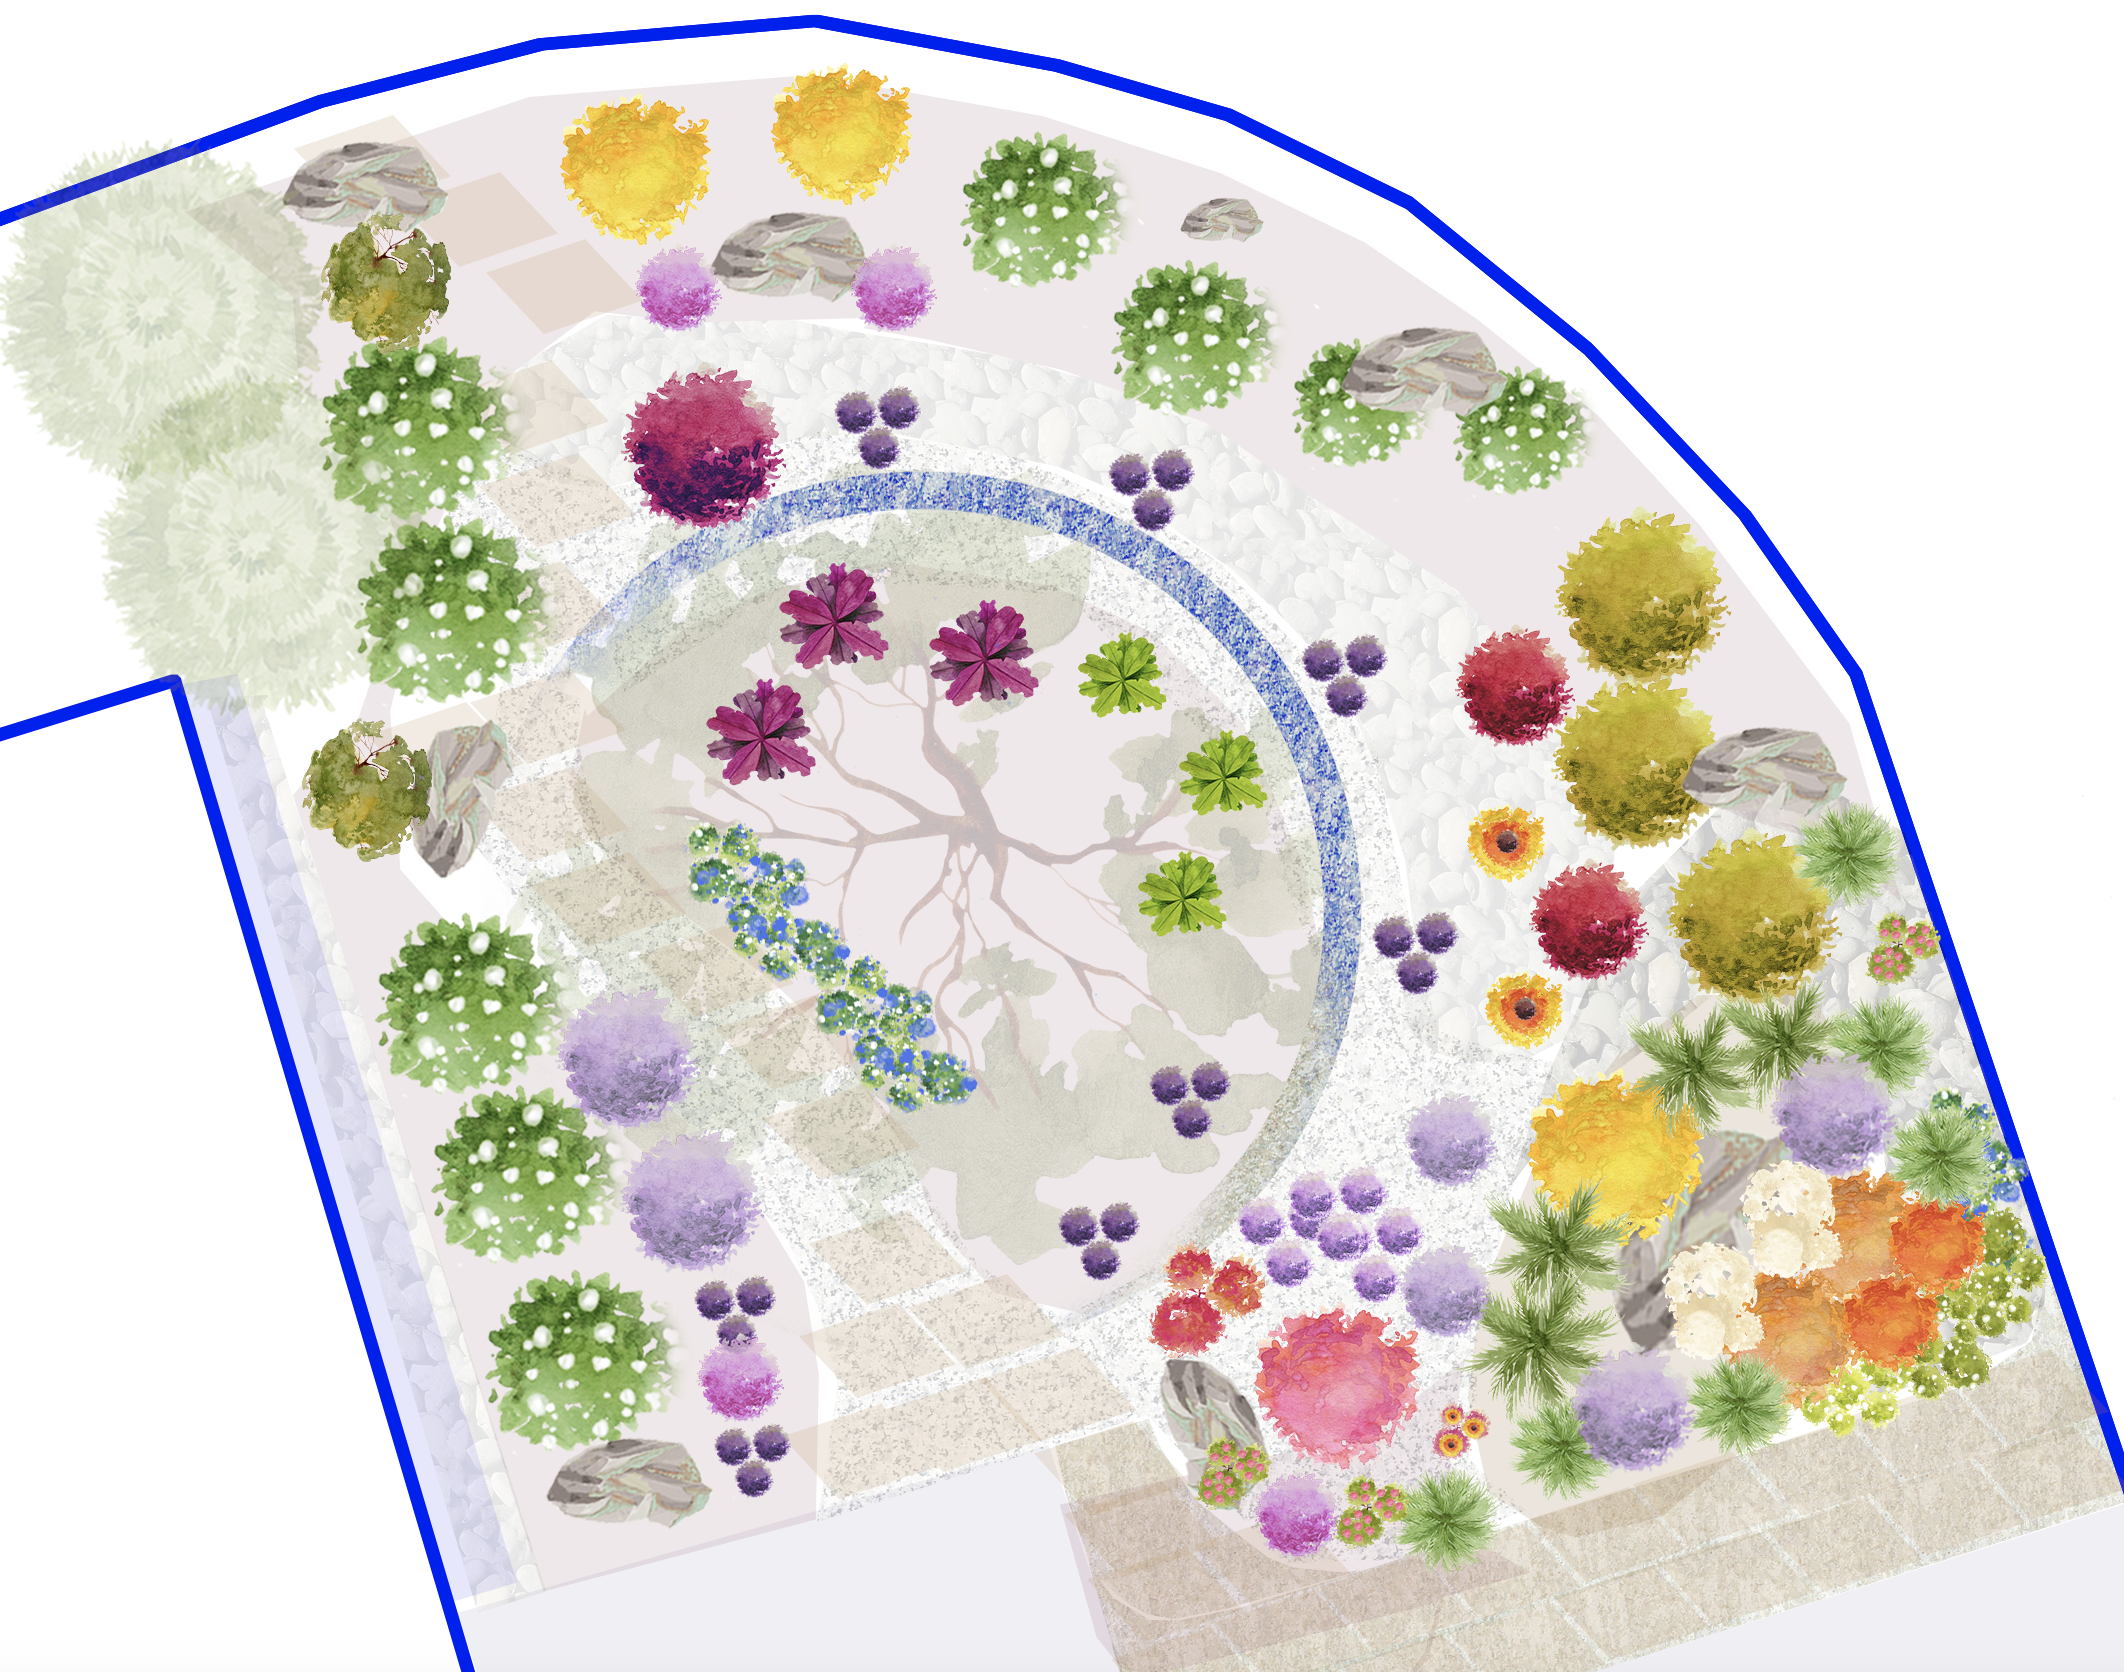
FULL Design
EXISTING SEMI-NATIVE LOW-WATER USE THEME | FRONT YARDSCAPE

FRONT YARD
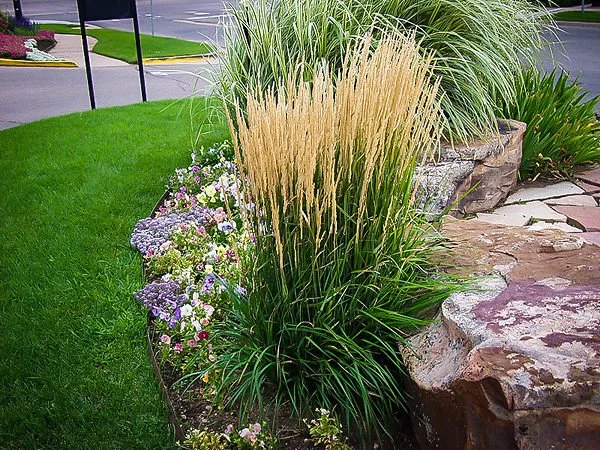
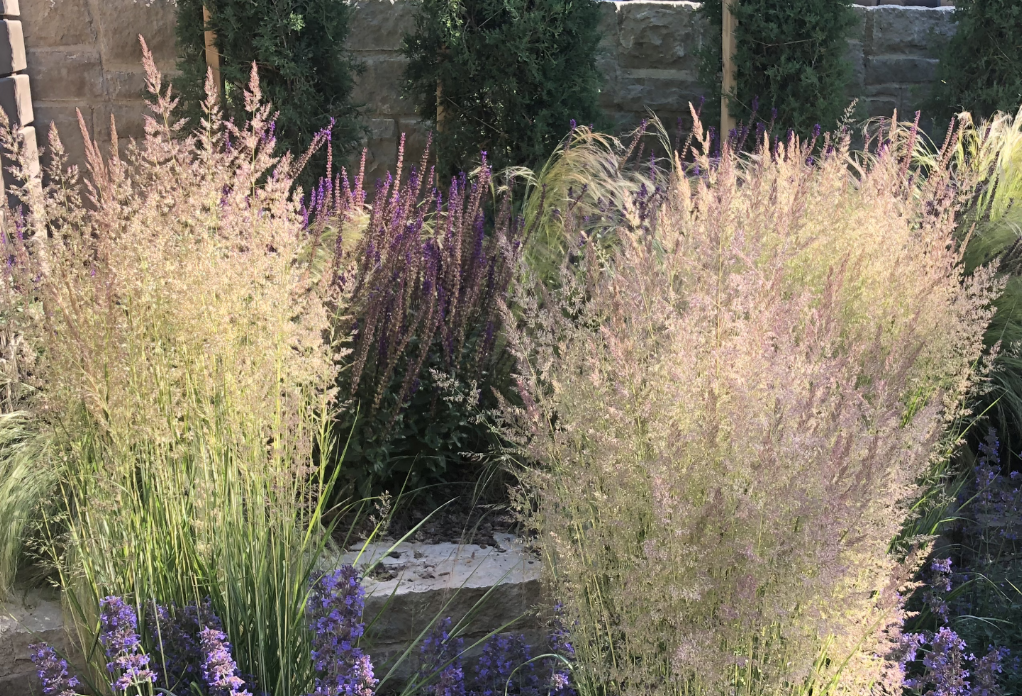
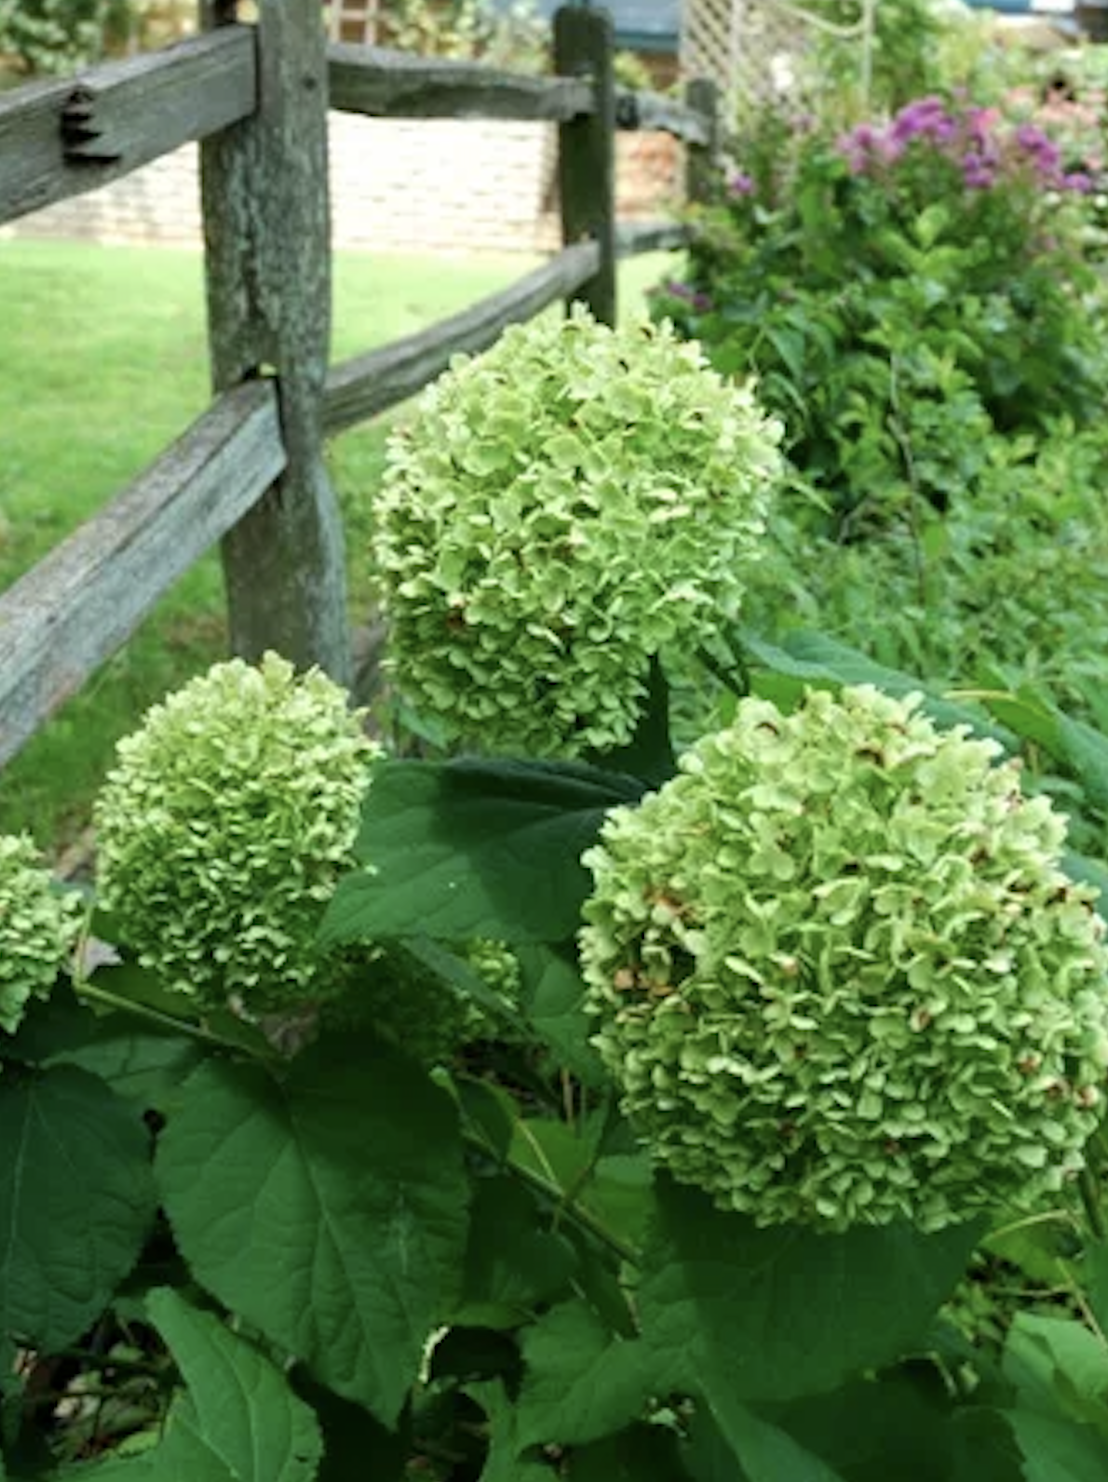
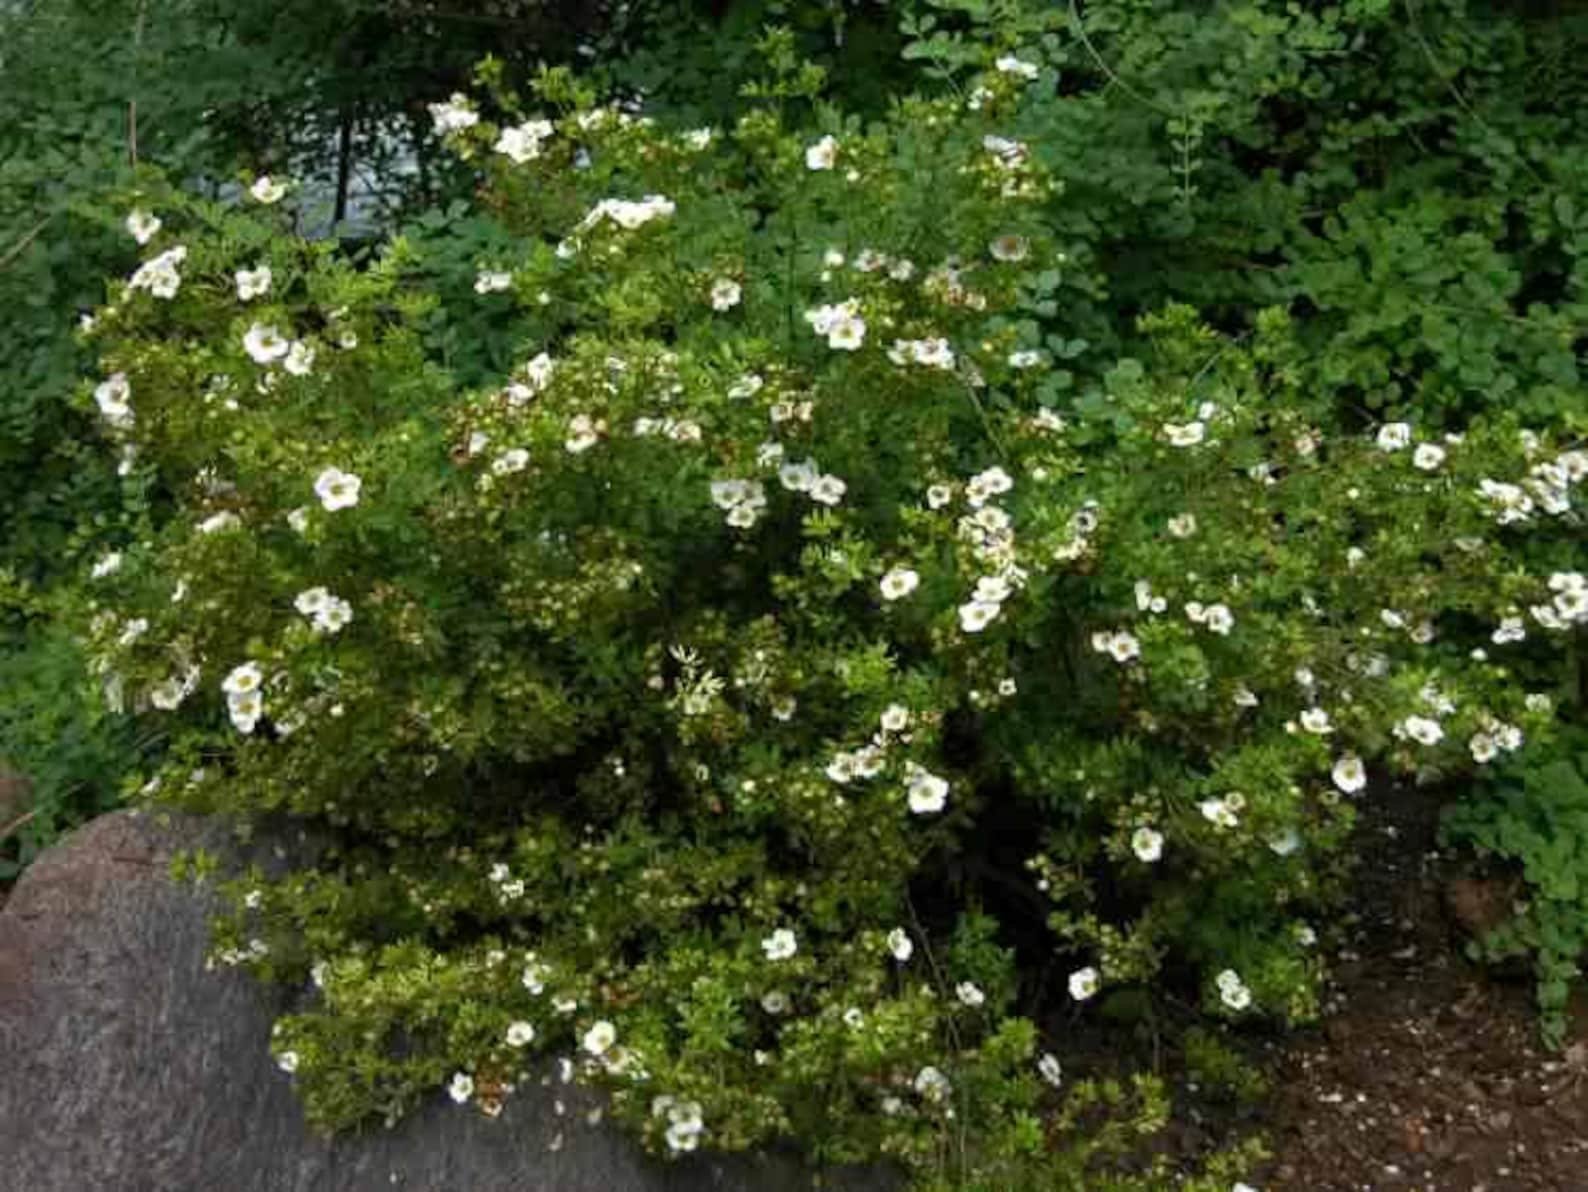
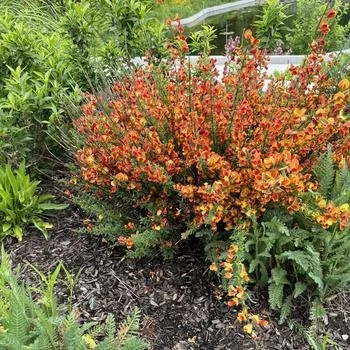
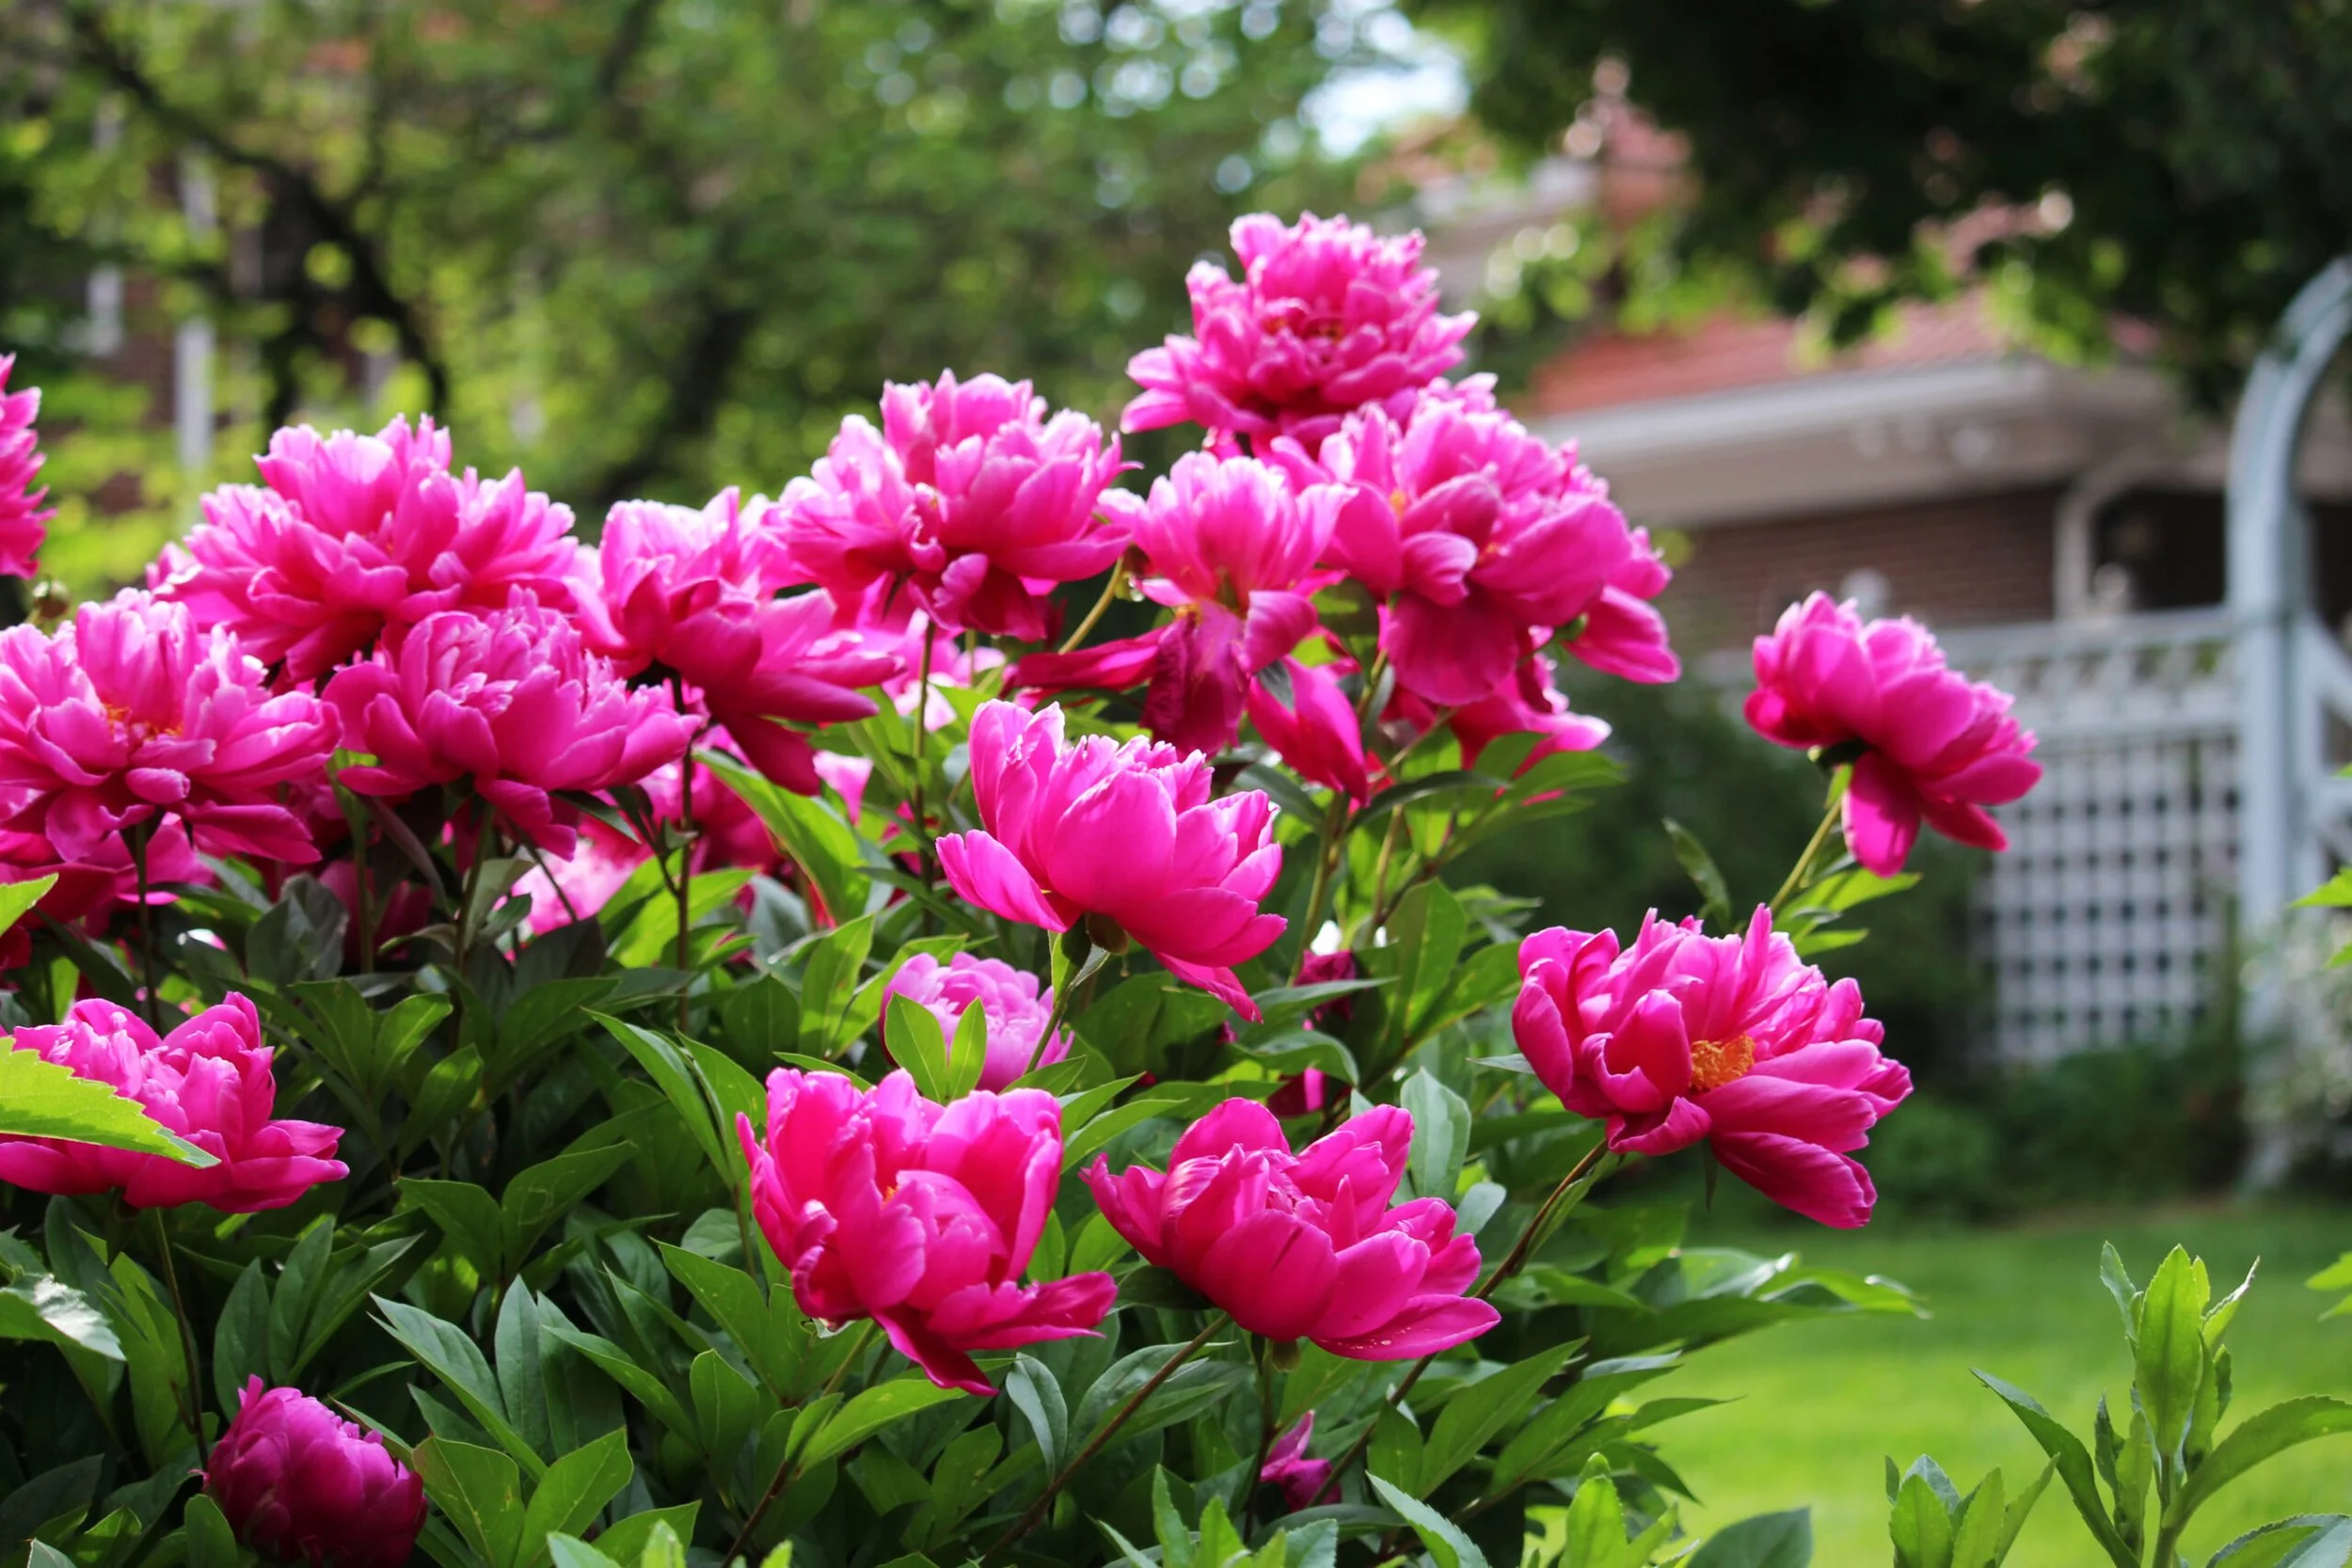
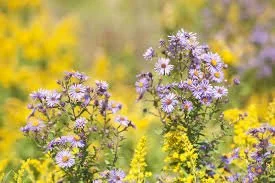
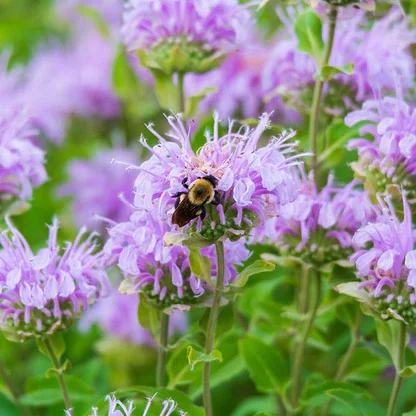
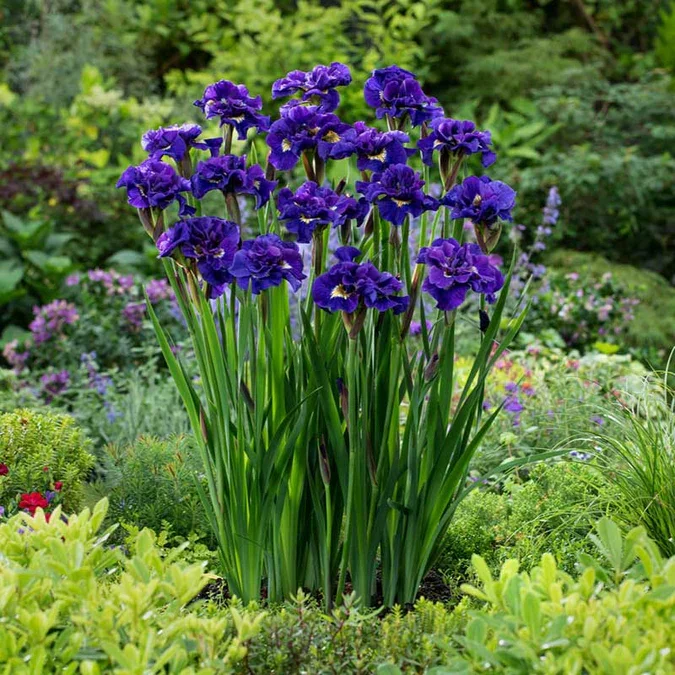
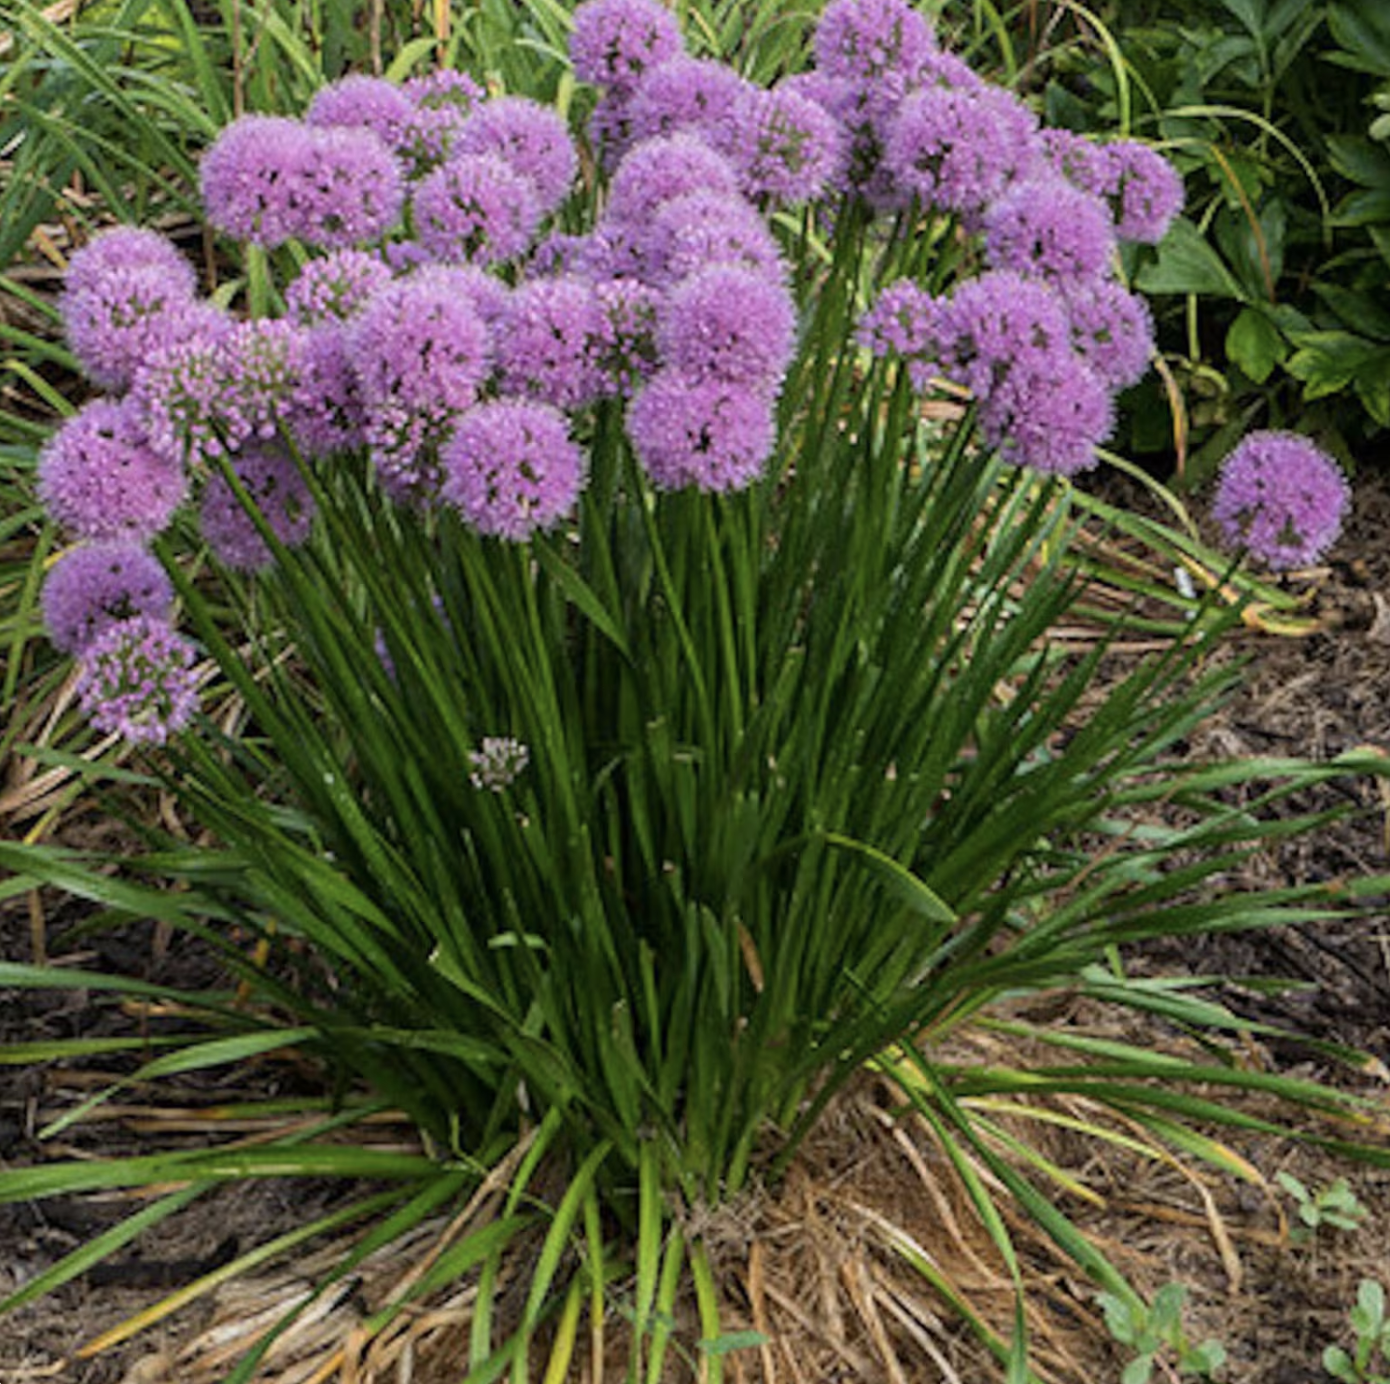
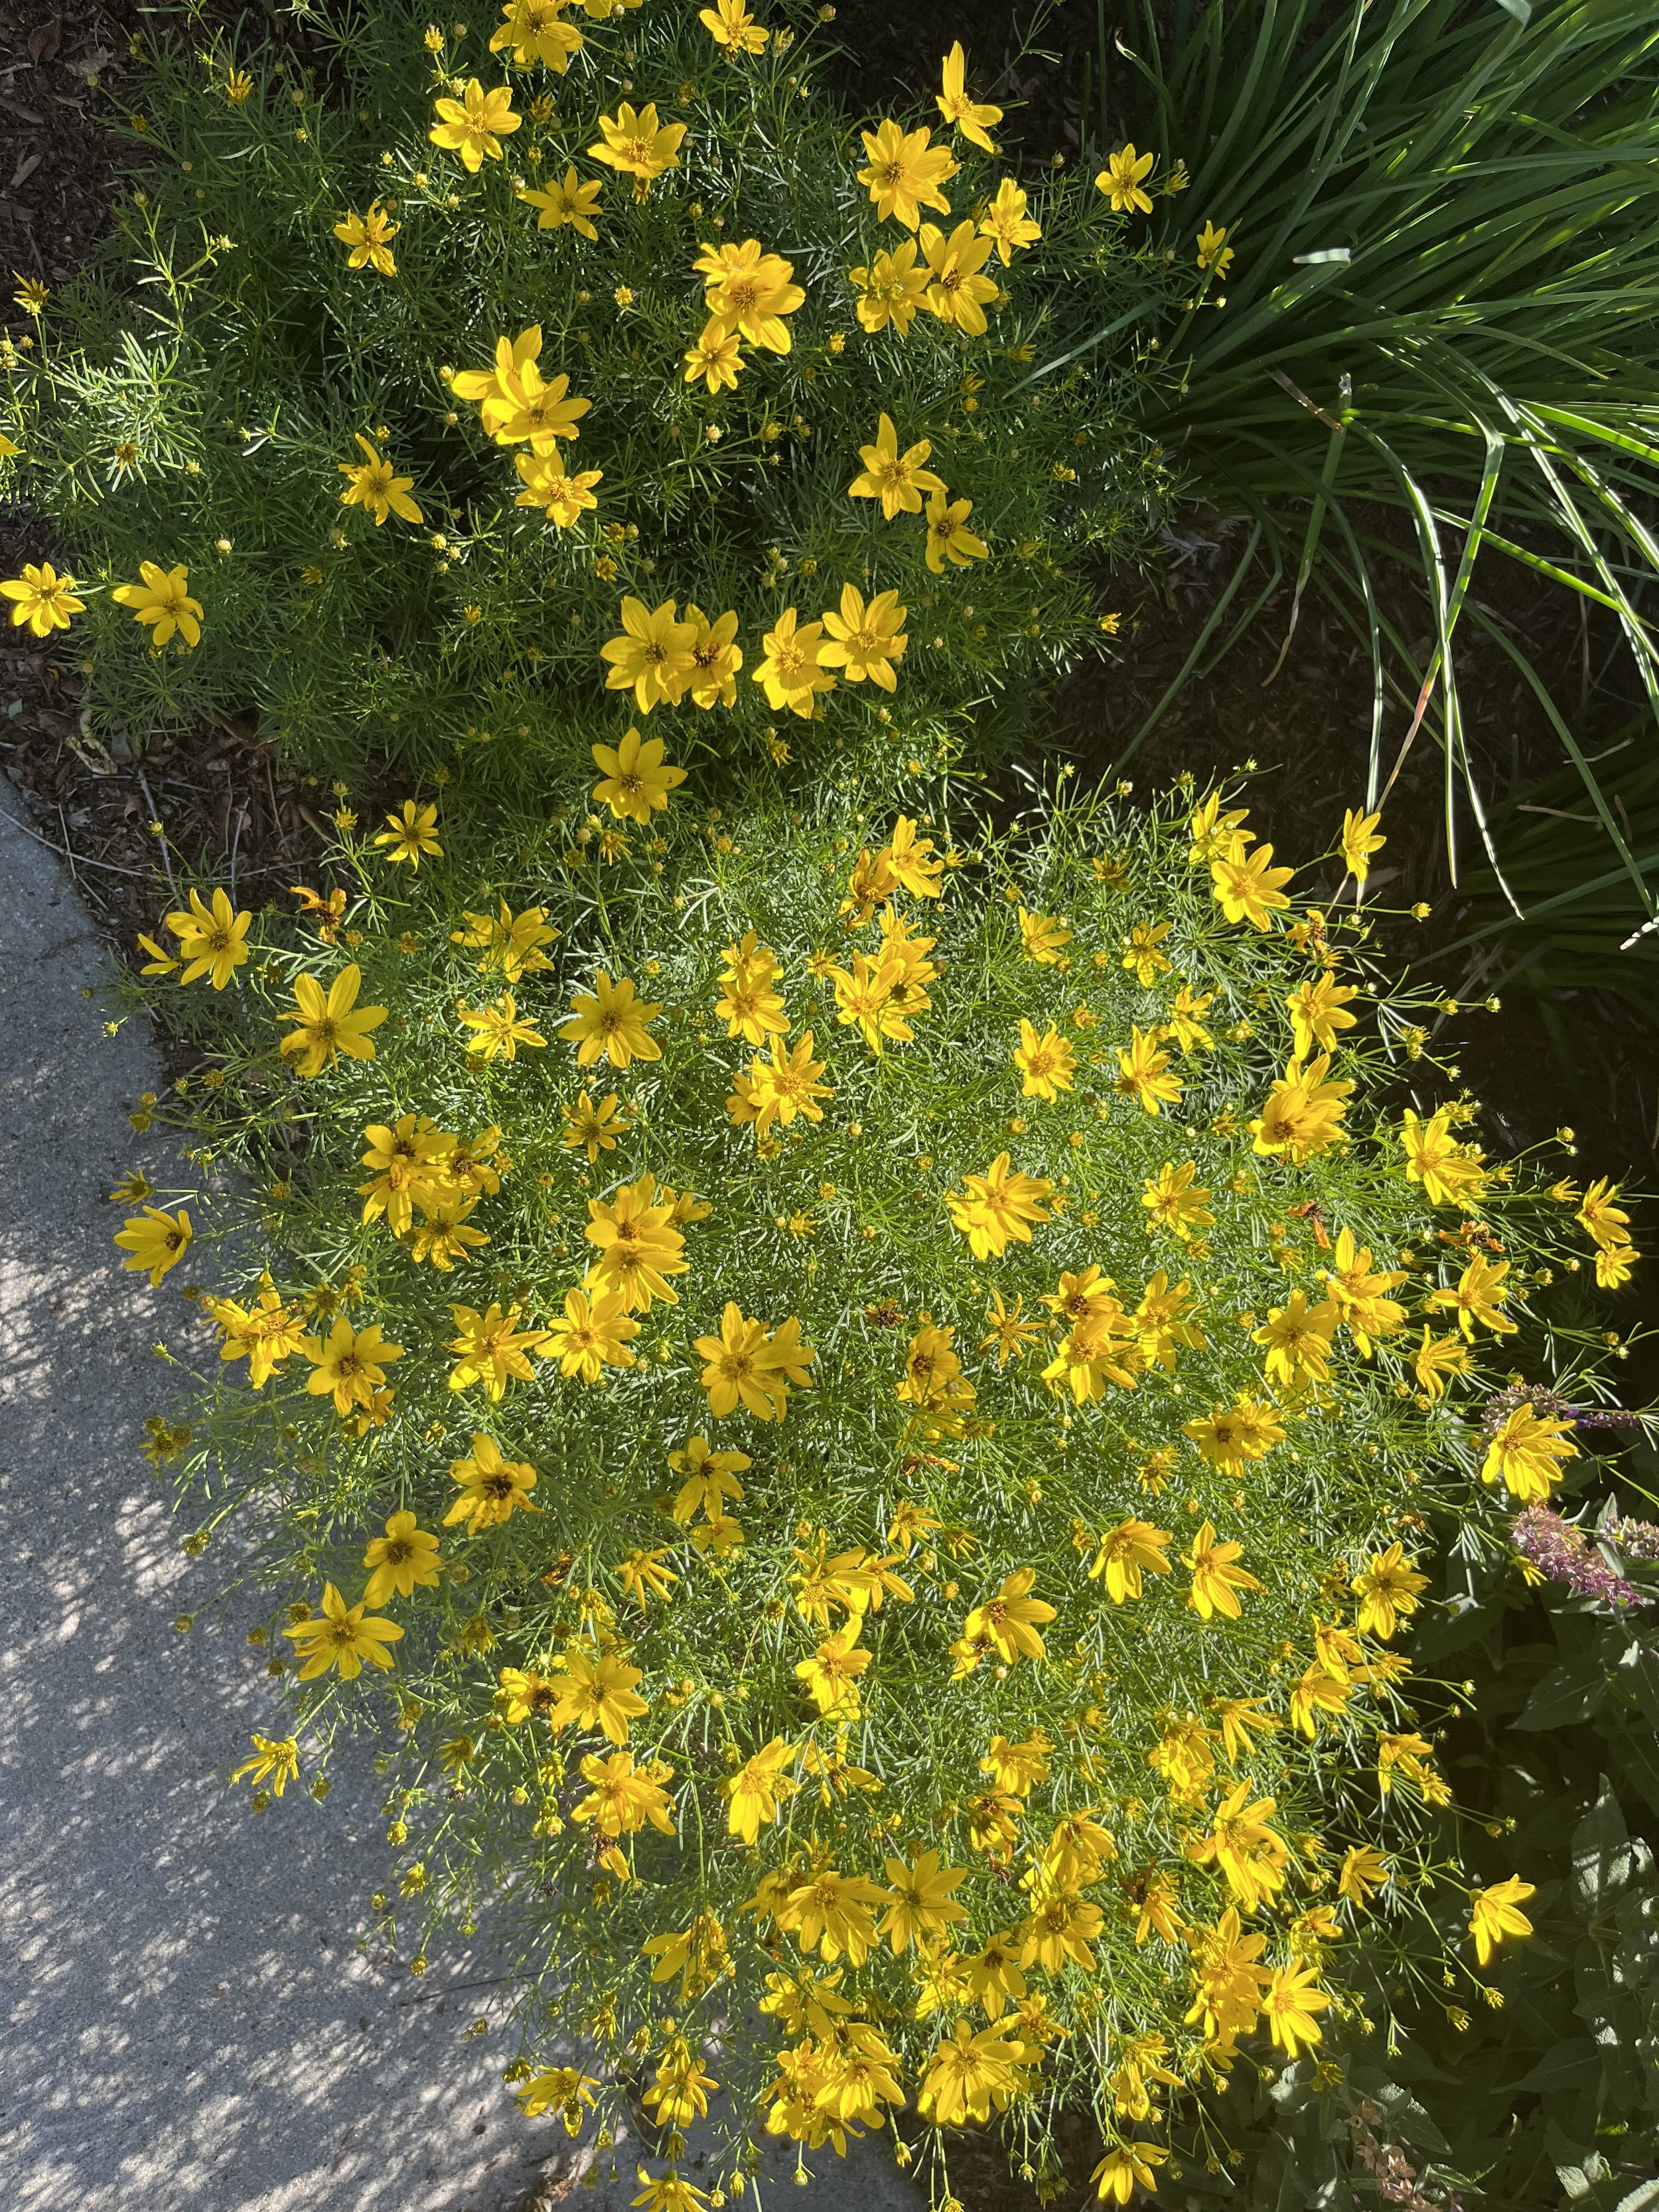
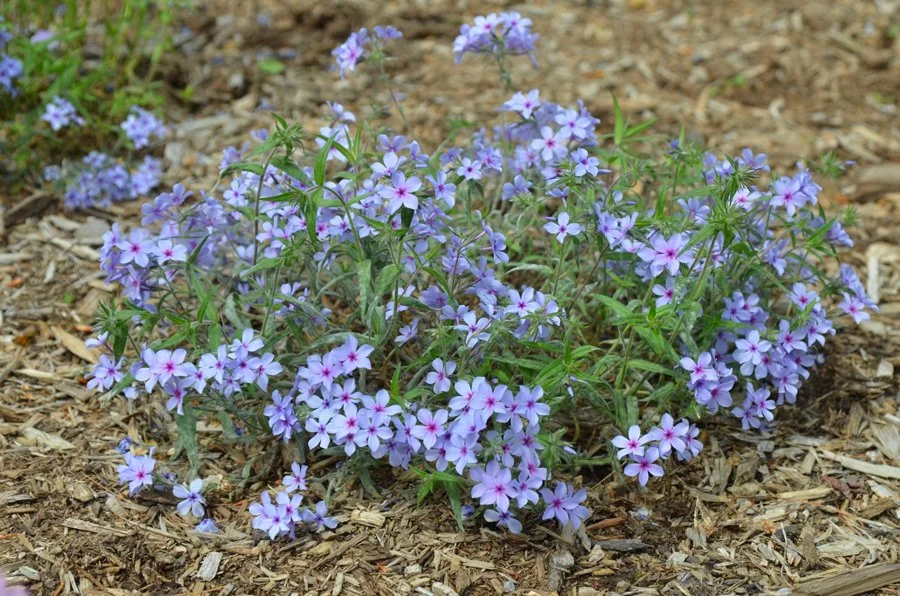
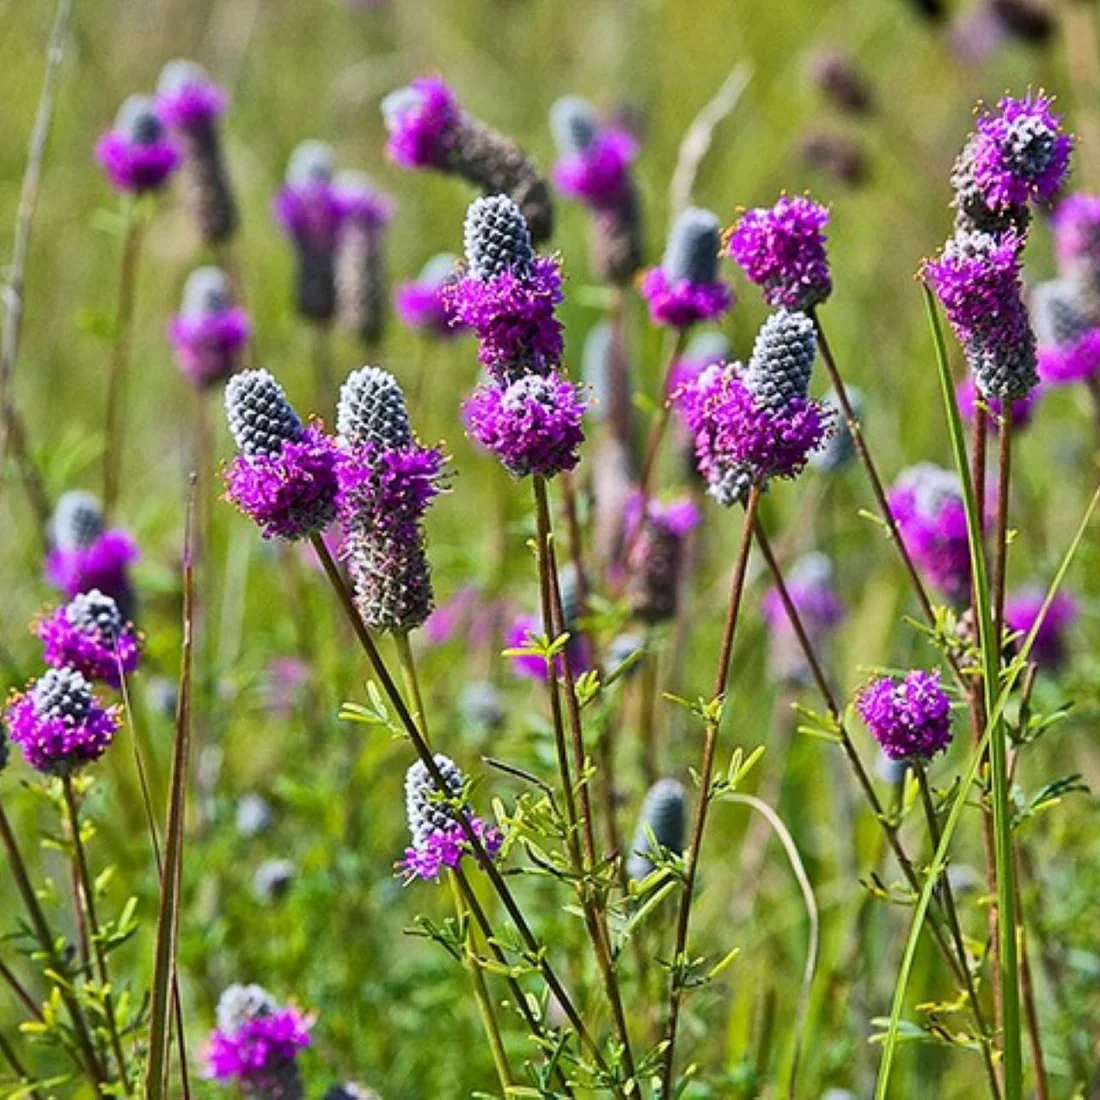
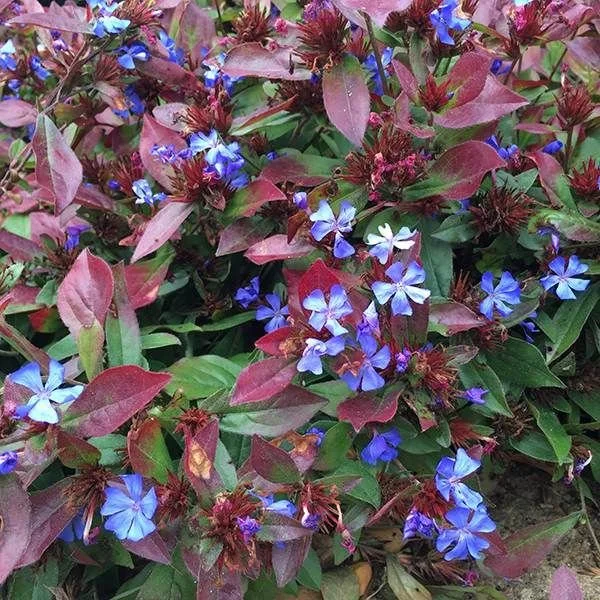
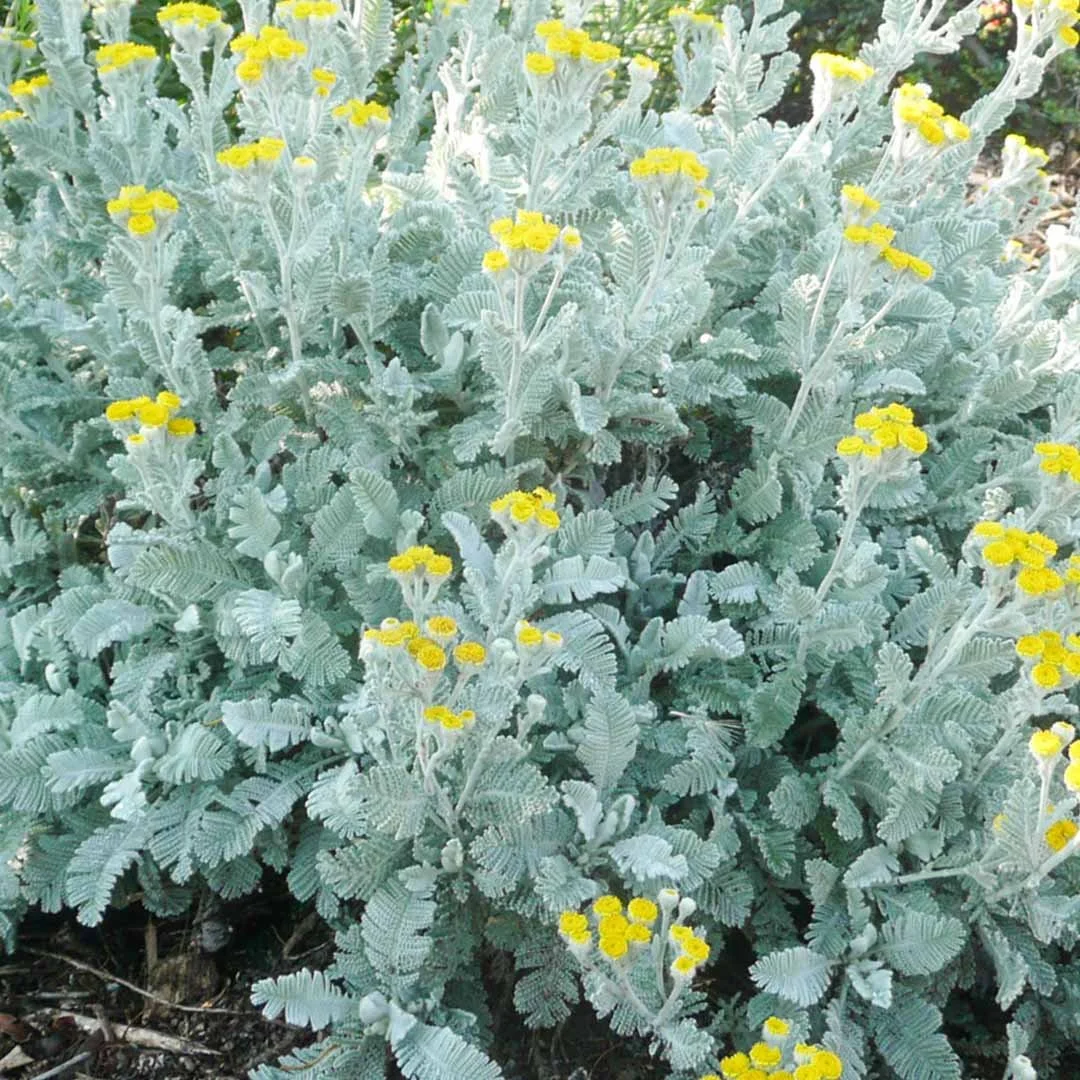
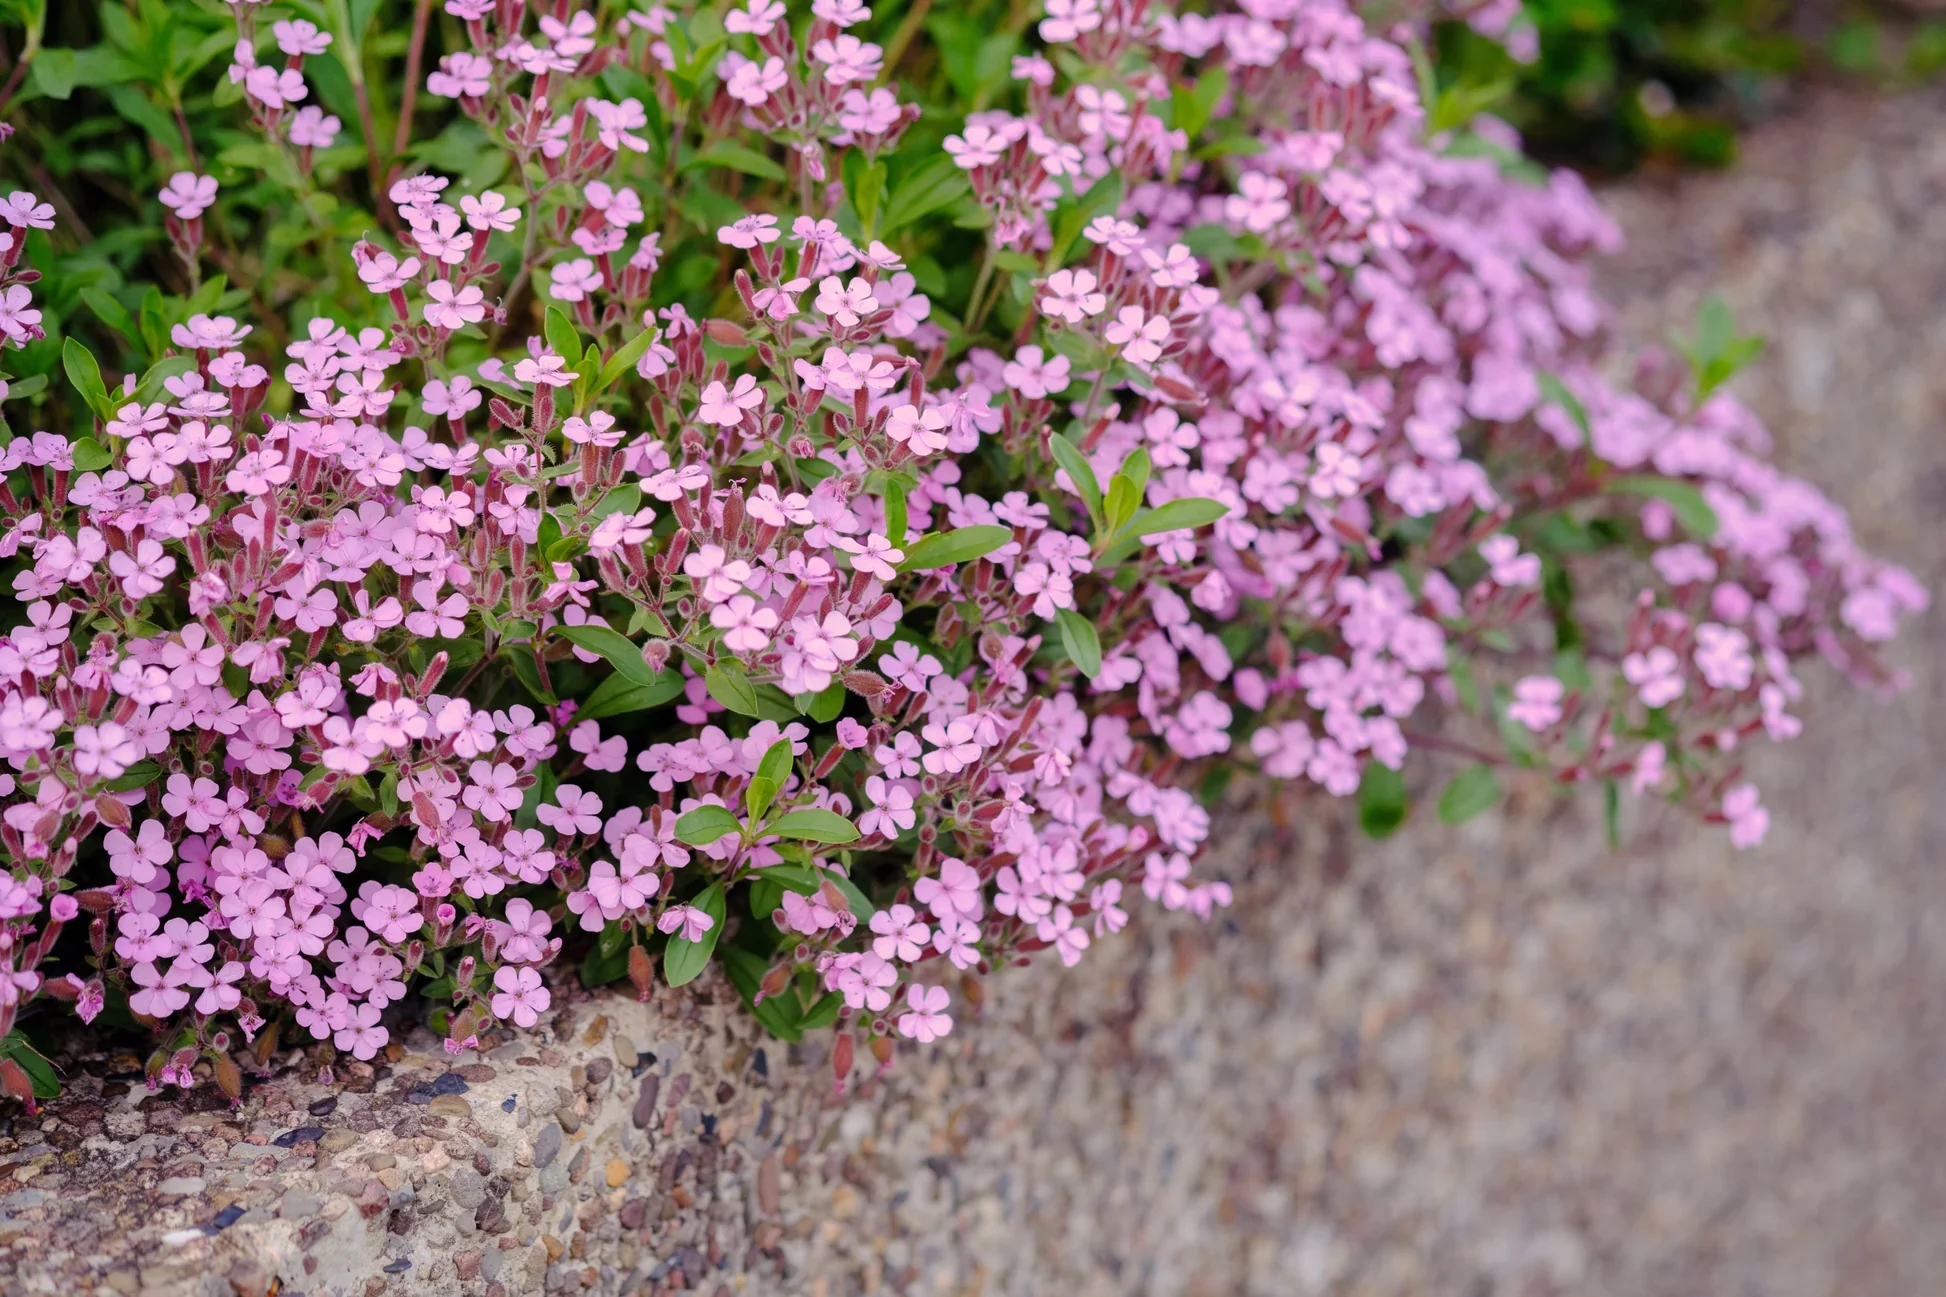
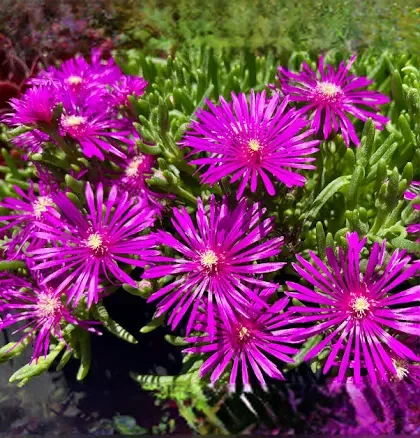
PLANT NAMES + PICTURES | NATIVE + NATURALIZED (ADAPTED) XERISCAPE THEME
Entrance Corner

FRONT WINDOW GARDEN
FRONT WINDOW GARDEN + STEP PATH

SOUTH OF DRIVE
UNDER MATURE MAPLE TREE
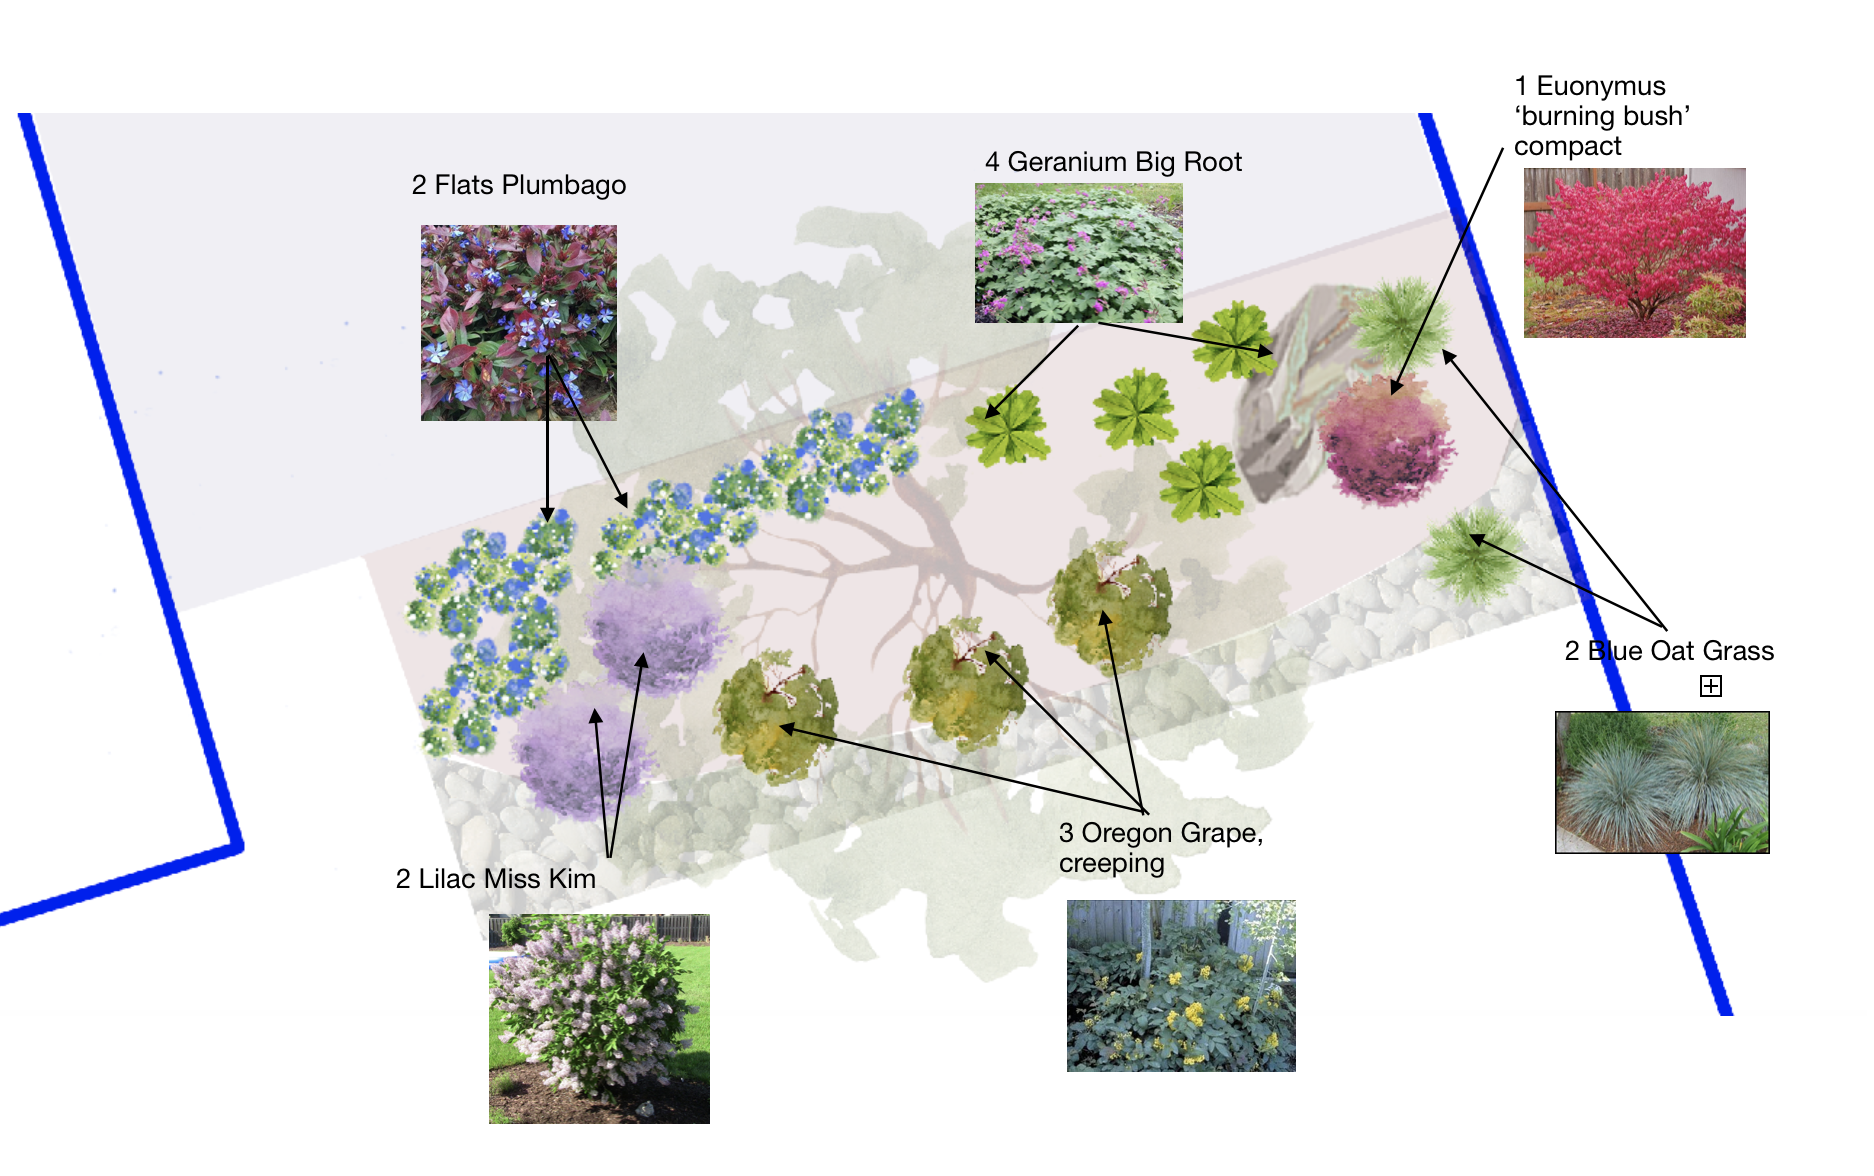
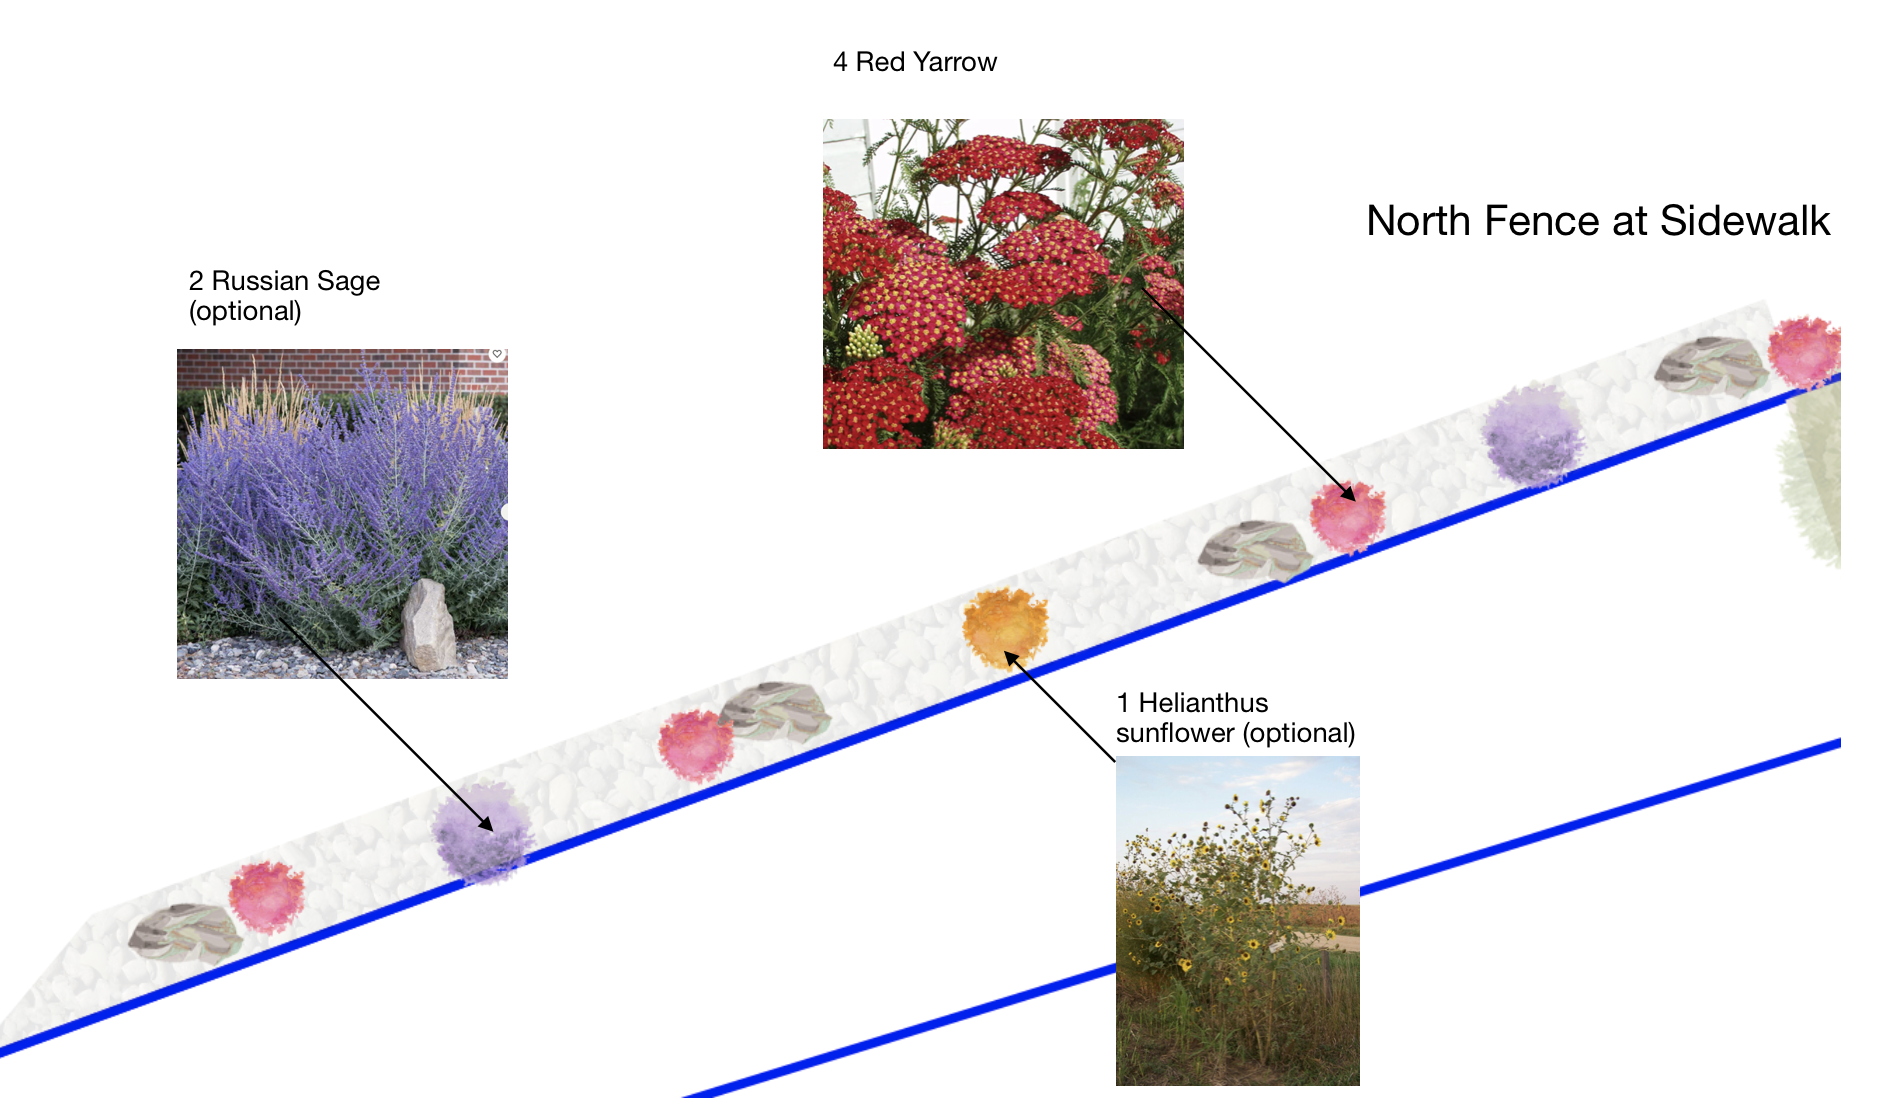
North Fence
Full View
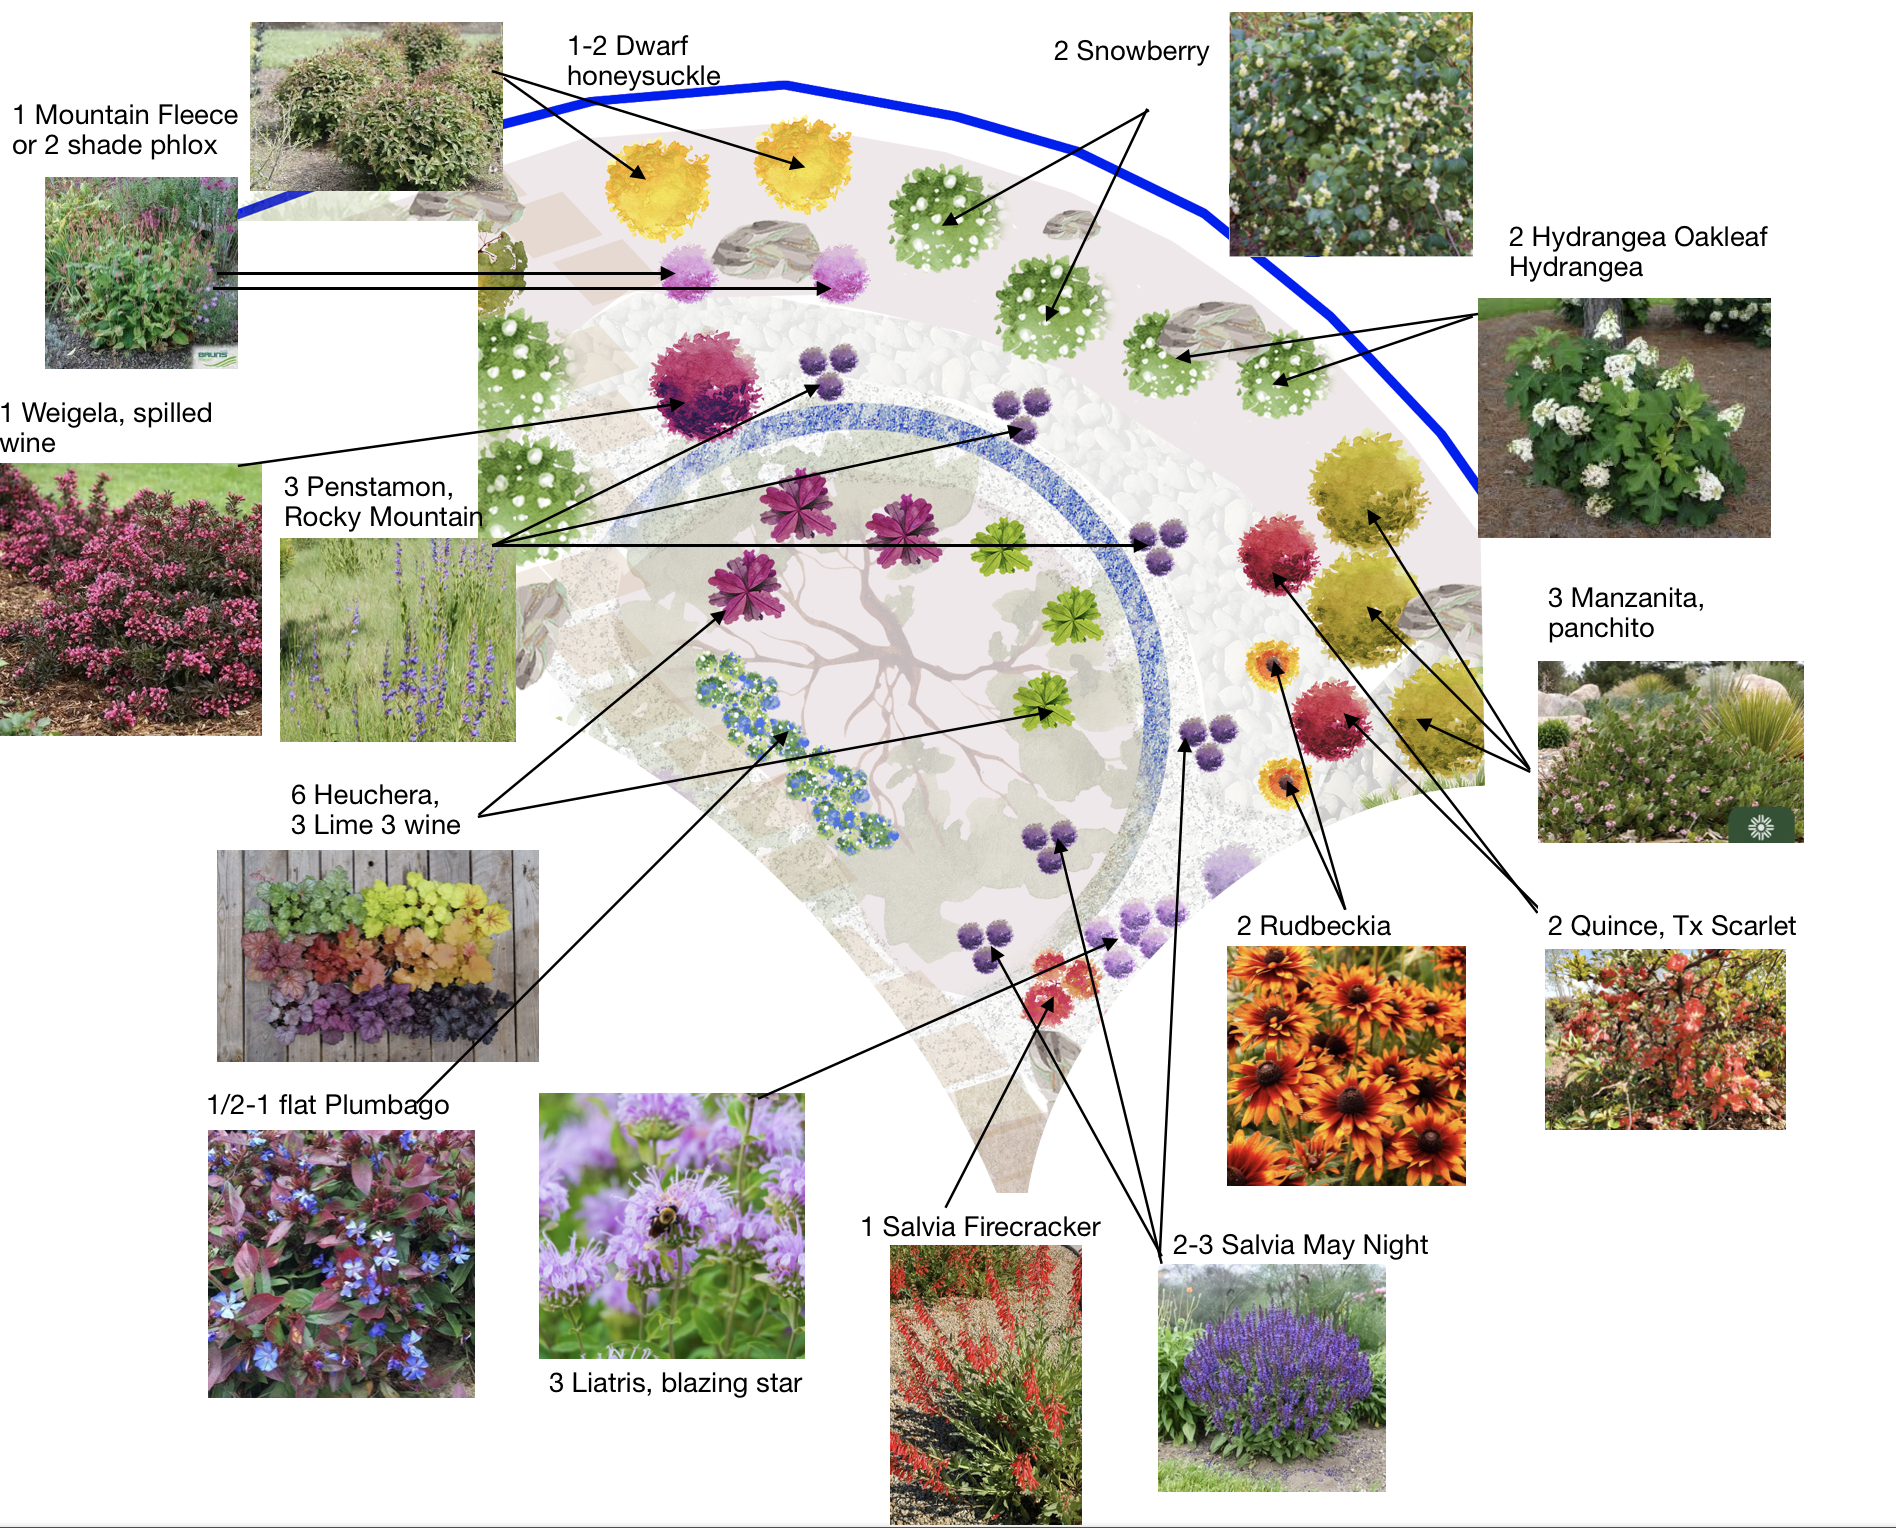
Your Plant SCHEDULE
Botanical Names | QUANTITY + DETAILS
BACKGROUND COLOR KEY
WHITE = CONFIRMED AS OF LATE JULY 2026 (BLUE TEXT = MOST RECENT UPDATE)
YELLOW = SOURCED FROM A SECOND NURSERY
PINK = STILL SEARCHING FOR AVAILABILITY (OR WILL SUGGEST AN ALTERNATIVE)
FIND your plants by picture


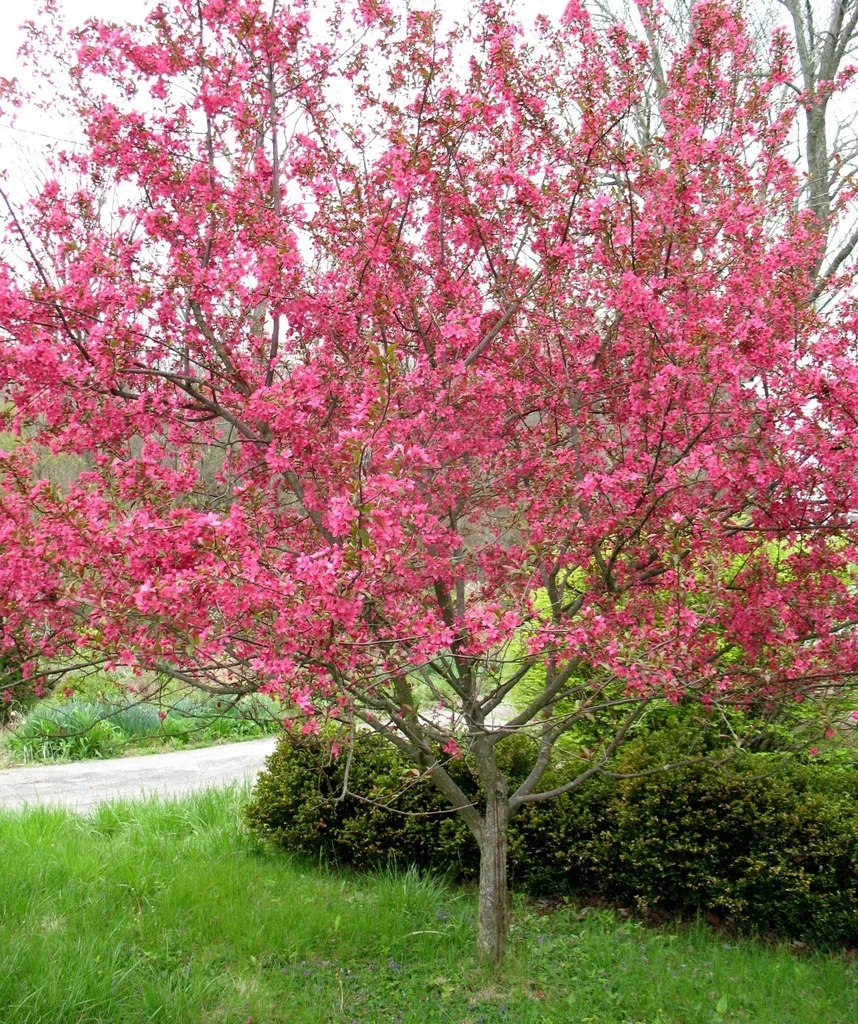


INSPIRATION
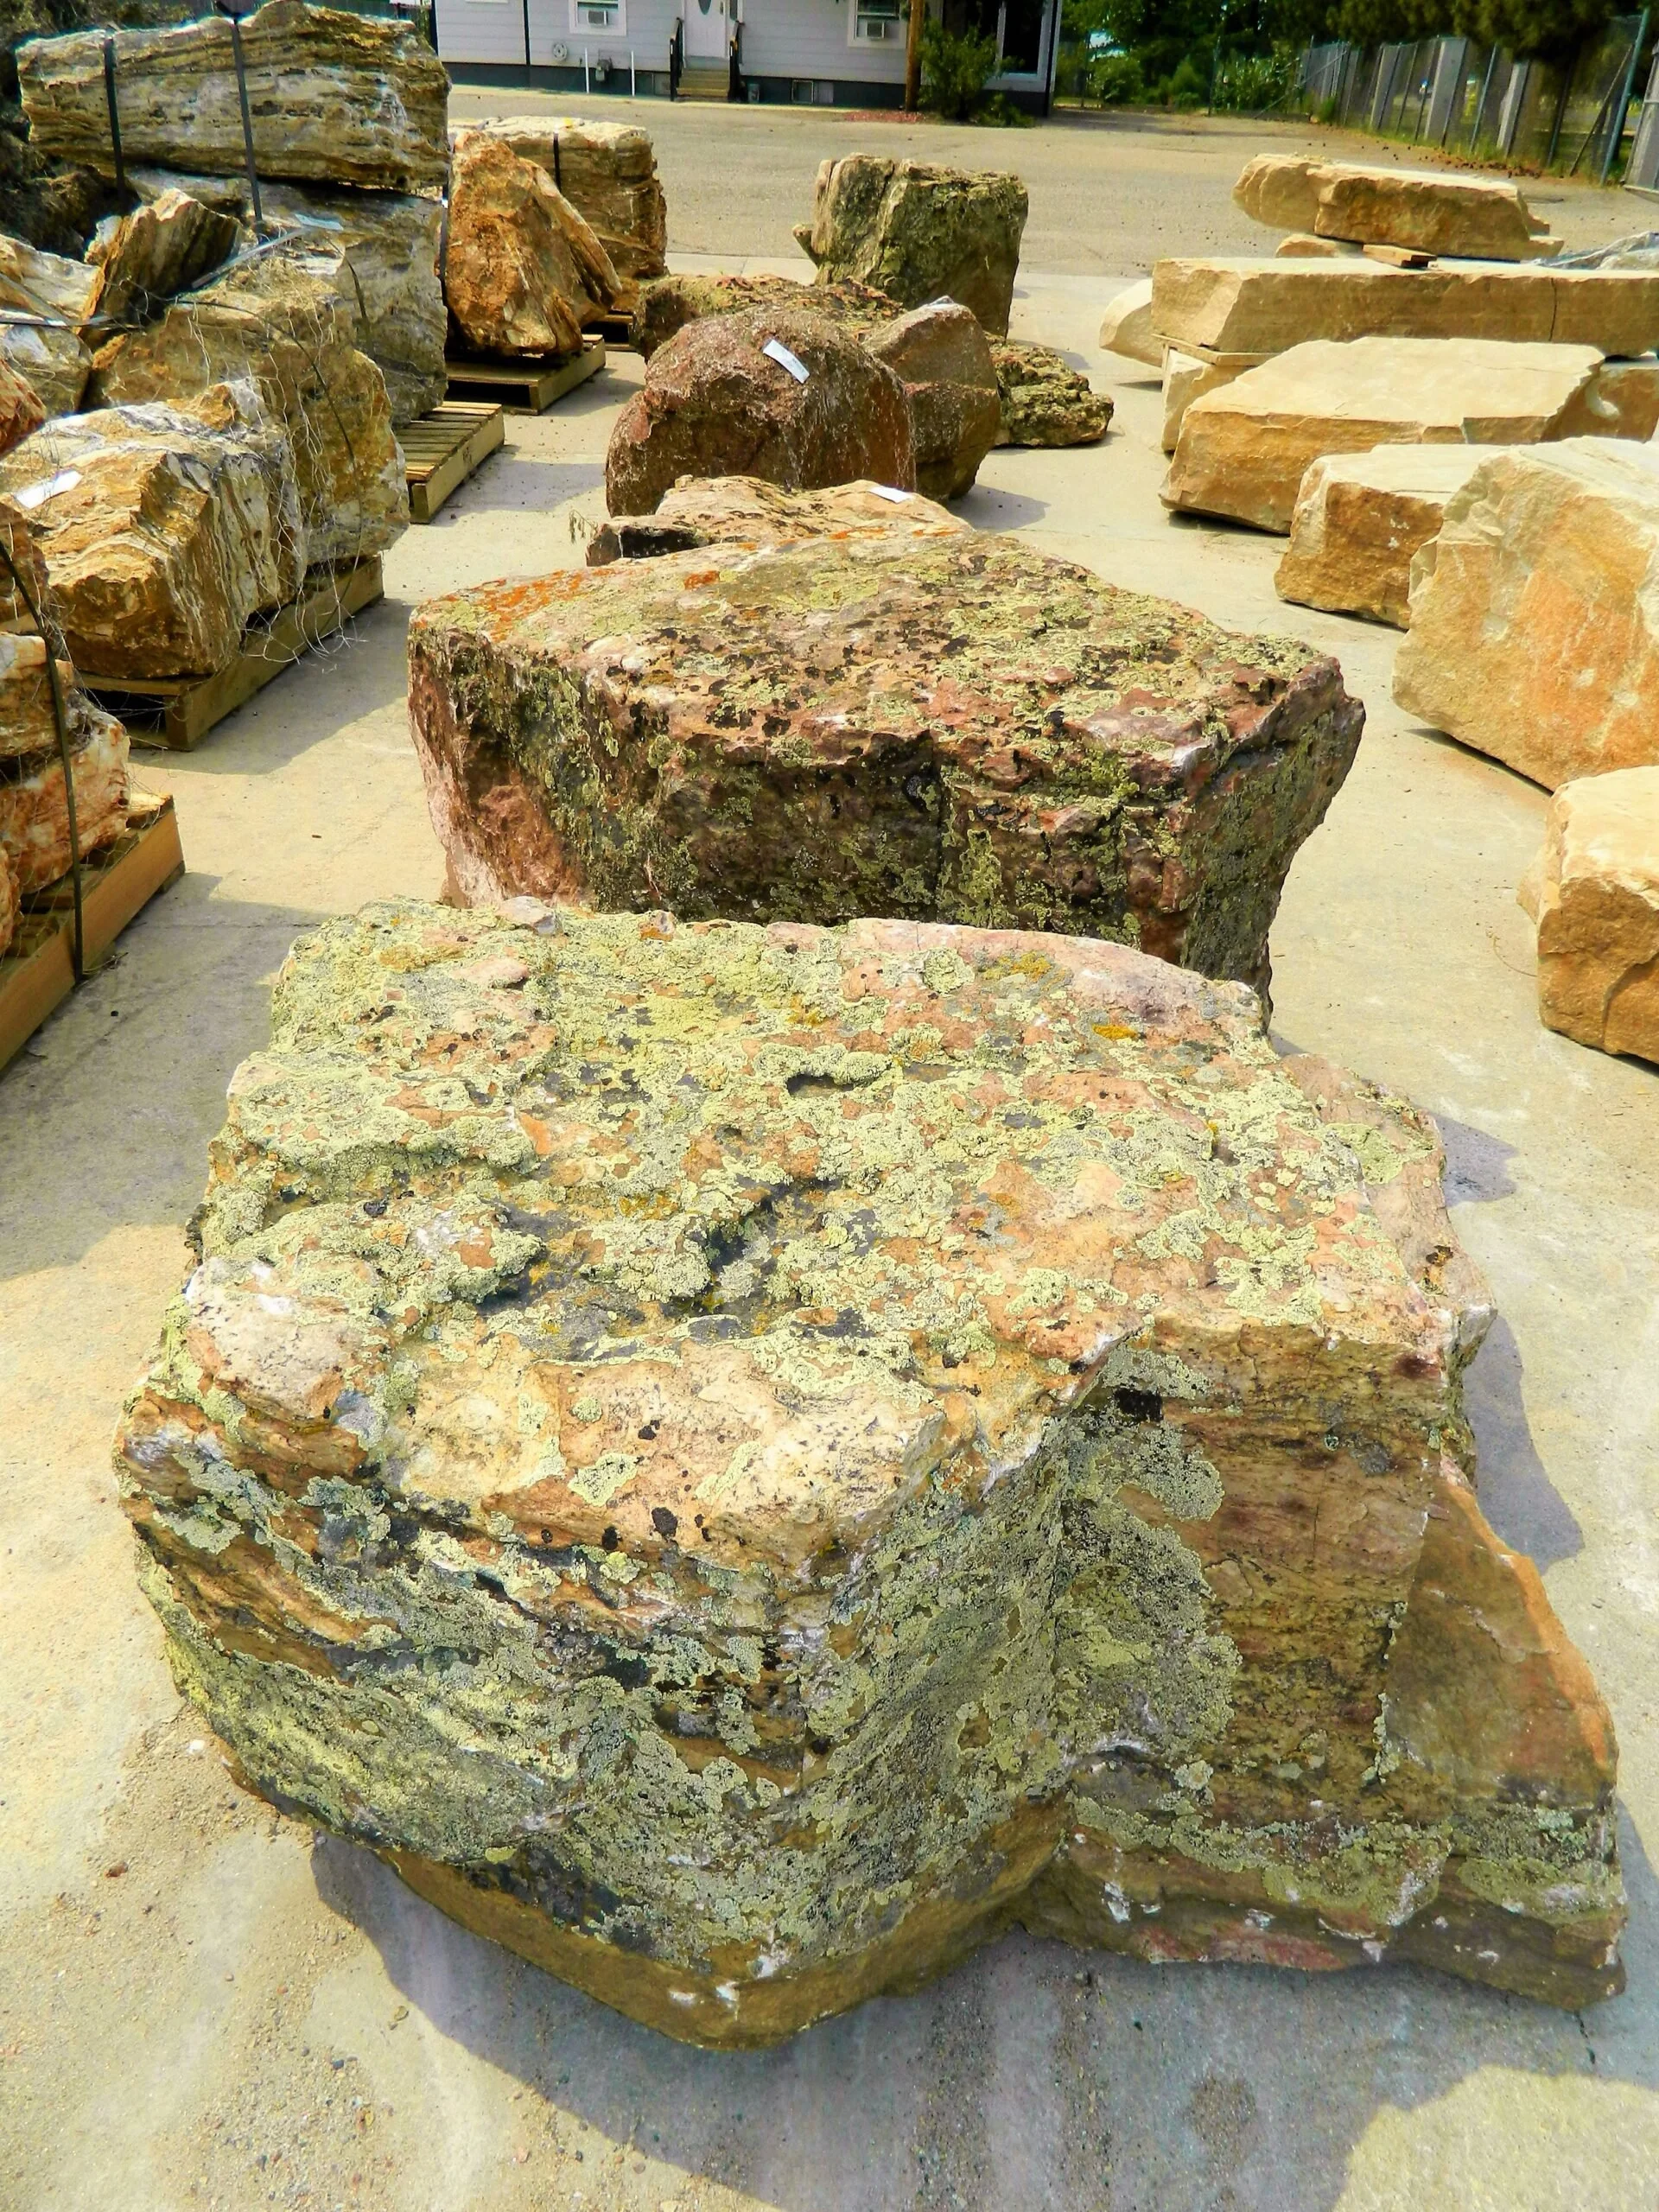
LOW DECORATIVE BOULDERS CREATING INTEREST WITHOUT BERMS IN NATIVE TERRAIN

STEP PATH THROUGH GARDEN WITH 1.5” ROCK AND SMALL BOULDERS ARTFULLY PLACED
VARIOUS HEIGHT SHRUBS SET IN BORDER GARDENS AND FLOWERS IN LOW XERIC GARDEN SPACE

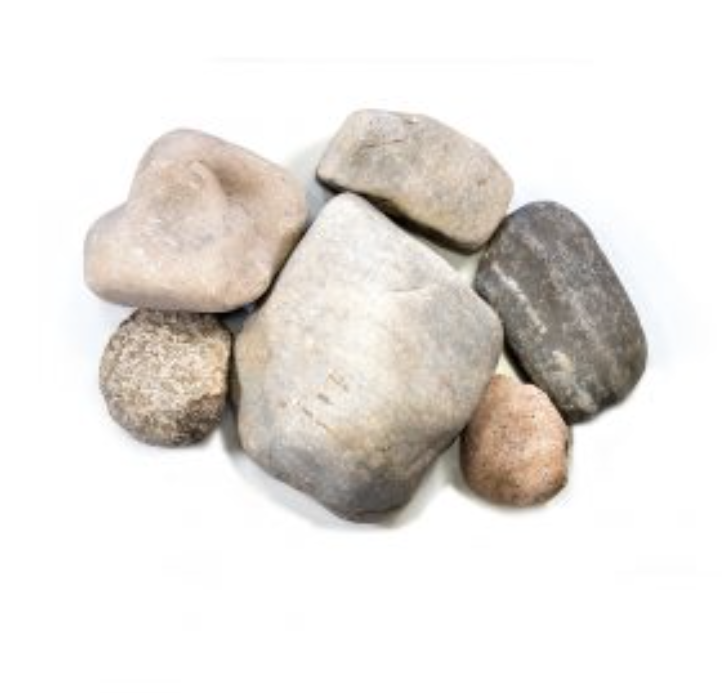
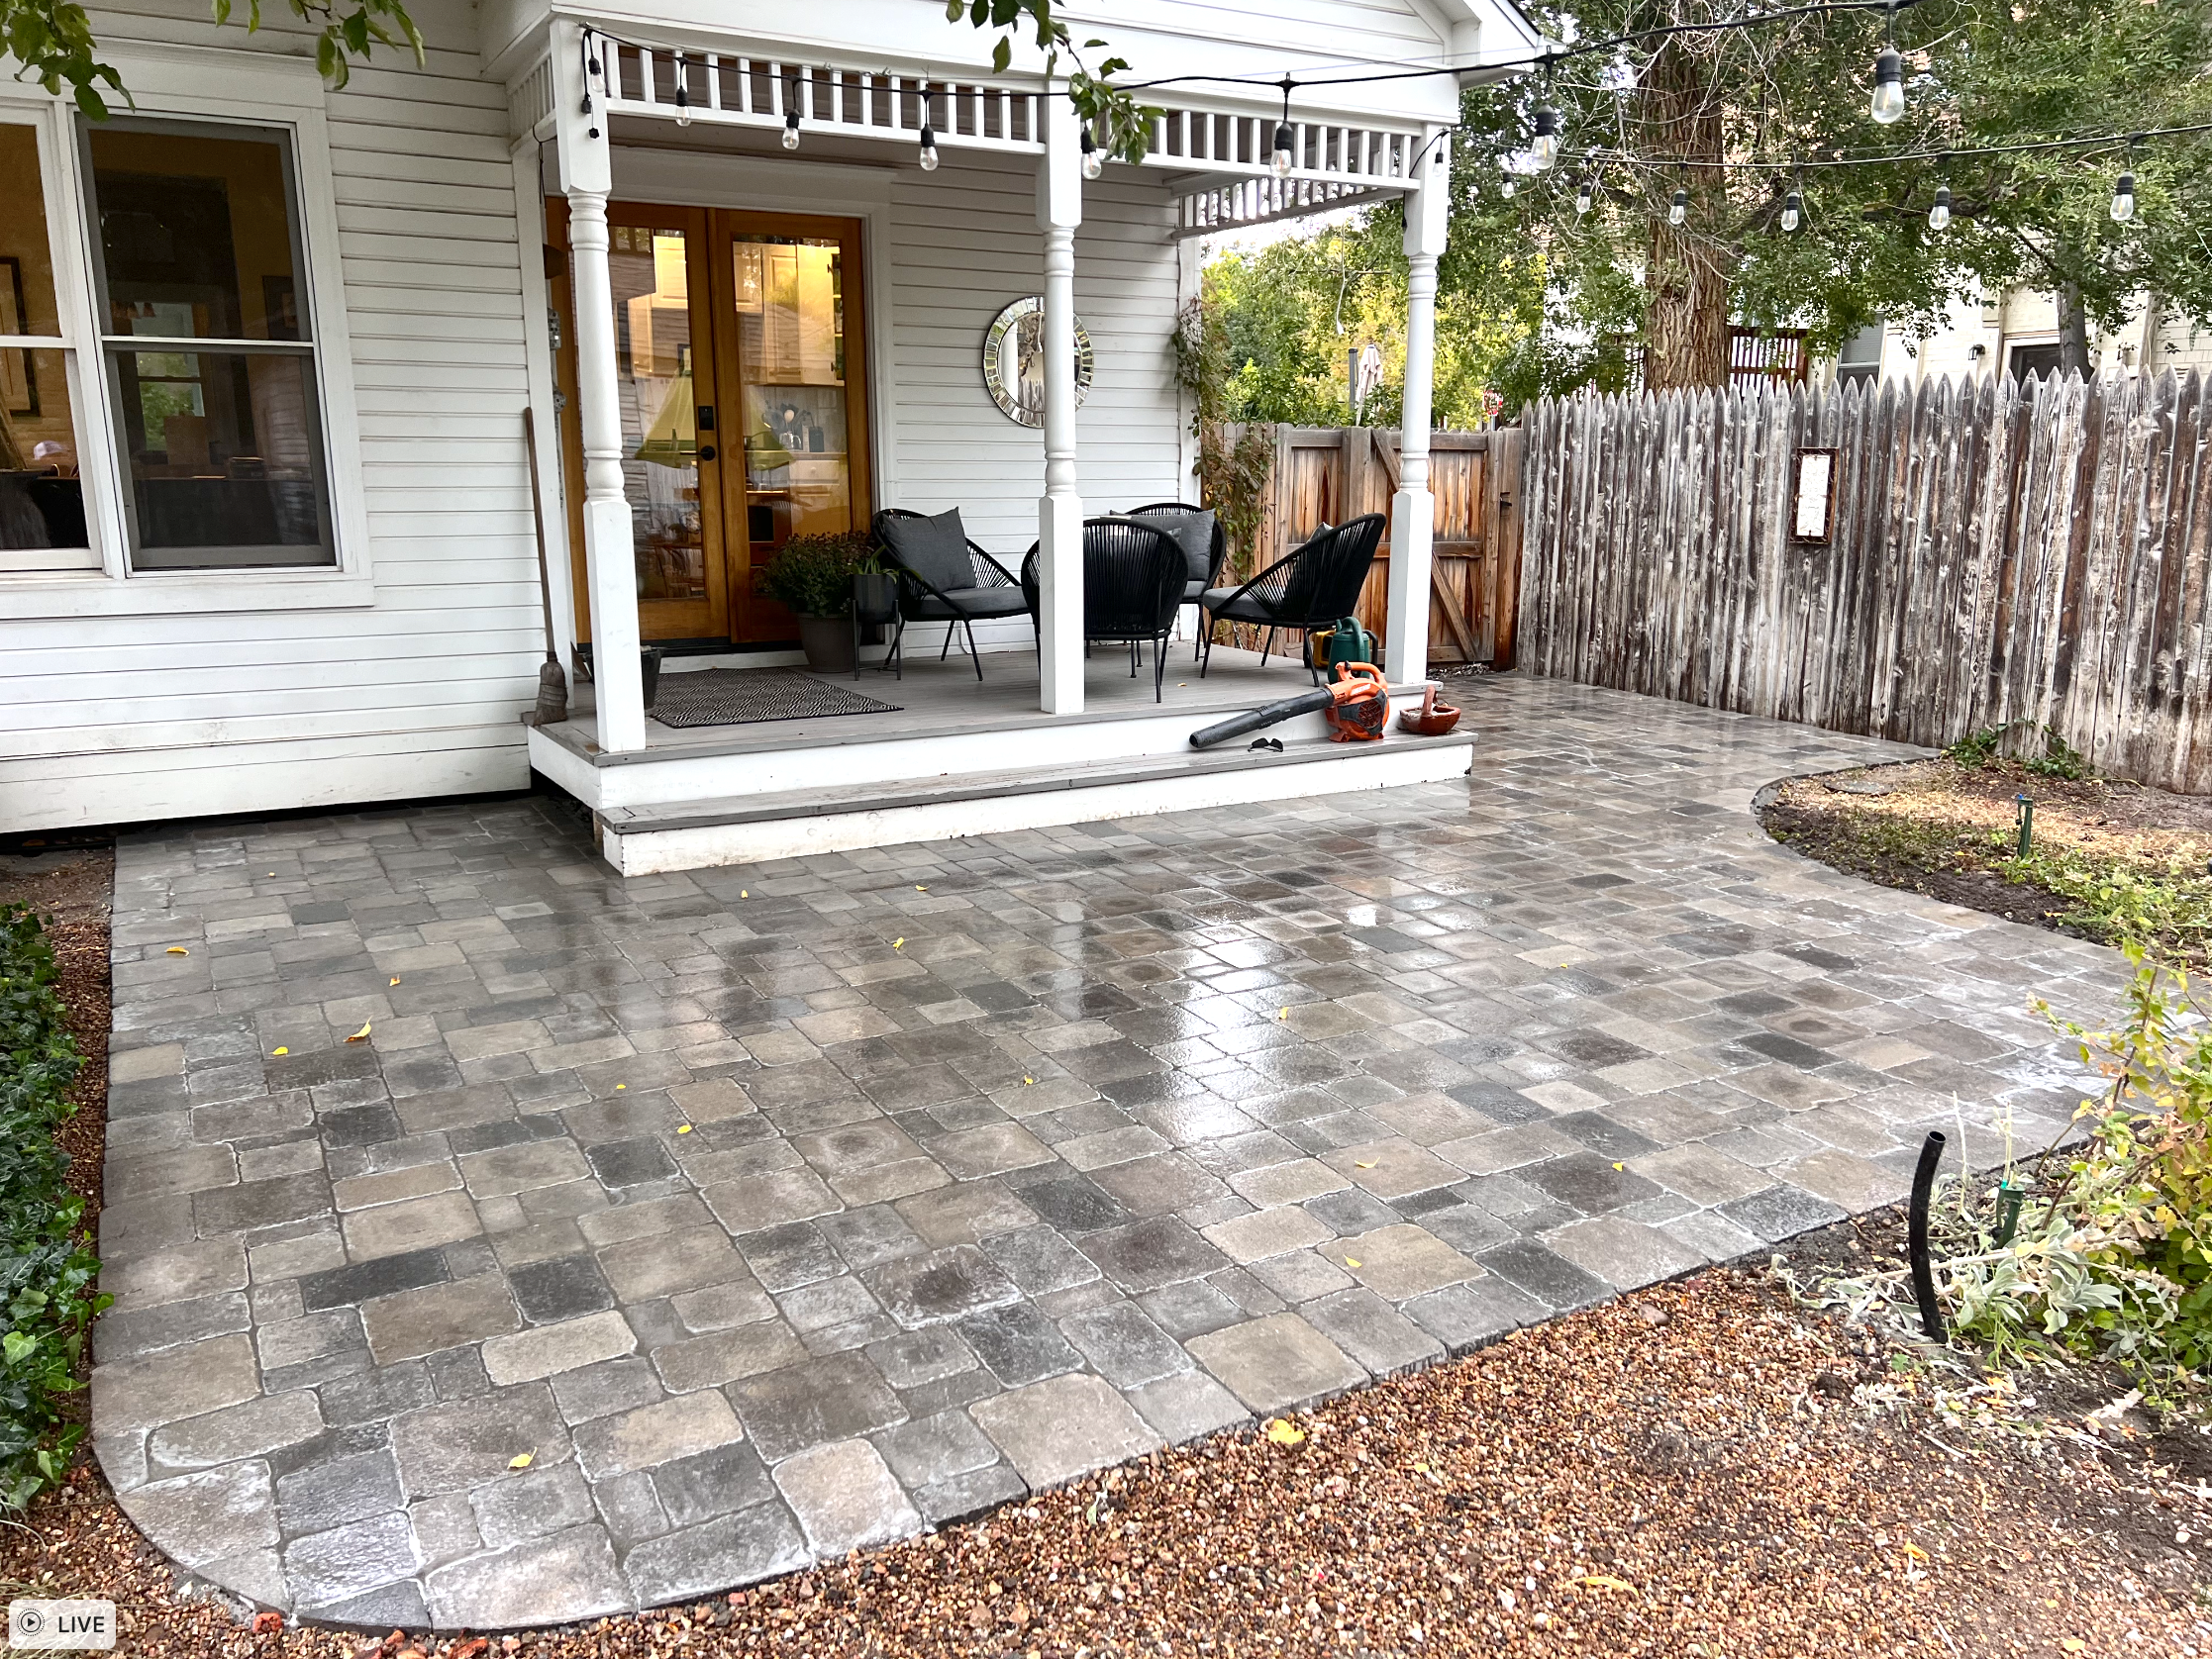
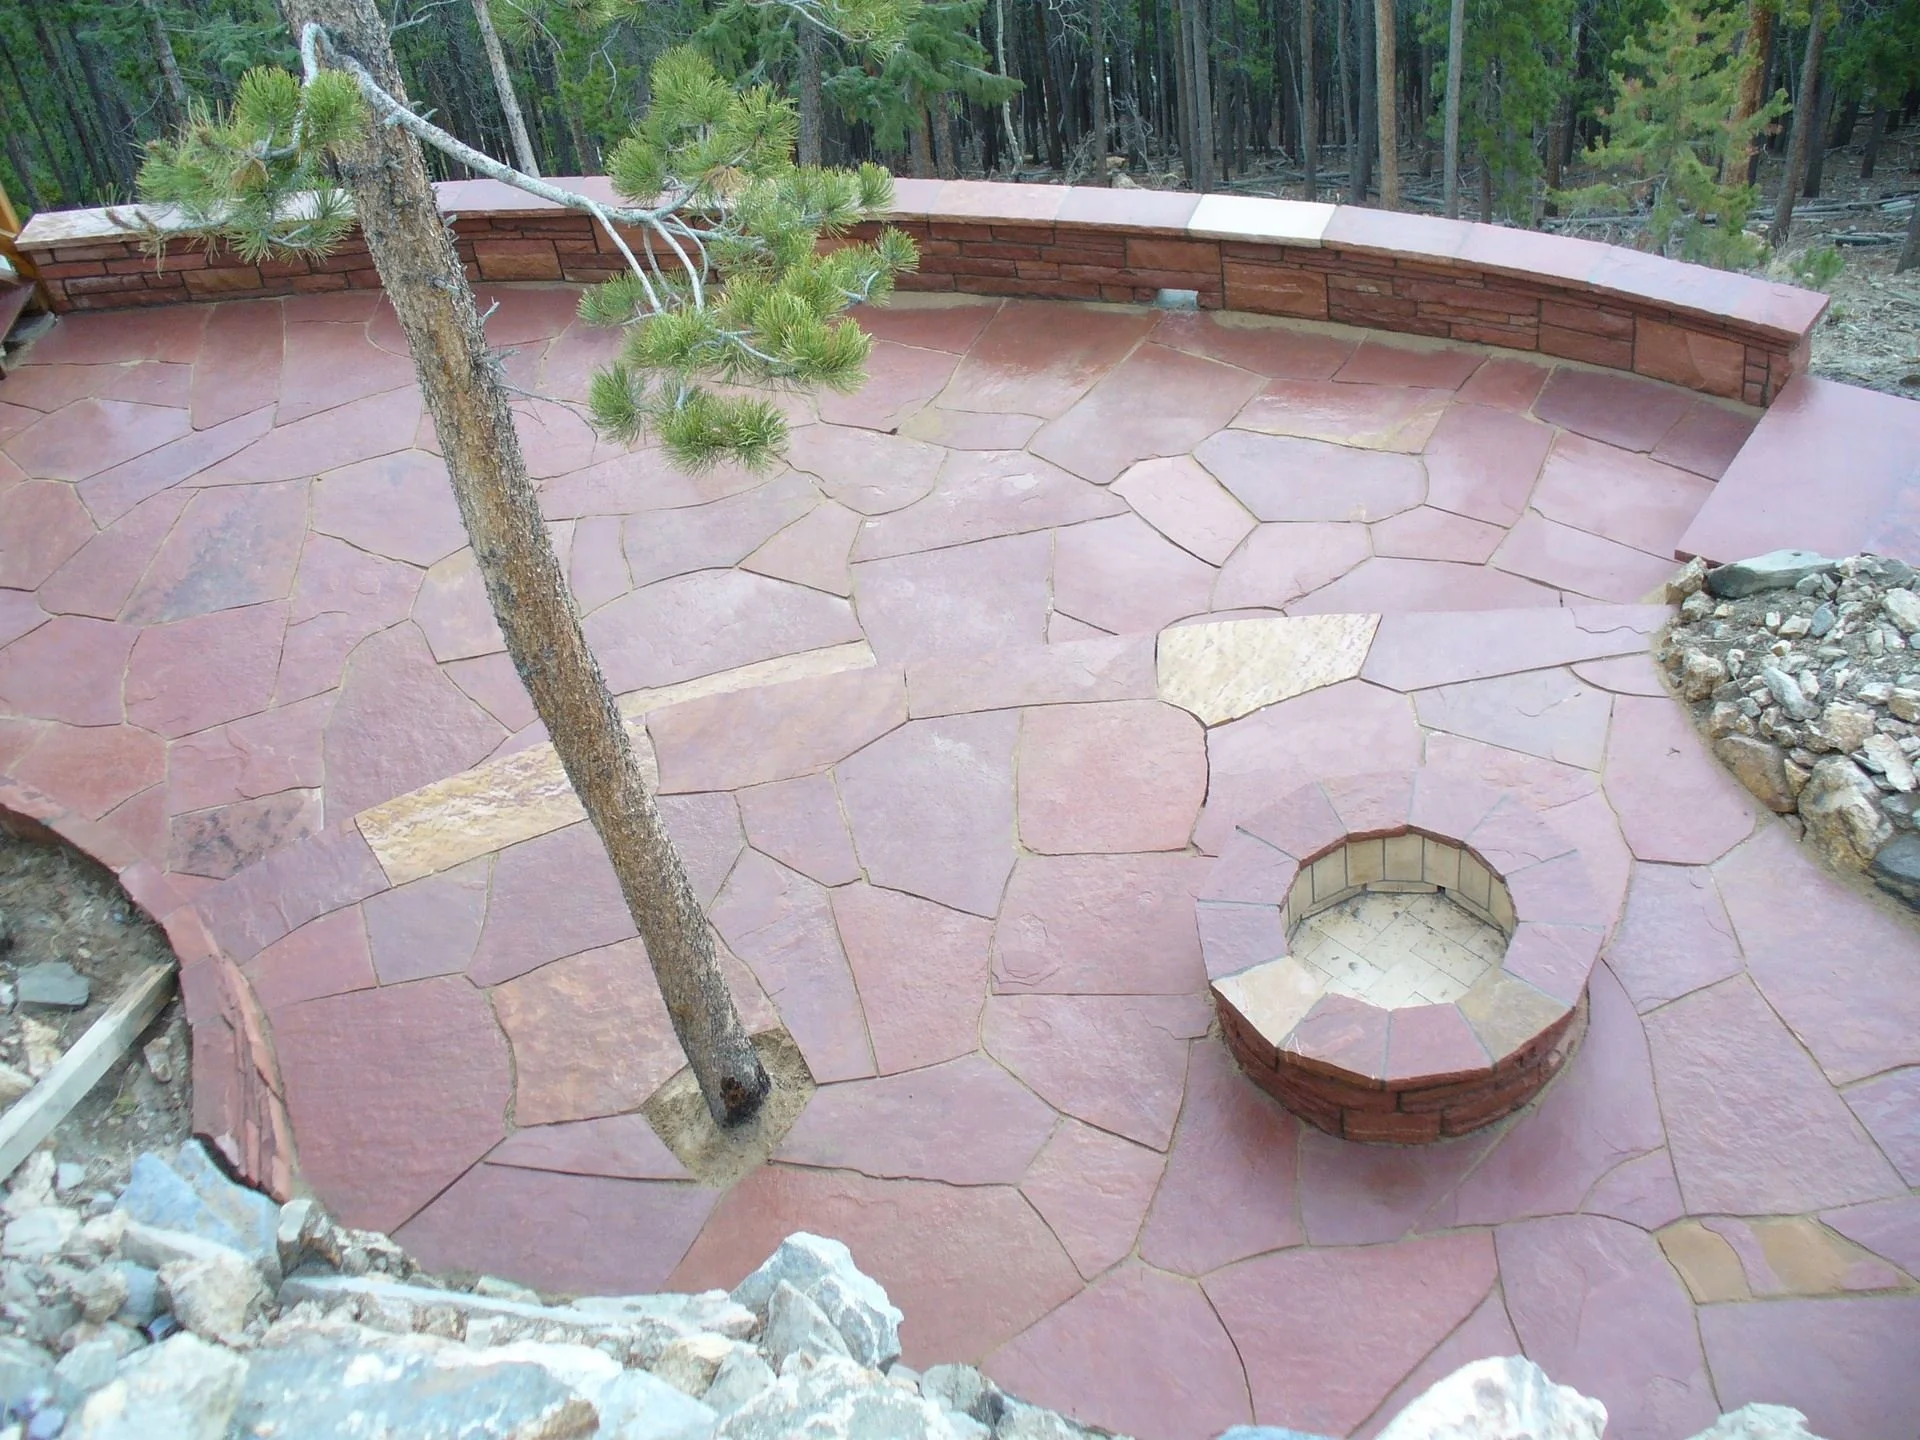
Hardscape
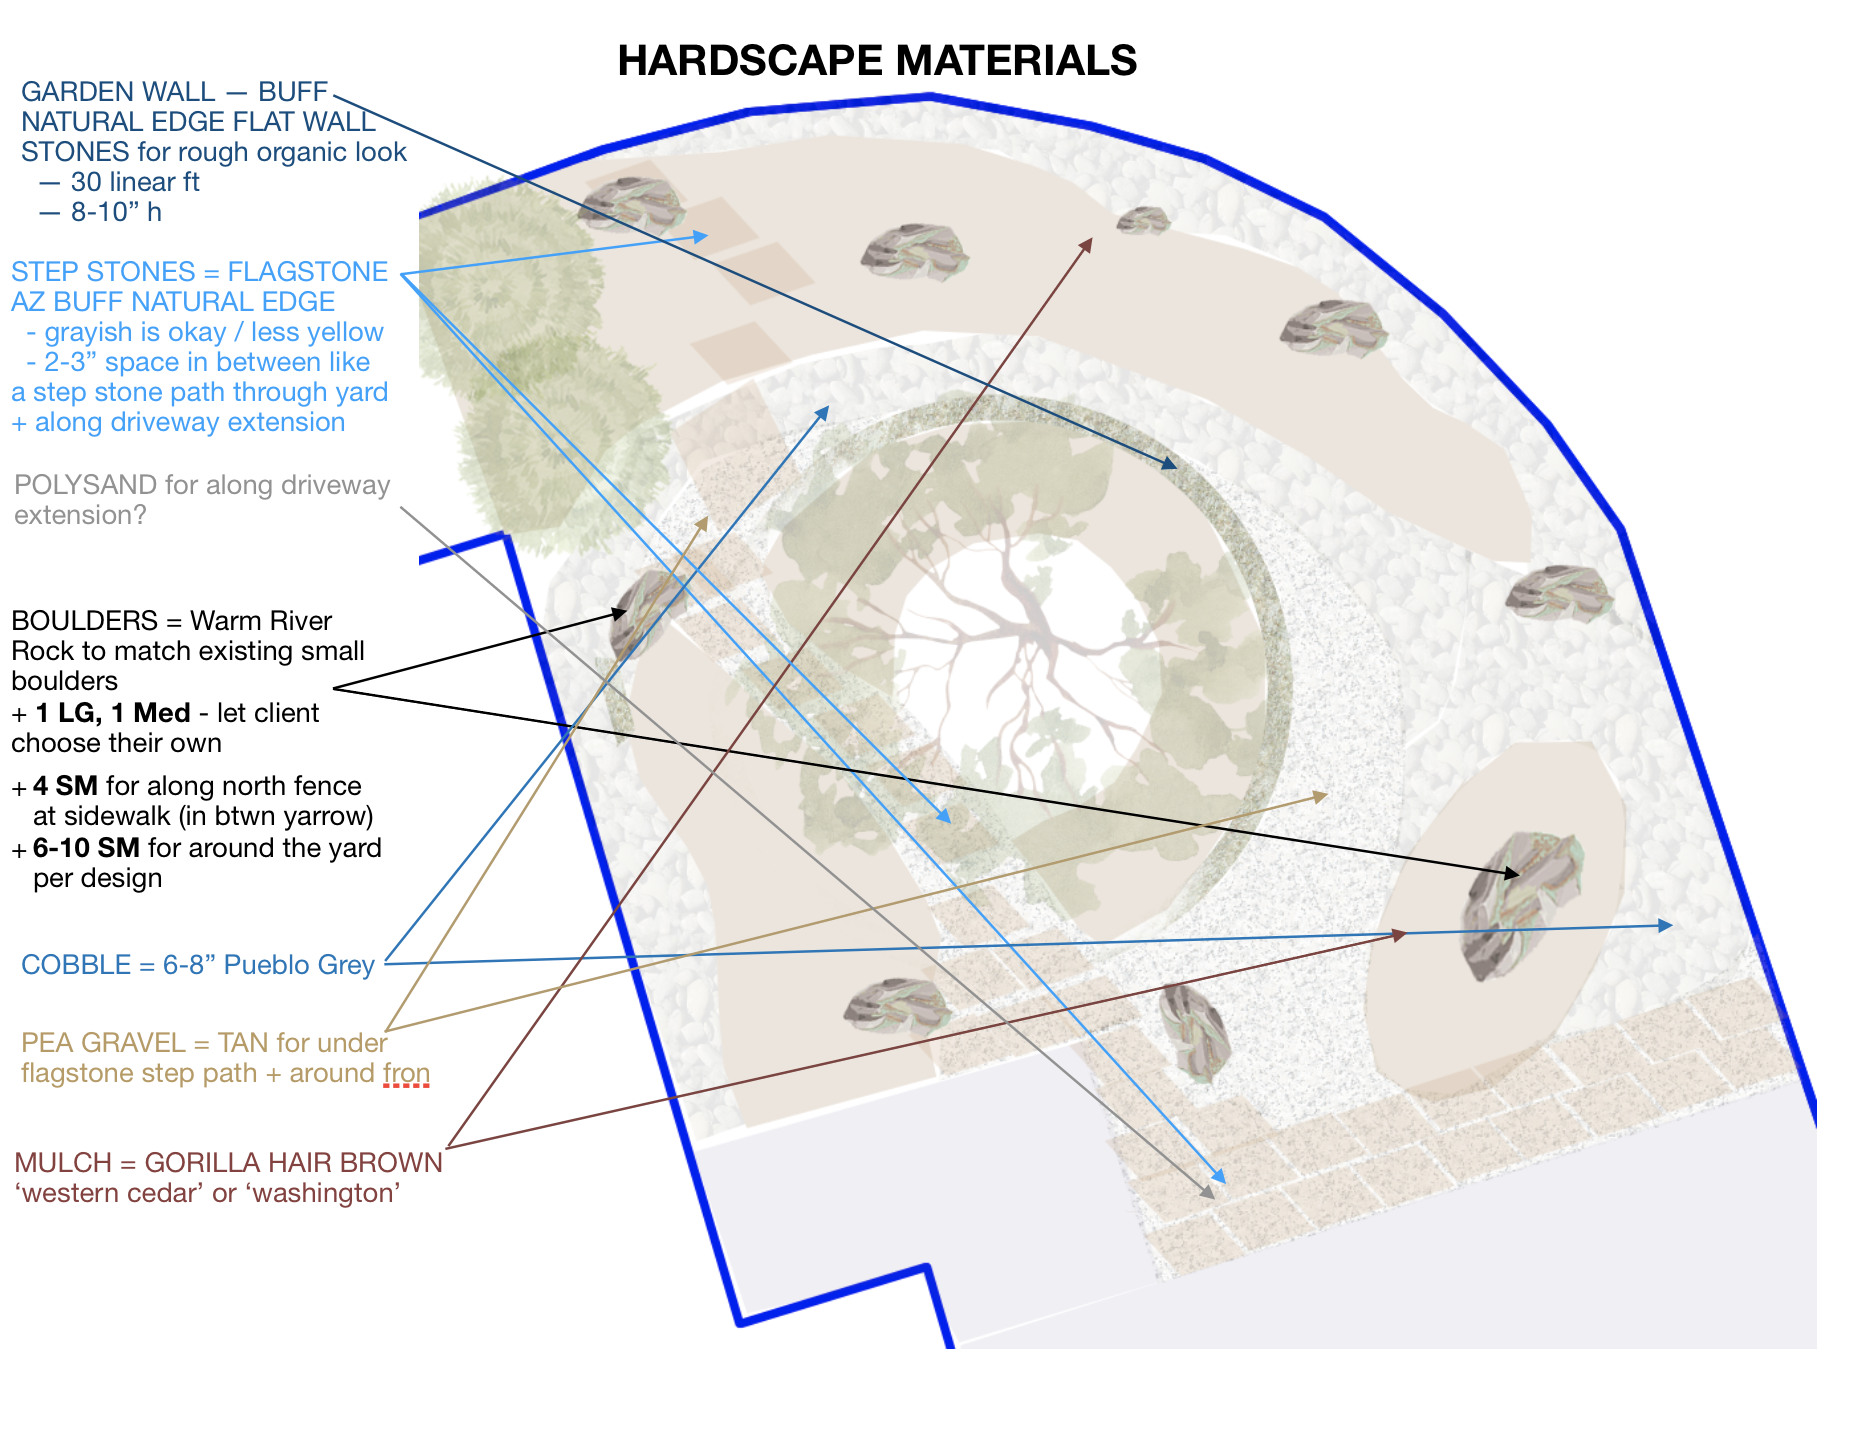
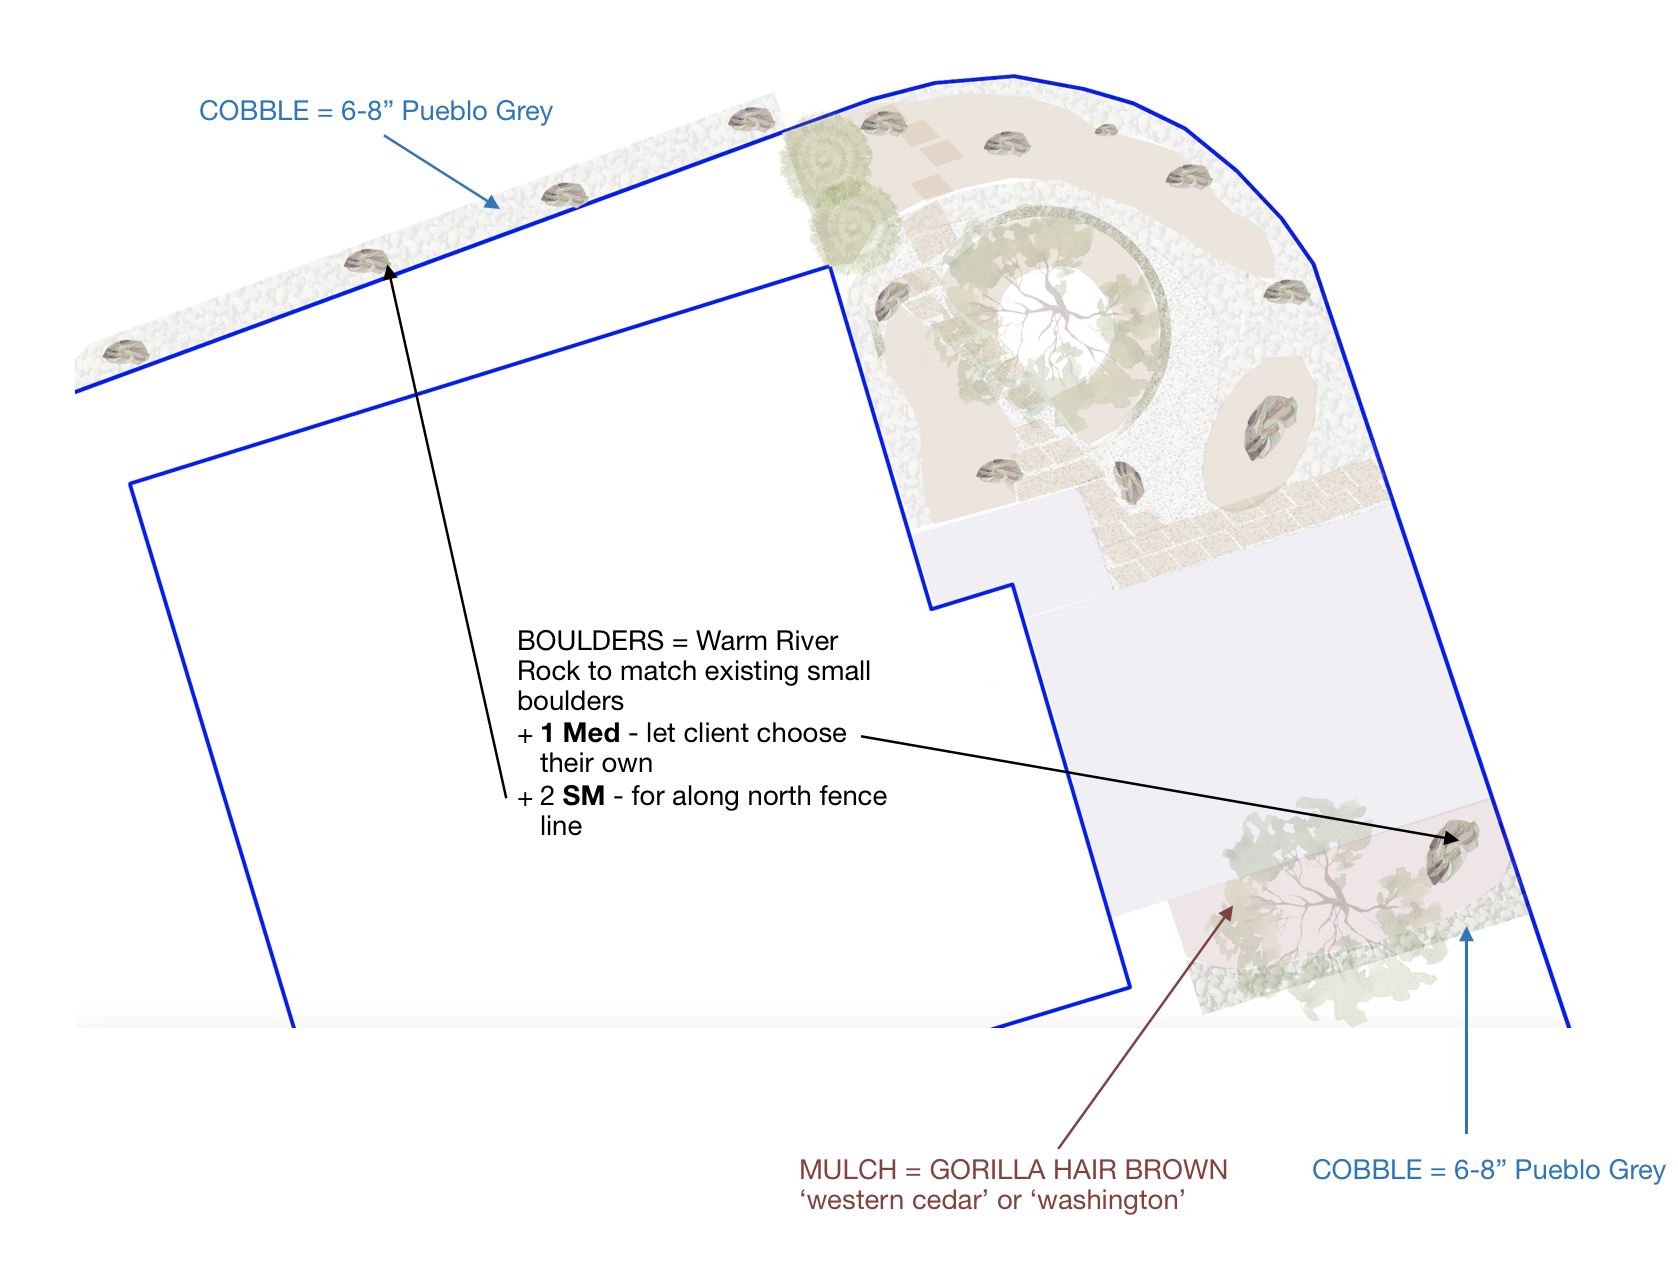
Materials
Find Your Materials By Picture


D I Y SECTION
Top 6 Tips For
1) SOIL
2) GROWING
3) DIY GARDEN CARE + Growing SESSIONS
4) FRUIT TREE GUILD
5) Nature Walks
6) LOCAL VENDORS
SOUNDS LIKE FUN ~ LET’S GET GOING . . .

How To Assess + Amend Your Soil
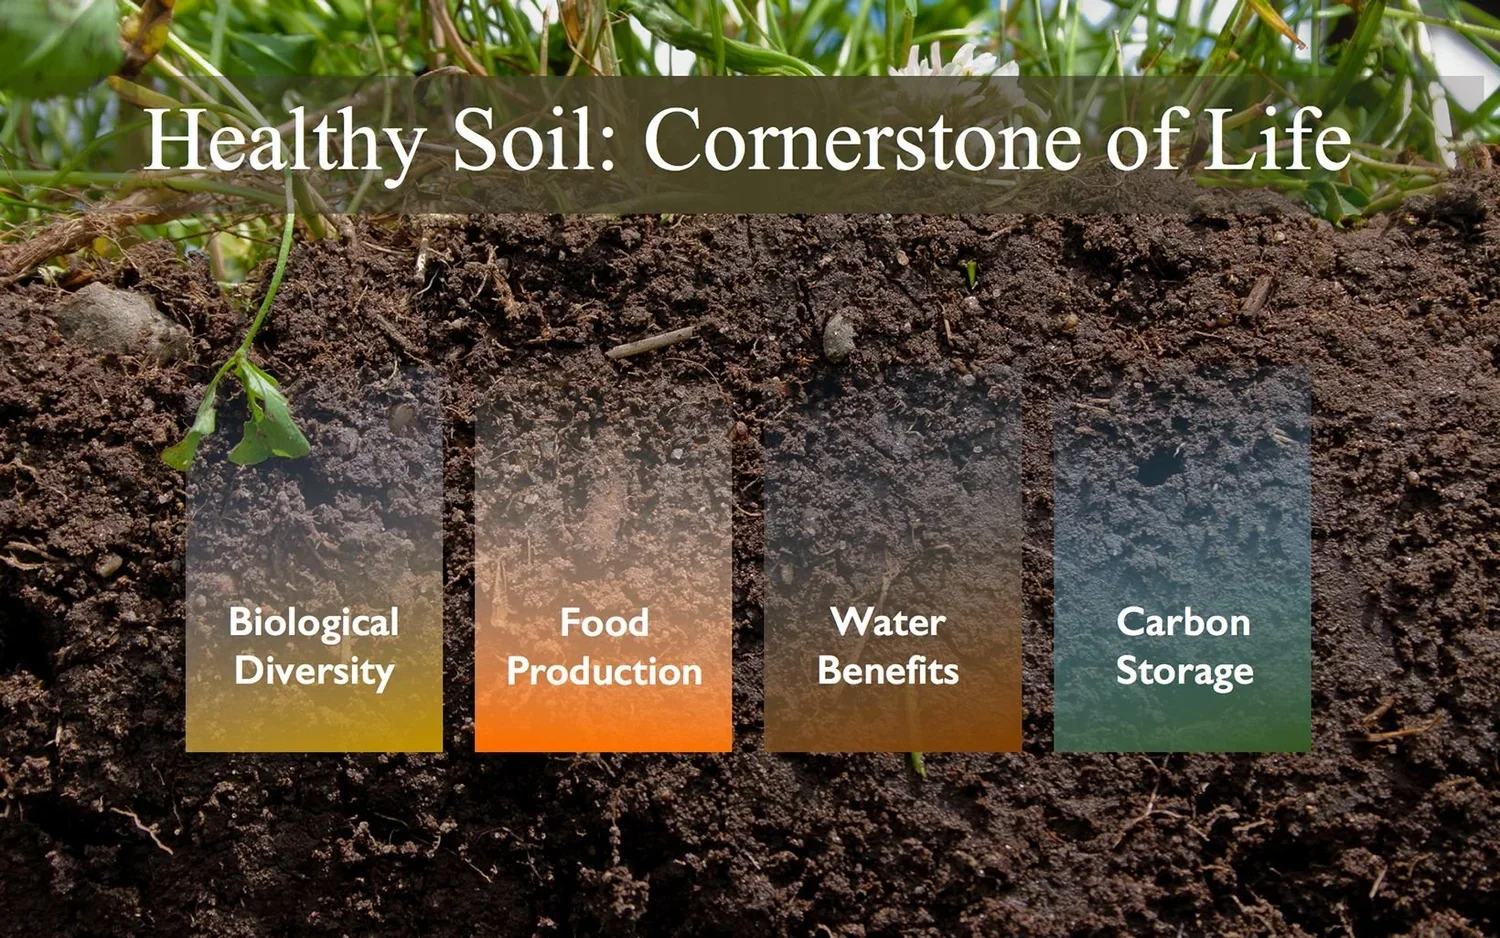
THE HEALTH OF YOUR PLANTS IS DIRECTLY RELATED TO THE QUALITY OF YOUR SOIL
COLORADO SOIL STRUCTURE + AMENDMENTS
WELCOME TO COLORADO: A HIGH ALPINE DESERT
The “high alpine desert” (high and dry) zone of our Colorado front range means that the soil here is typically a rocky compacted clay, deficient in nitrogen or other nutrients. The soil here has a high “alkaline” pH of 7.0 - 8.3, due to the high amount of calcium carbonate (free lime), a reflection of limited rainfall and rock weathering.
To adjust for this, here are the elements we can easily add to this soil to make it more hospitable and to support your garden’s beauty and bounty.
NOTE THAT MANY NATIVE PLANTS PERFER LESS OR NO AMENDMENT TO THE HARSH SOIL CONDITIONS. Yet in garden situations where there are adapted plants or vegetables, your soil may greatly benefit by the right help to support the ecosystem you’re planning. Every garden microclimate and design is nuanced. The right observations, recommendations, and know-how will help it thrive.
START HERE + BRING YOUR SOIL TO LIFE
In most perennial beds, after spring clean up, and before adding seeds or starts, it is highly recommend to:
1) OPTIONALLY Aerate or till the existing soil. By adequately loosening up and amending the soil, you are helping to create a more suitable environment for the plants that live there. Water and Air can move more easily through the substrate for better drainage, encouraging microorganisms to cultivate healthy root systems, which are able to transport available nutrients where needed.
In wild or more native gardens, nature’s symbiotic balance is best left as undisturbed as possible, or when growing vegetables or crops it can be difficult to apply a no-till practice such as this, so amending is a suitable alternative.
BALANCE YOUR SOIL STRUCTURE WITH THESE ELEMENTS
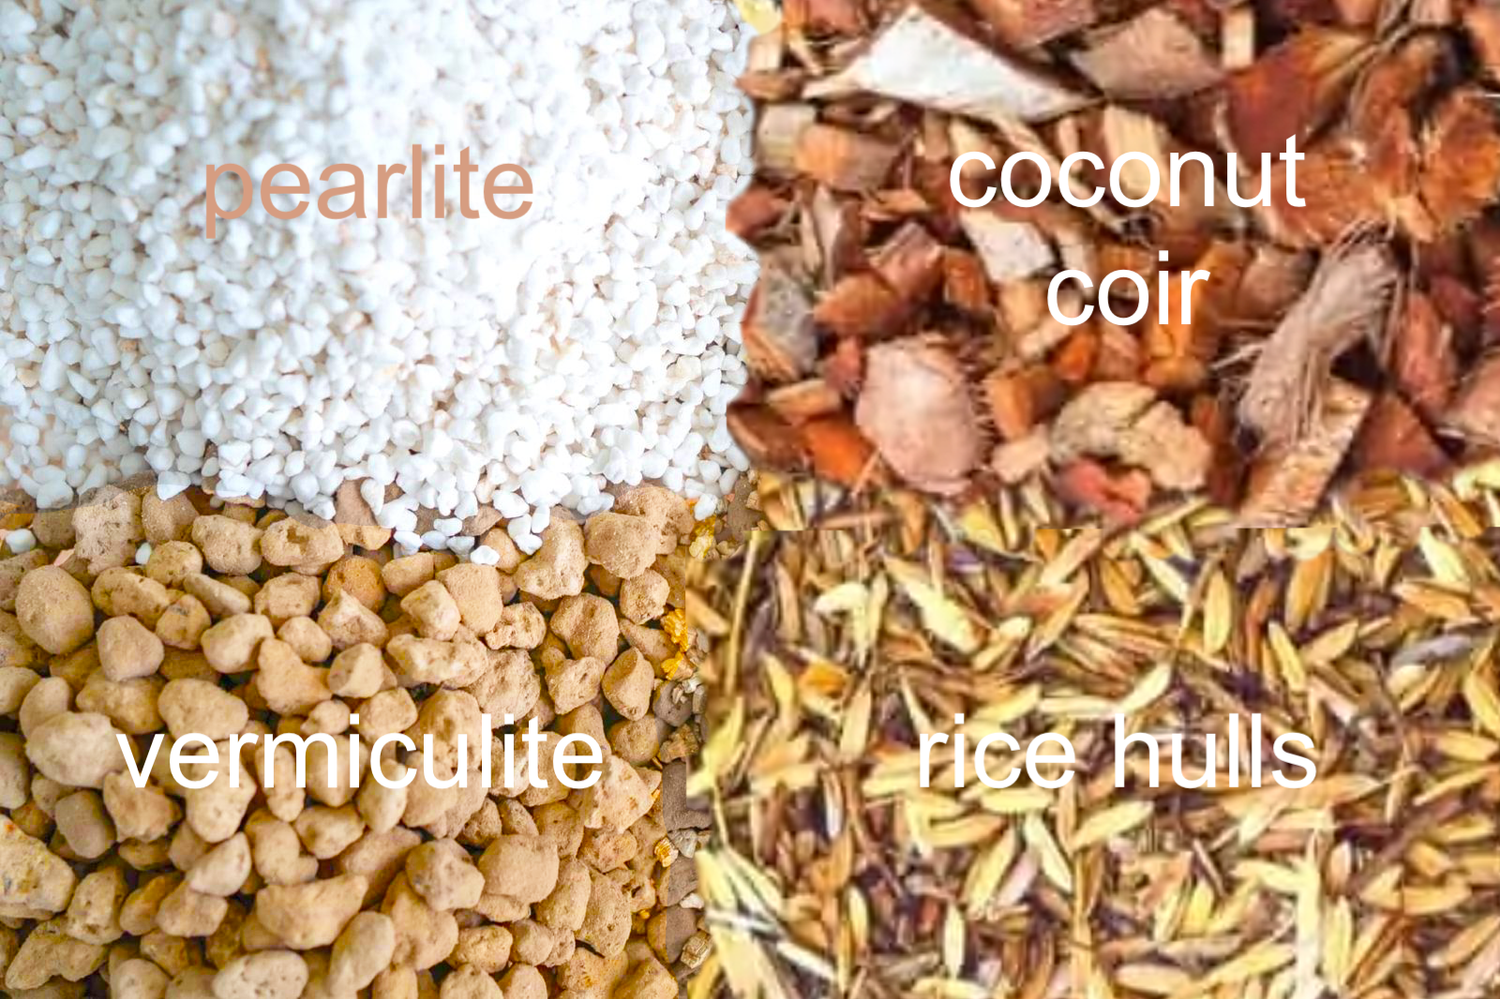
2) Add a moisture-retaining element such as rice hulls, pearlite, or vermiculite (expanded shale). If you want to support a local reseller, these are available at McGuckins. The volume needed will depend on your square footage as well as any unique microclimate influences of note.
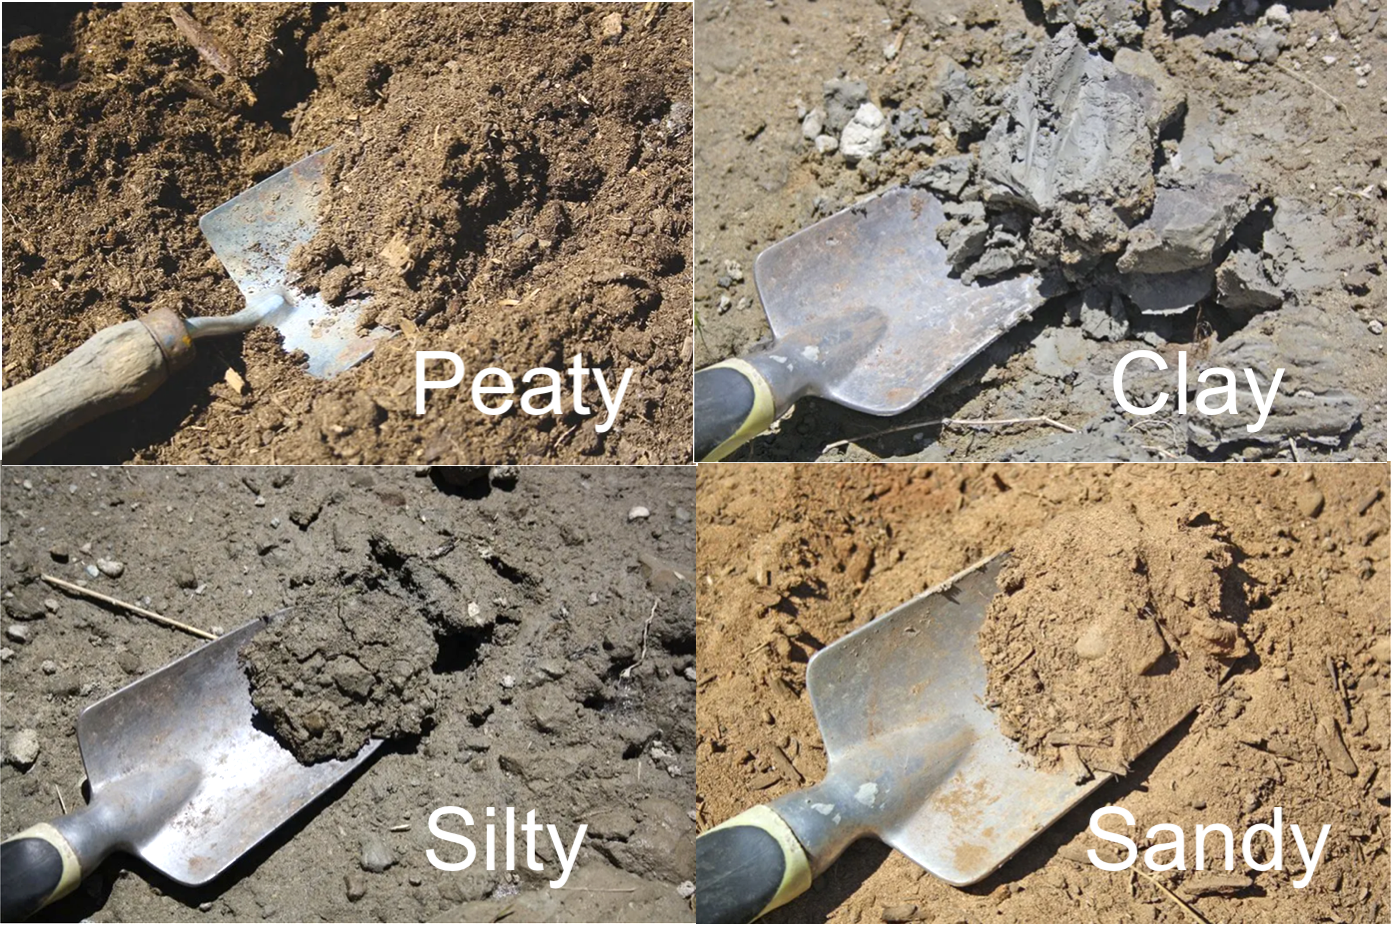
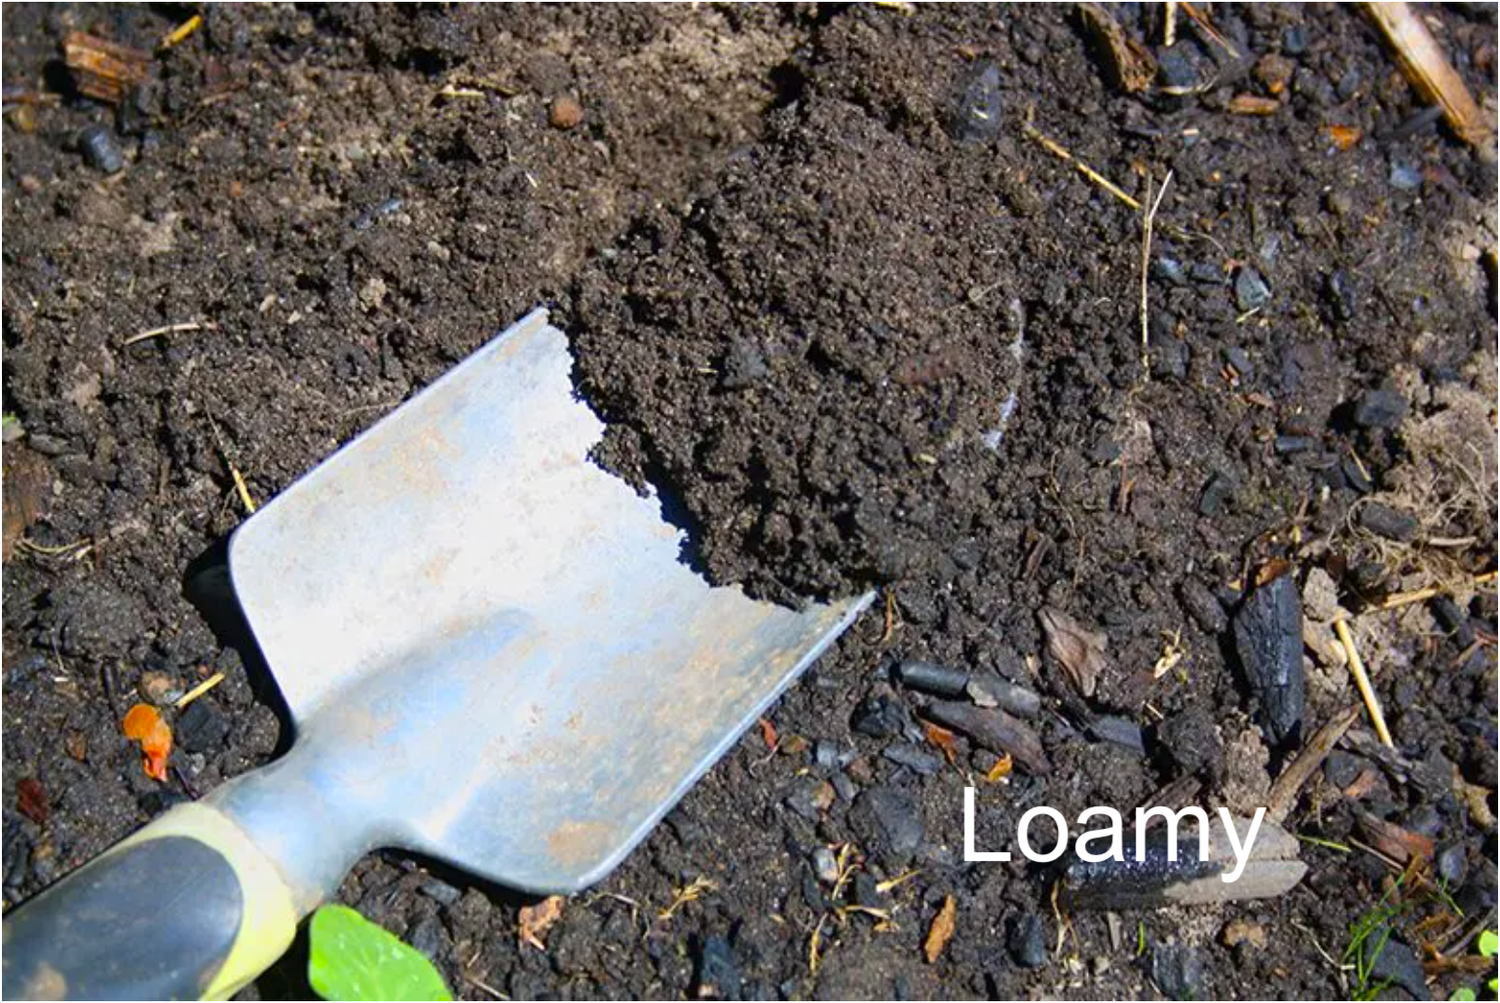
The gardener’s goal here is to create a loamy soil strucure (an equal balance of sand/silt/clay). We’re going for the “goldilock’s zone” of not too heavy, not too light, but just right, with good moisture retention. Here’s how to identify what general soil type you may be working with and how to balance it:
→ DENSE DIRT OR CLAY Most of the Front Range of CO has dense or clay dirt masquerading as soil. So, if you soil is overly dense, compacted, or has a high clay content, you’ll want to lighten it up. For this, you can use rice hulls, pearlite, and/or vermiculite. These elements act to retain moisture by wicking and dispersing, making it available to the roots in a more even distribution over a longer period. Coconut coir and spanghum moss also provide a lighter weight to the surrounding soil media thus aerating and lifting the density.
→ SANDY SOIL If your soil is too sandy or dry dusty silt, water may run through it too fast, or it may not cultivate the density necessary to support the kind of microbial activity that will truly nourish your plant roots. So you’ll want to create more moisture retention and build up the structure slightly. In this situation, coconut coir acts as a fine moisture retention element, or you could use vermiculite for even more retention. Consider removing a % of the existing media and/or adding a denser raised bed soil to bring the structure into balance.
For moisture balance, remember this general rule of thumb: Use rice hulls, coconut coir or perlite when you want better drainage and aeration. Use vermiculite when you want more moisture retention.
What’s Your Starting Soil Type?
Use Amendments To Balance Soil Structure
Here’s What A Healthy Balance Might Look Like
NEXT FERTILIZE YOUR SOIL WITH
COMPOST + NUTRIENTS
There is a difference between soil and dirt. Dirt can be any media such as sand/silt/clay, but it lacks the living microbes or fungal networks that create the ‘soup’ of life within which plant roots symbiotically thrive. Soil, on the other hand, can have a base of the same media, yet it is ALIVE, providing a living soup for such organisms. Soil has a balanced structure, density, and most importantly: the biodiversity necessary to support a living eco-system thriving within. Here’s how to build biodiversity and healthy structure into your Colorado soil:
COMPOST
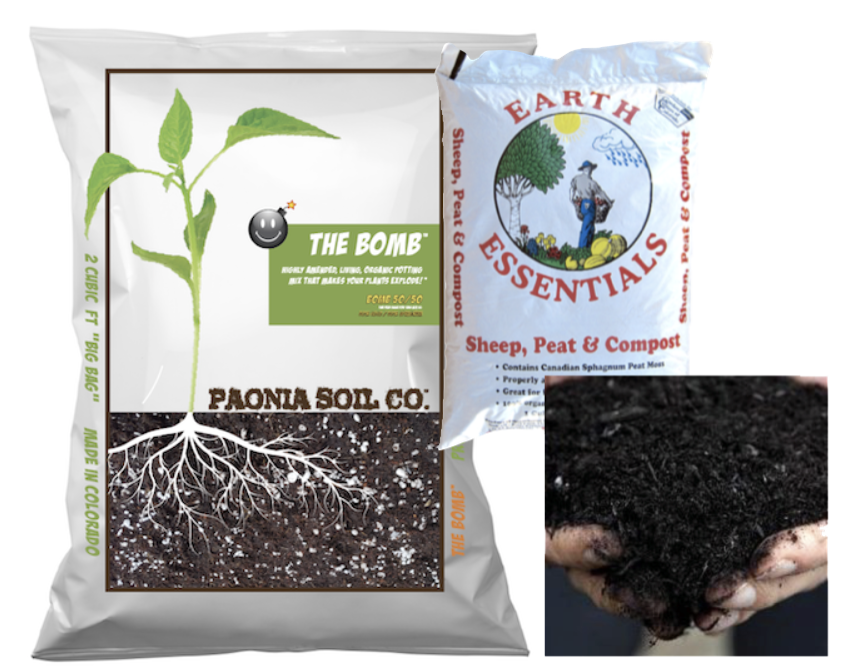
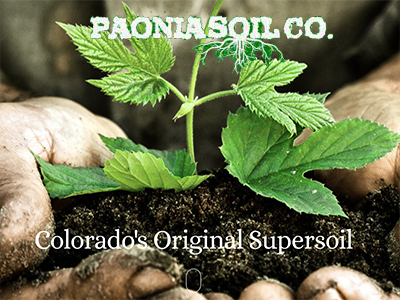
3) Add a volume of organic compost suitable for vegetable or medicinal garden use. Start by adding a layer to the top of the exposed soil and then mixing it in. Great composts to use can be anything from Alpaca or Chicken poop from your local farm (make sure it’s not too “hot”), to bagged compost. Here are our recommended bagged planting soil blends, available at local suppliers such as McGuckins:
• The Bomb — by Paonia Soil Co
• Sheep ‘n Peat — by Earth Essentials
• Ocean Forest — by Fox Farm
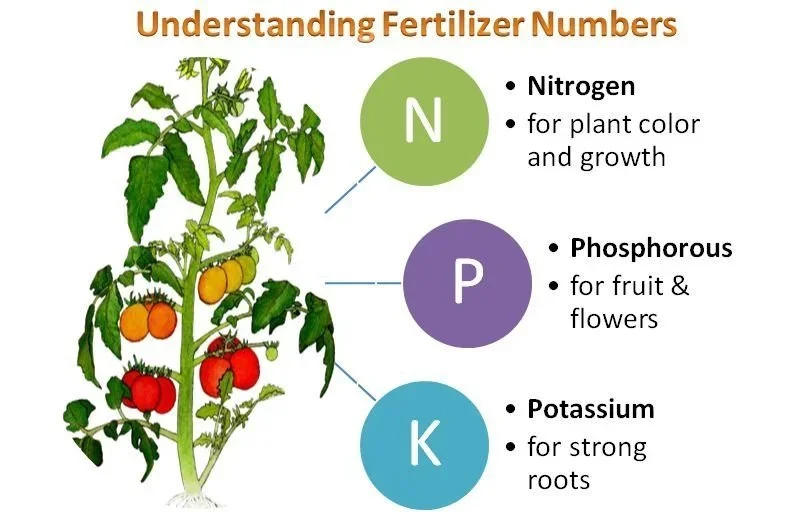
FERTILIZERS
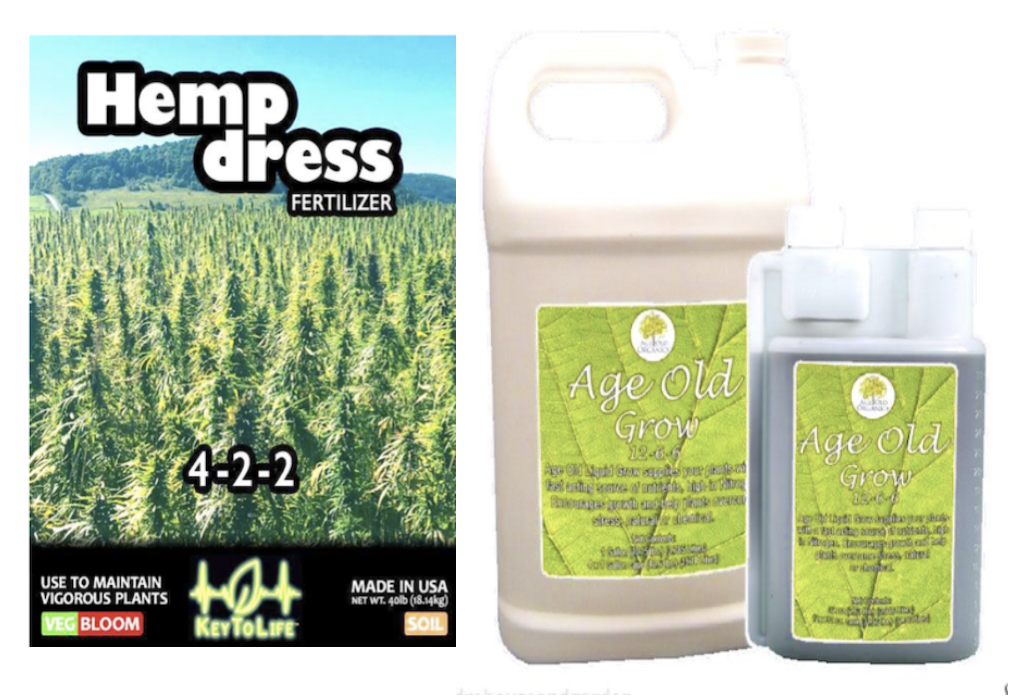
4) Add nutrients that help plants grow. Your typical fertilizers will have a blend of Nitrogen—Phosphorus—Potassium (N-P-K). Together these provide a spectrum that meets plant needs. You can also add other natural elements such as worm castings, bat guano, fish or kelp emulsion, blood or bone meal. Keep in mind that each of these has their own ratio, so make sure it’s what your plant needs before applying. We recommend the following brands:
• Root | Grow | or Bloom — by Age Old Organics
• Hemp Dress — by Key To Life
BOOST SOIL BIO-DIVERSITY
5) Add mycorrhizae (a fungus that grows in association with the roots of a plant) for help with nutrient uptake to help plants and ecosystem grow. Establishing this root-based systemic network is essential in that it helps plants attract and absorb nutrients from the surrounding soil that its roots alone would not be able to draw up. It’s like ‘nature’s wifi’— helping connect the neighborhood bio-chemically through the soil. Nature takes time to build this, and we can help speed it up by introducing the mycorrhizae.
• Mycorrrhizae — by Big Foot
ADD WATER SLOWLY AS YOU MIX YOUR SOILS
6) Slow water. Let the amendments soak down with slow watering (to avoid fast runoff) before planting. Soaking, rather than spraying, will give your soil time to sink in and begin to come to life. Make sure the water soaks deeply down and doesn’t just sit in the top few inches of your soil.
PLANT YOUR SEEDS + STARTS
7) Now your seed and starts are ready to be planted. By nurturing the soil before planting, you increase the success rate of your introduction, robustness, and longevity of your new plants, as well as contribute to a healthier ecosystem.
Additional Natural Products
CLICK HERE FOR A FULL LIST OF RECOMMENDATIONS
for horticultural and vegetable gardens

What To Do As Your Plants Grow

Watch Others Do It + Then Try It Yourself
We Suggest The Following YouTube Channels As You Learn The Art/s OF
(Unaffiliated)


Better Your Garden Game!
√ Get A Hand Getting Started With A 2 Month Pack
√ Meet Up Monthly To Garden Together DIY


Pick Plants That Support Your Trees: Fruit or Deciduous


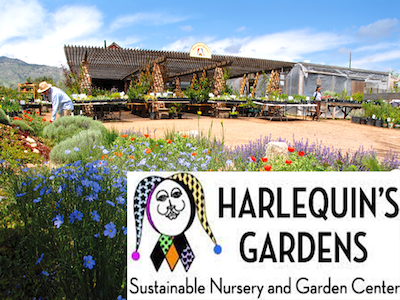
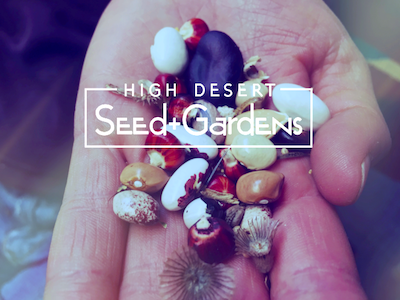
Local Nurseries + Vendors
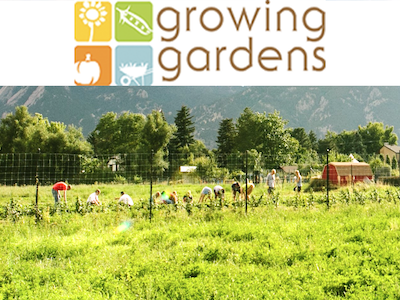
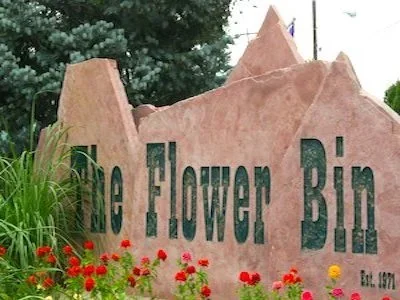
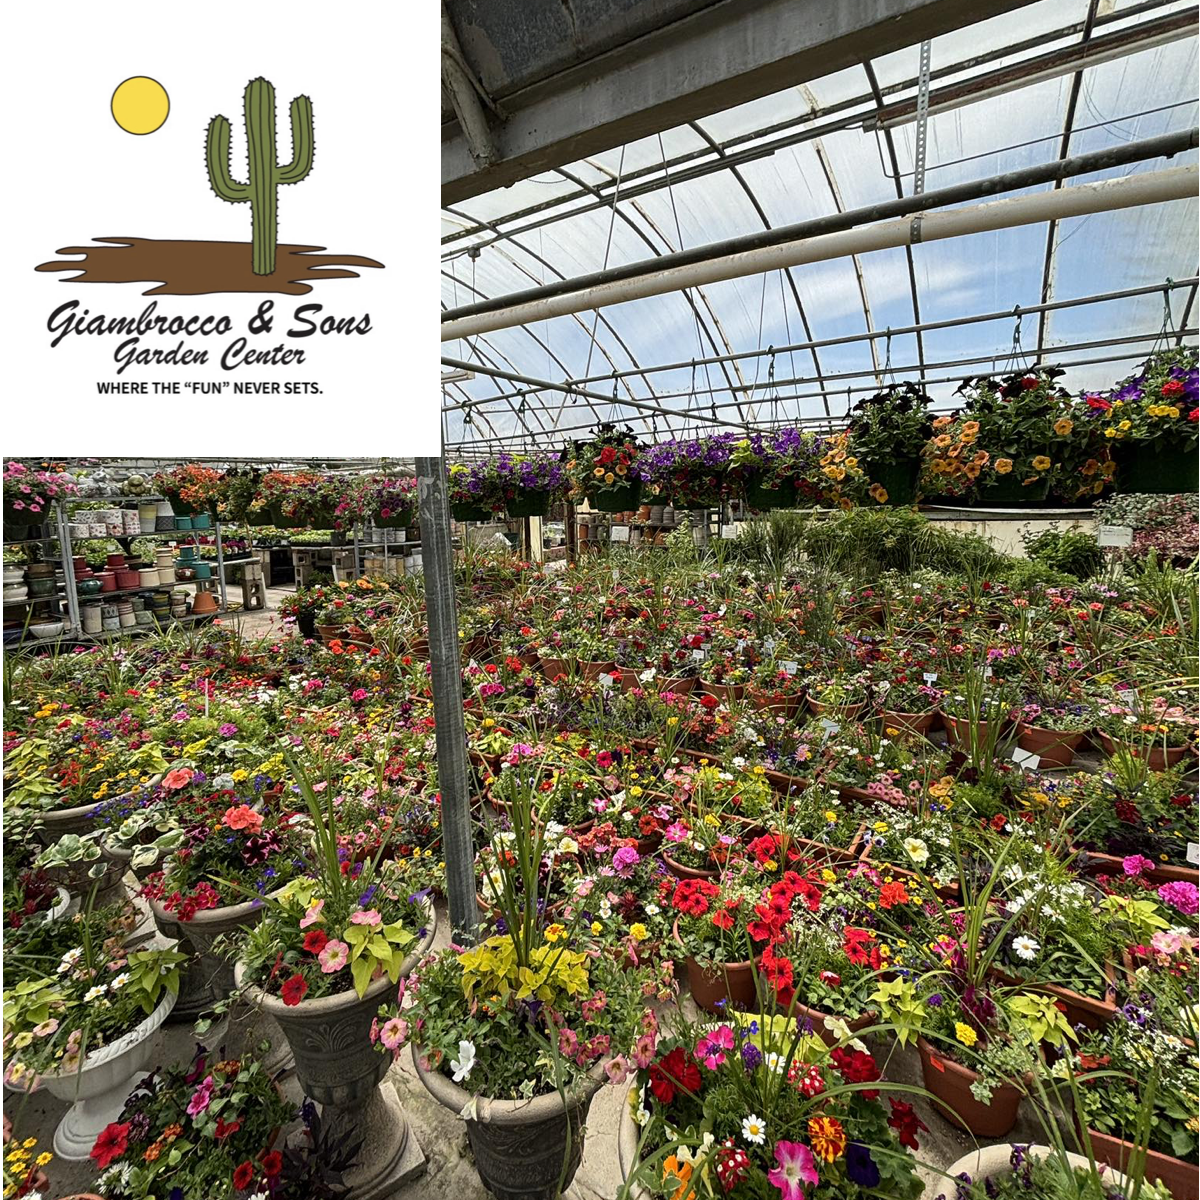
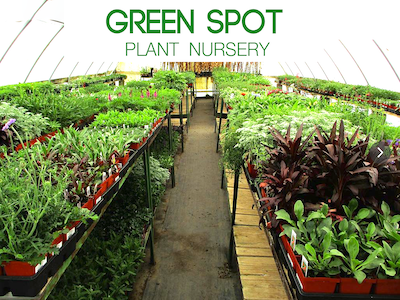


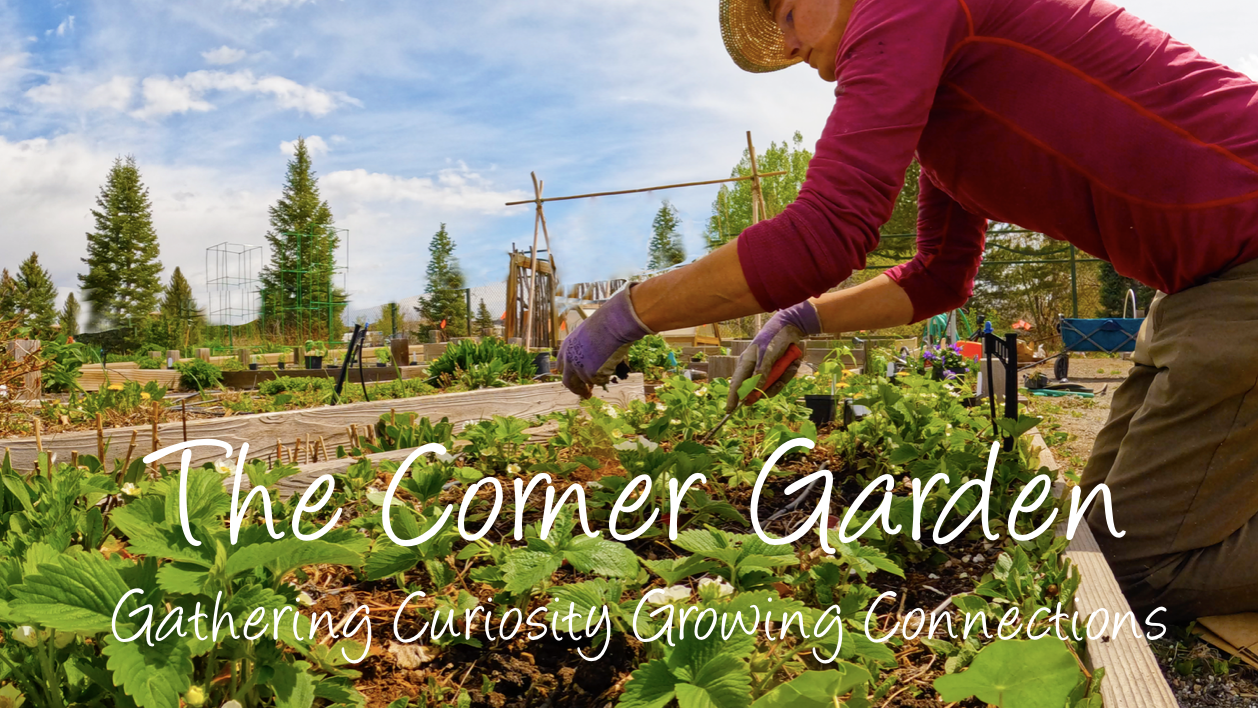
Local Farms + COMMUNITY Gardens + EVENTS

Find your seeds or plant starts here, as well as tools, materials, and more! We’re pleased to share the health and the wealth of opportunity among these associations from our many professional and social circles. Eco Gardens by Rebecca makes it our goal to stay as consistent as possible with the larger picture holistic ecological values for plants, people, and our planet. Thank you for your commitment to sourcing biodynamic or organically grown plant species or varieties, soil, or other sustainably sourced, recycled, or re-usable products.
GOT INSTALLATION?
We Recommend A Trusted Team
Featured INSTALLATION by A Good Earth Maintenance (AGEM)
through the LOCAL Land Collective, A CONTRACTOR - client ROUND TABLE